
Currently have two layouts, one for operation, the other as a test track for DCC-EX and other projects.

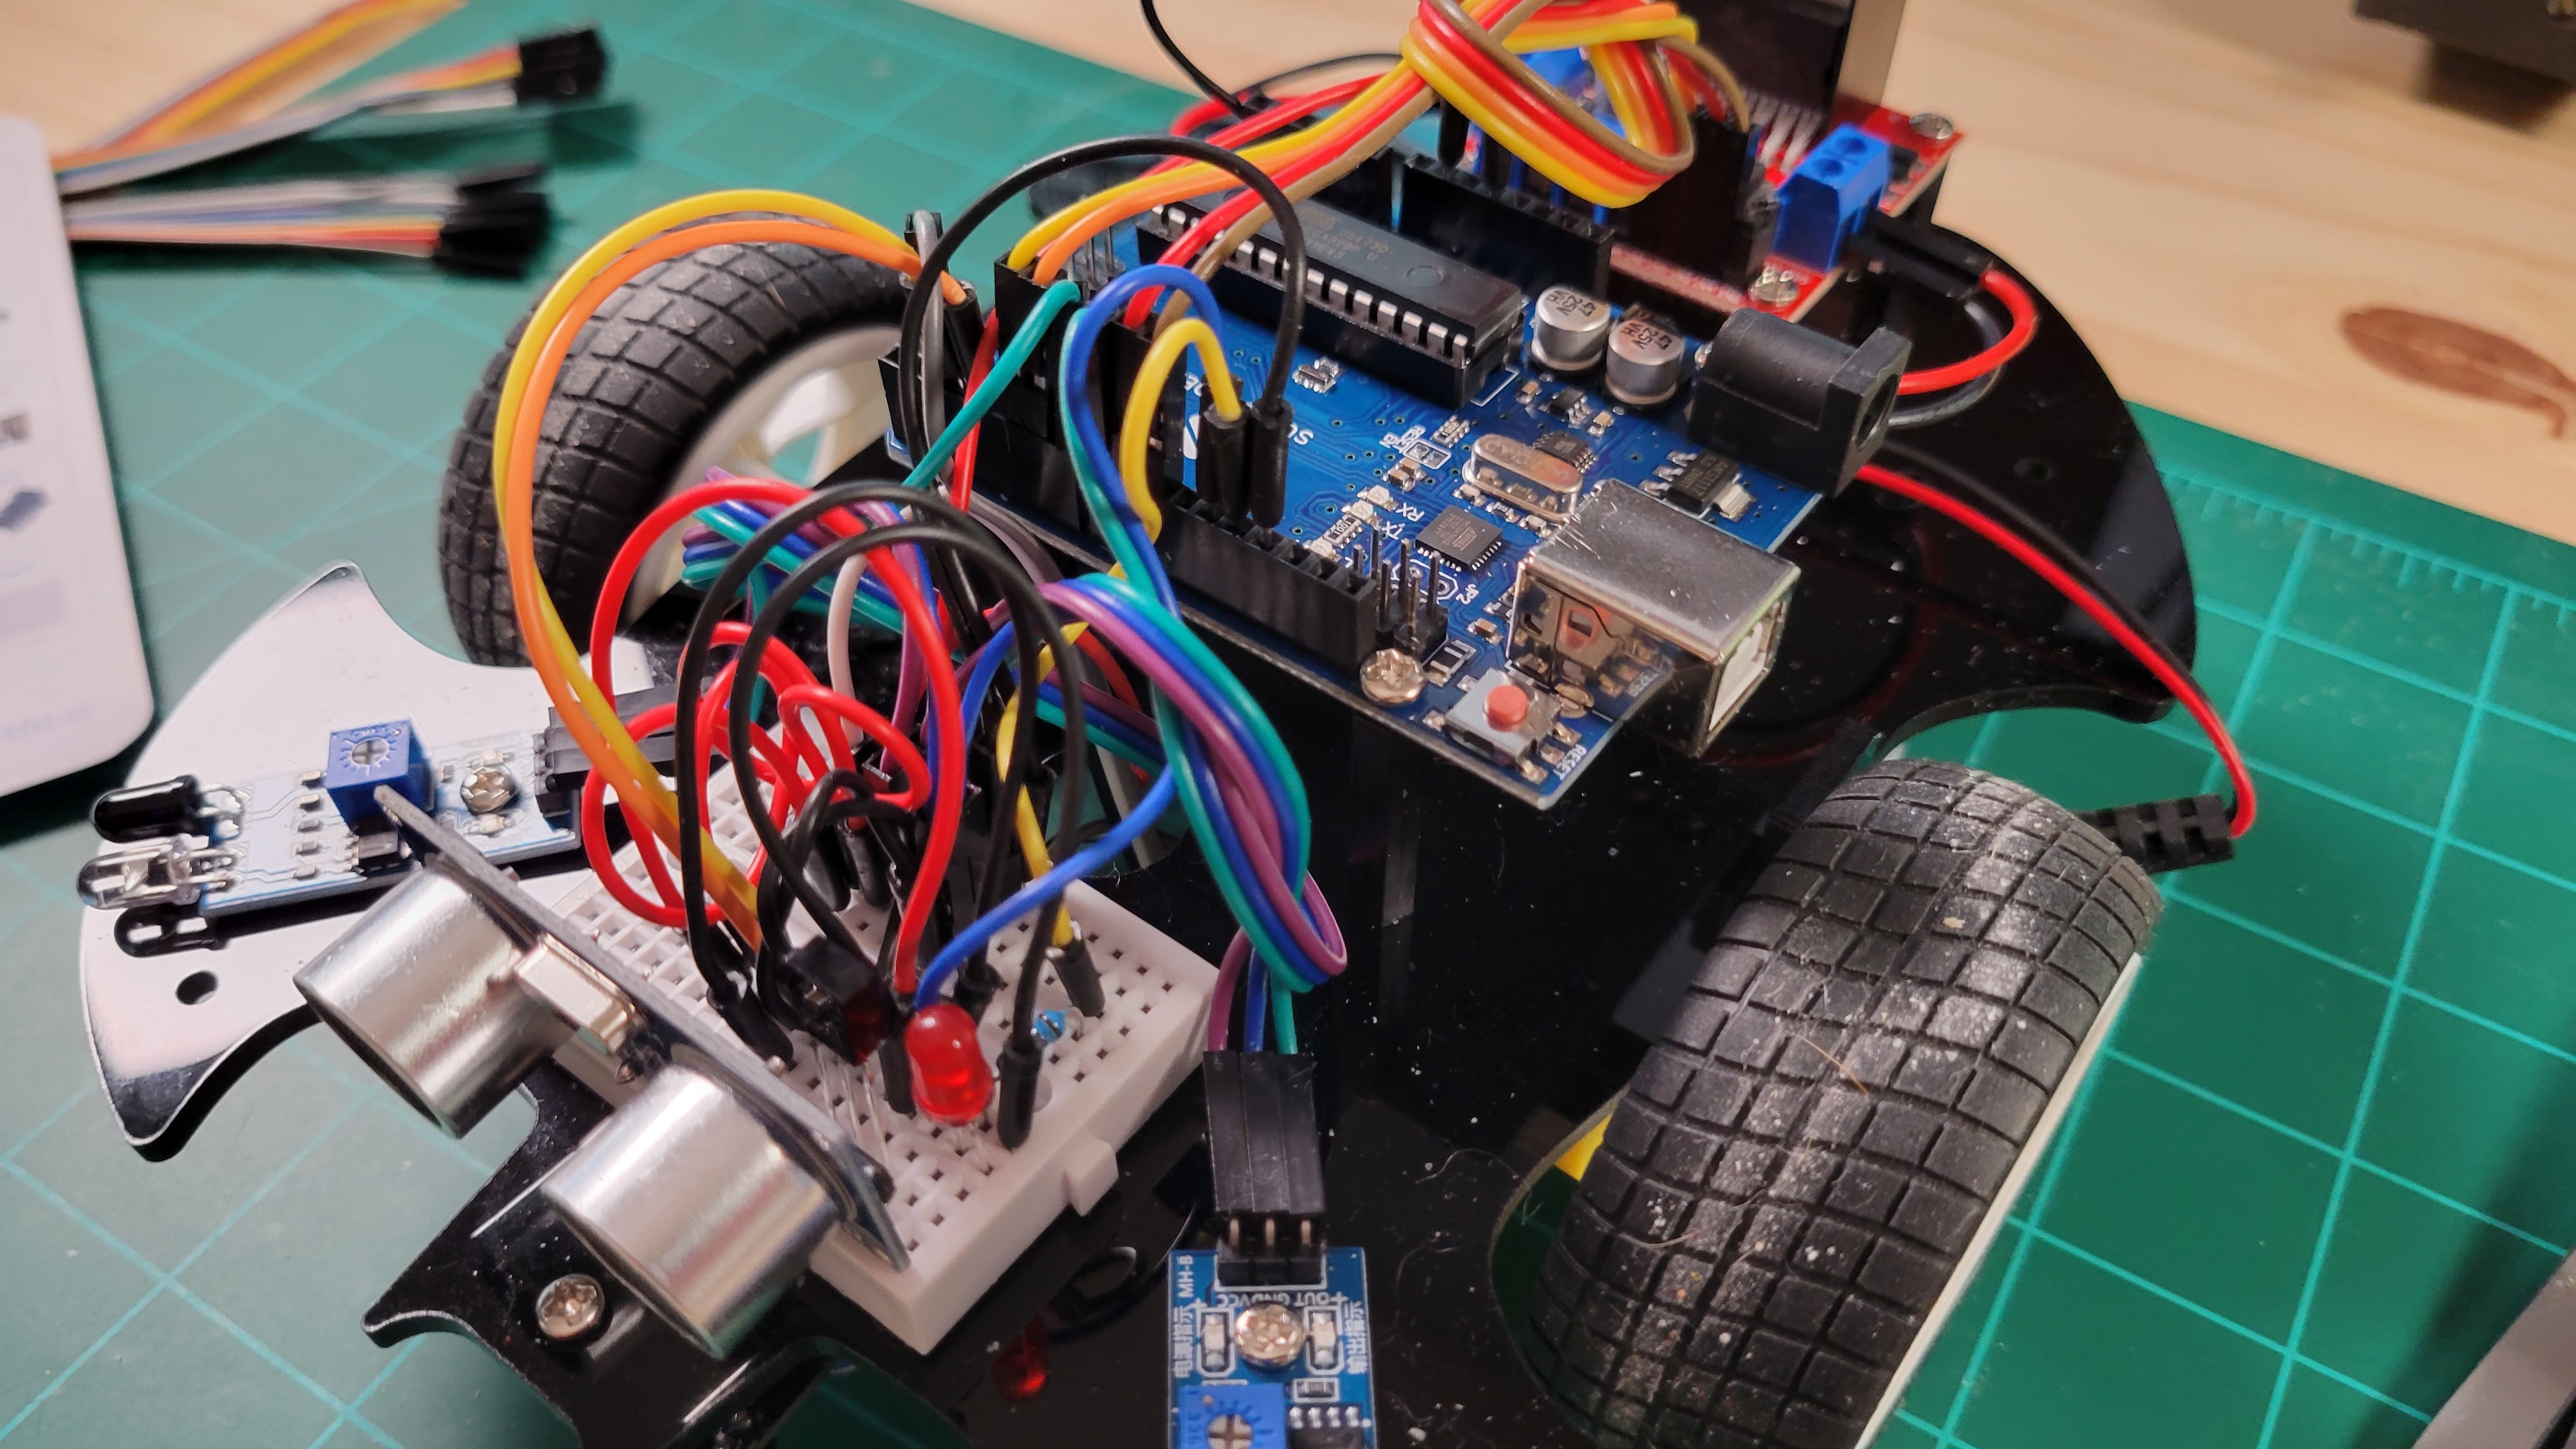
Finished up a new video on the Sunfounder 3 in 1 IoT Smart Car Learning Kit for Arduino. This learning kit was one of the best that I have seen as far a documentation and ease of learning Arduino. I built the automated car that avoids hitting walls by using a front facing ultrasonic range module and two obstacle avoidance modules at 45 degree angles. Easy to build and fun to play around with.
I was asked by a rep of Sunfounder to create a video on Amazon to highlight the kit. He was impressed with the review of the Elegoo Super Started Kit that I have on my Amazon for the past year. He sent me the kit and I started looking it over an built the car project in a few hours.
This kit is a great starting tool for learning Arduino. The documentation is very well written and goes into great detail to explain each components use and how it works. https://docs.sunfounder.com/projects/3in1-kit/en/latest/
Welcome to my Locals Community.
It doesn't cost anything to be a member. In addition to being a member you can also support my effort on here for just $2 a month. I just lowered this as of February 11 2025. This will help with producing more content to share with you.
Supporter Only content is available for those of you who sign up for the $2 a month, other members can enjoy the rest of the content provided here and not on ScrewTube.
I am streaming from Rumble Studio more often now, mostly At The Workbench and now WorkBench Wednesday with Rumble only after party, so follow me on Rumble at: https://rumble.com/c/TomKvichak for more content
Enjoy your stay and have fun!
A short clip that I did not include in my last video of me adding spikes to the trestle

This update there has been a few more modifications. I shortened the shed that sticks off to one side. I thought it looked to long and it just looked out of proportion to its surroundings. Some paper lap siding and trim with paper brick and paper shingles. The rolled roofing is just spray painted masking tape. I have also thought up another modification I will make to the front of it later on. Things always change as it starts to come together.
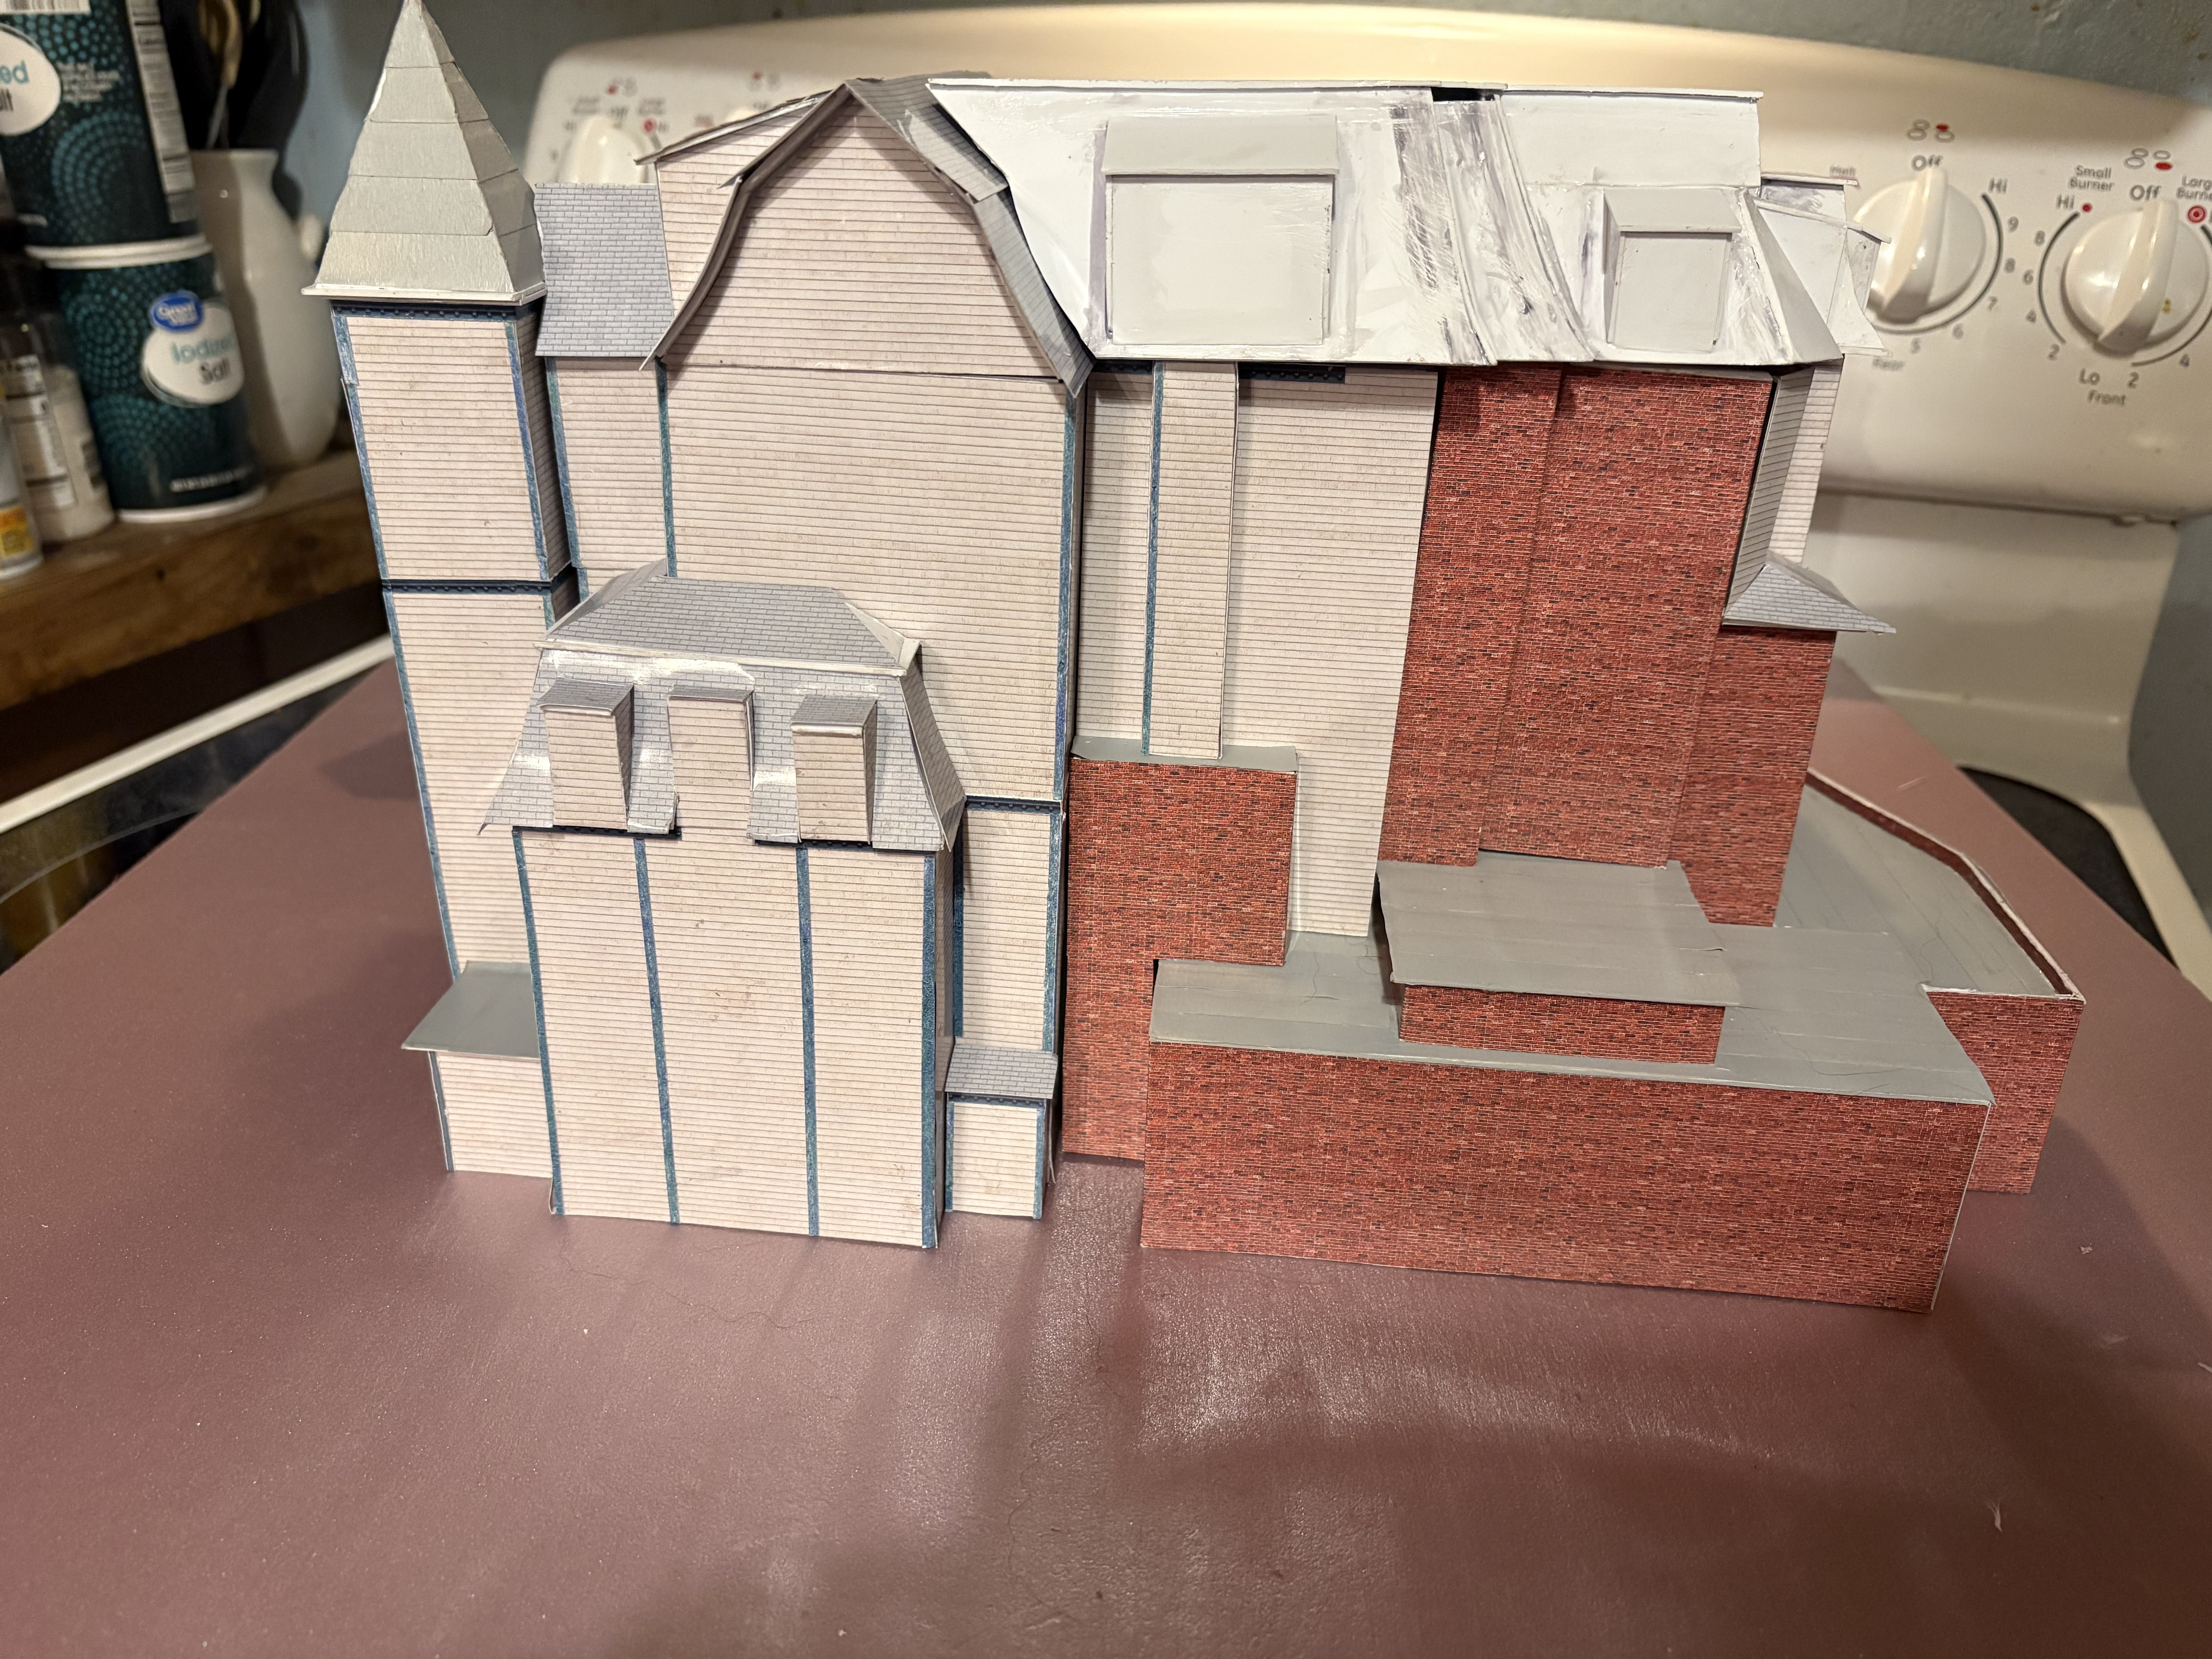
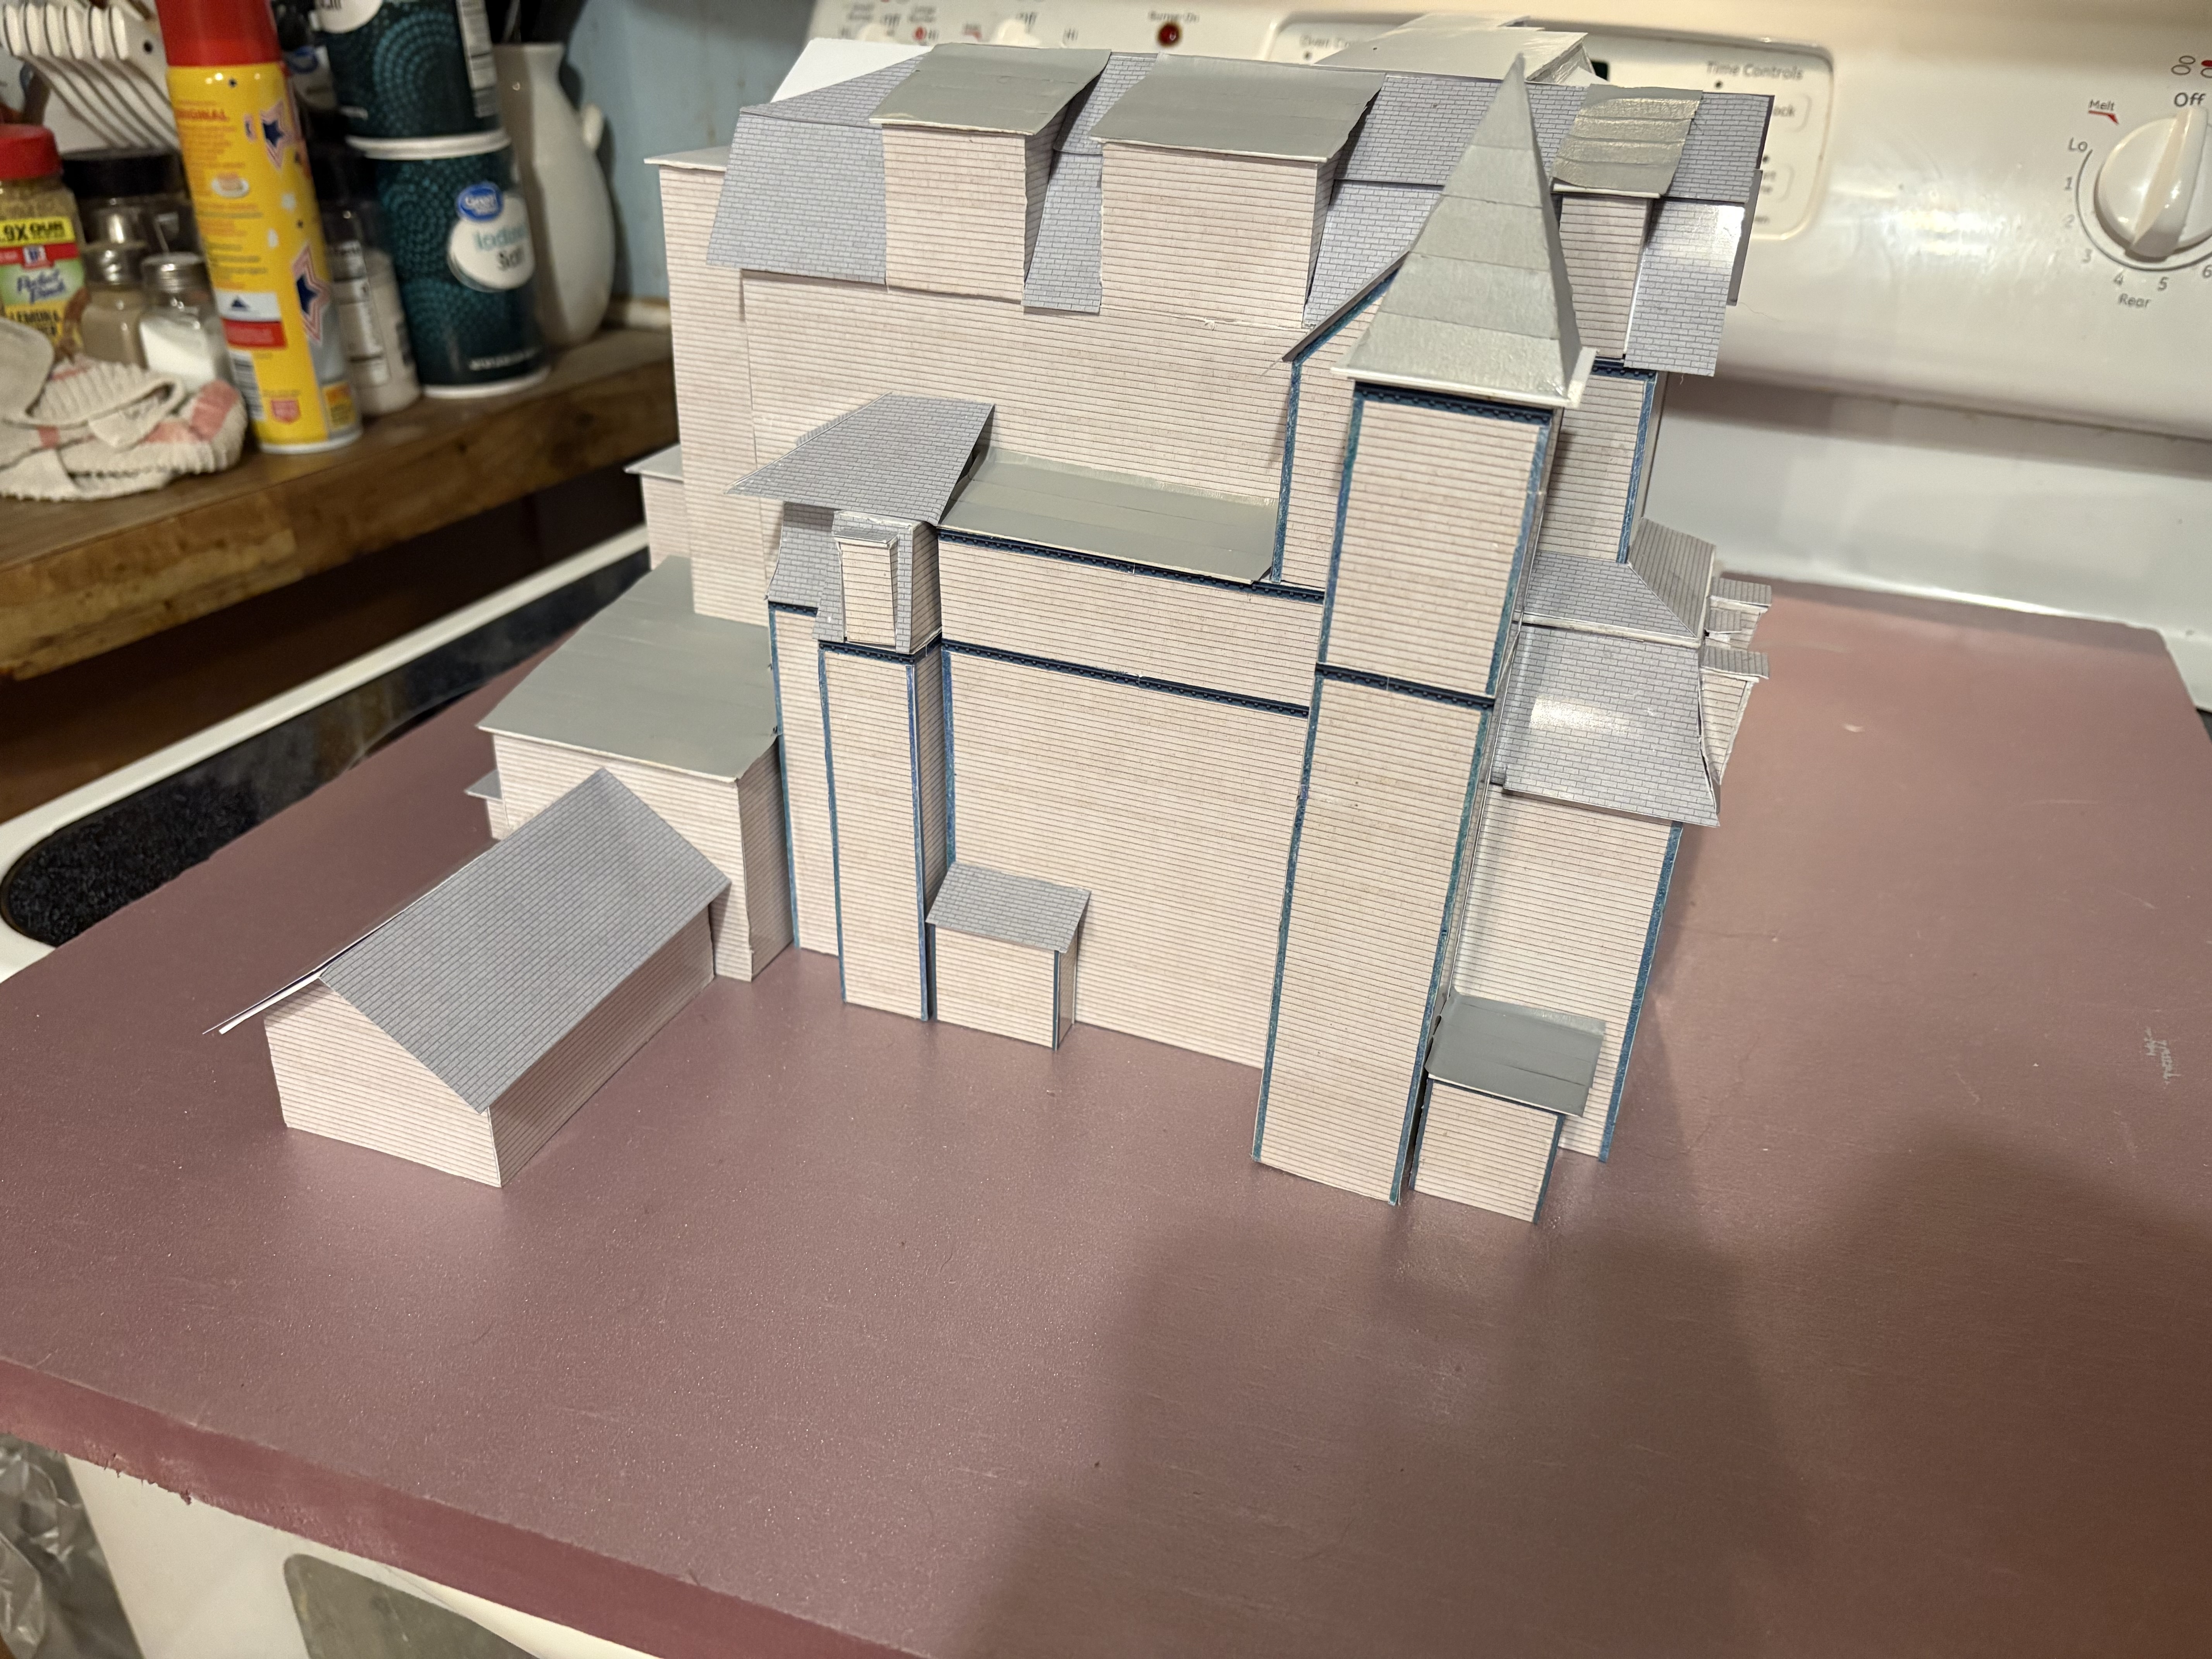
I have started to add siding and roofing to the mock up. The colors I chose didn’t translate as accurately as I had imagined to the photo paper but it’s ok for a mock up. It’s more important just to get it covered so I can get to the door and window arrangement and placement. I haven’t had much time to get any further with it.
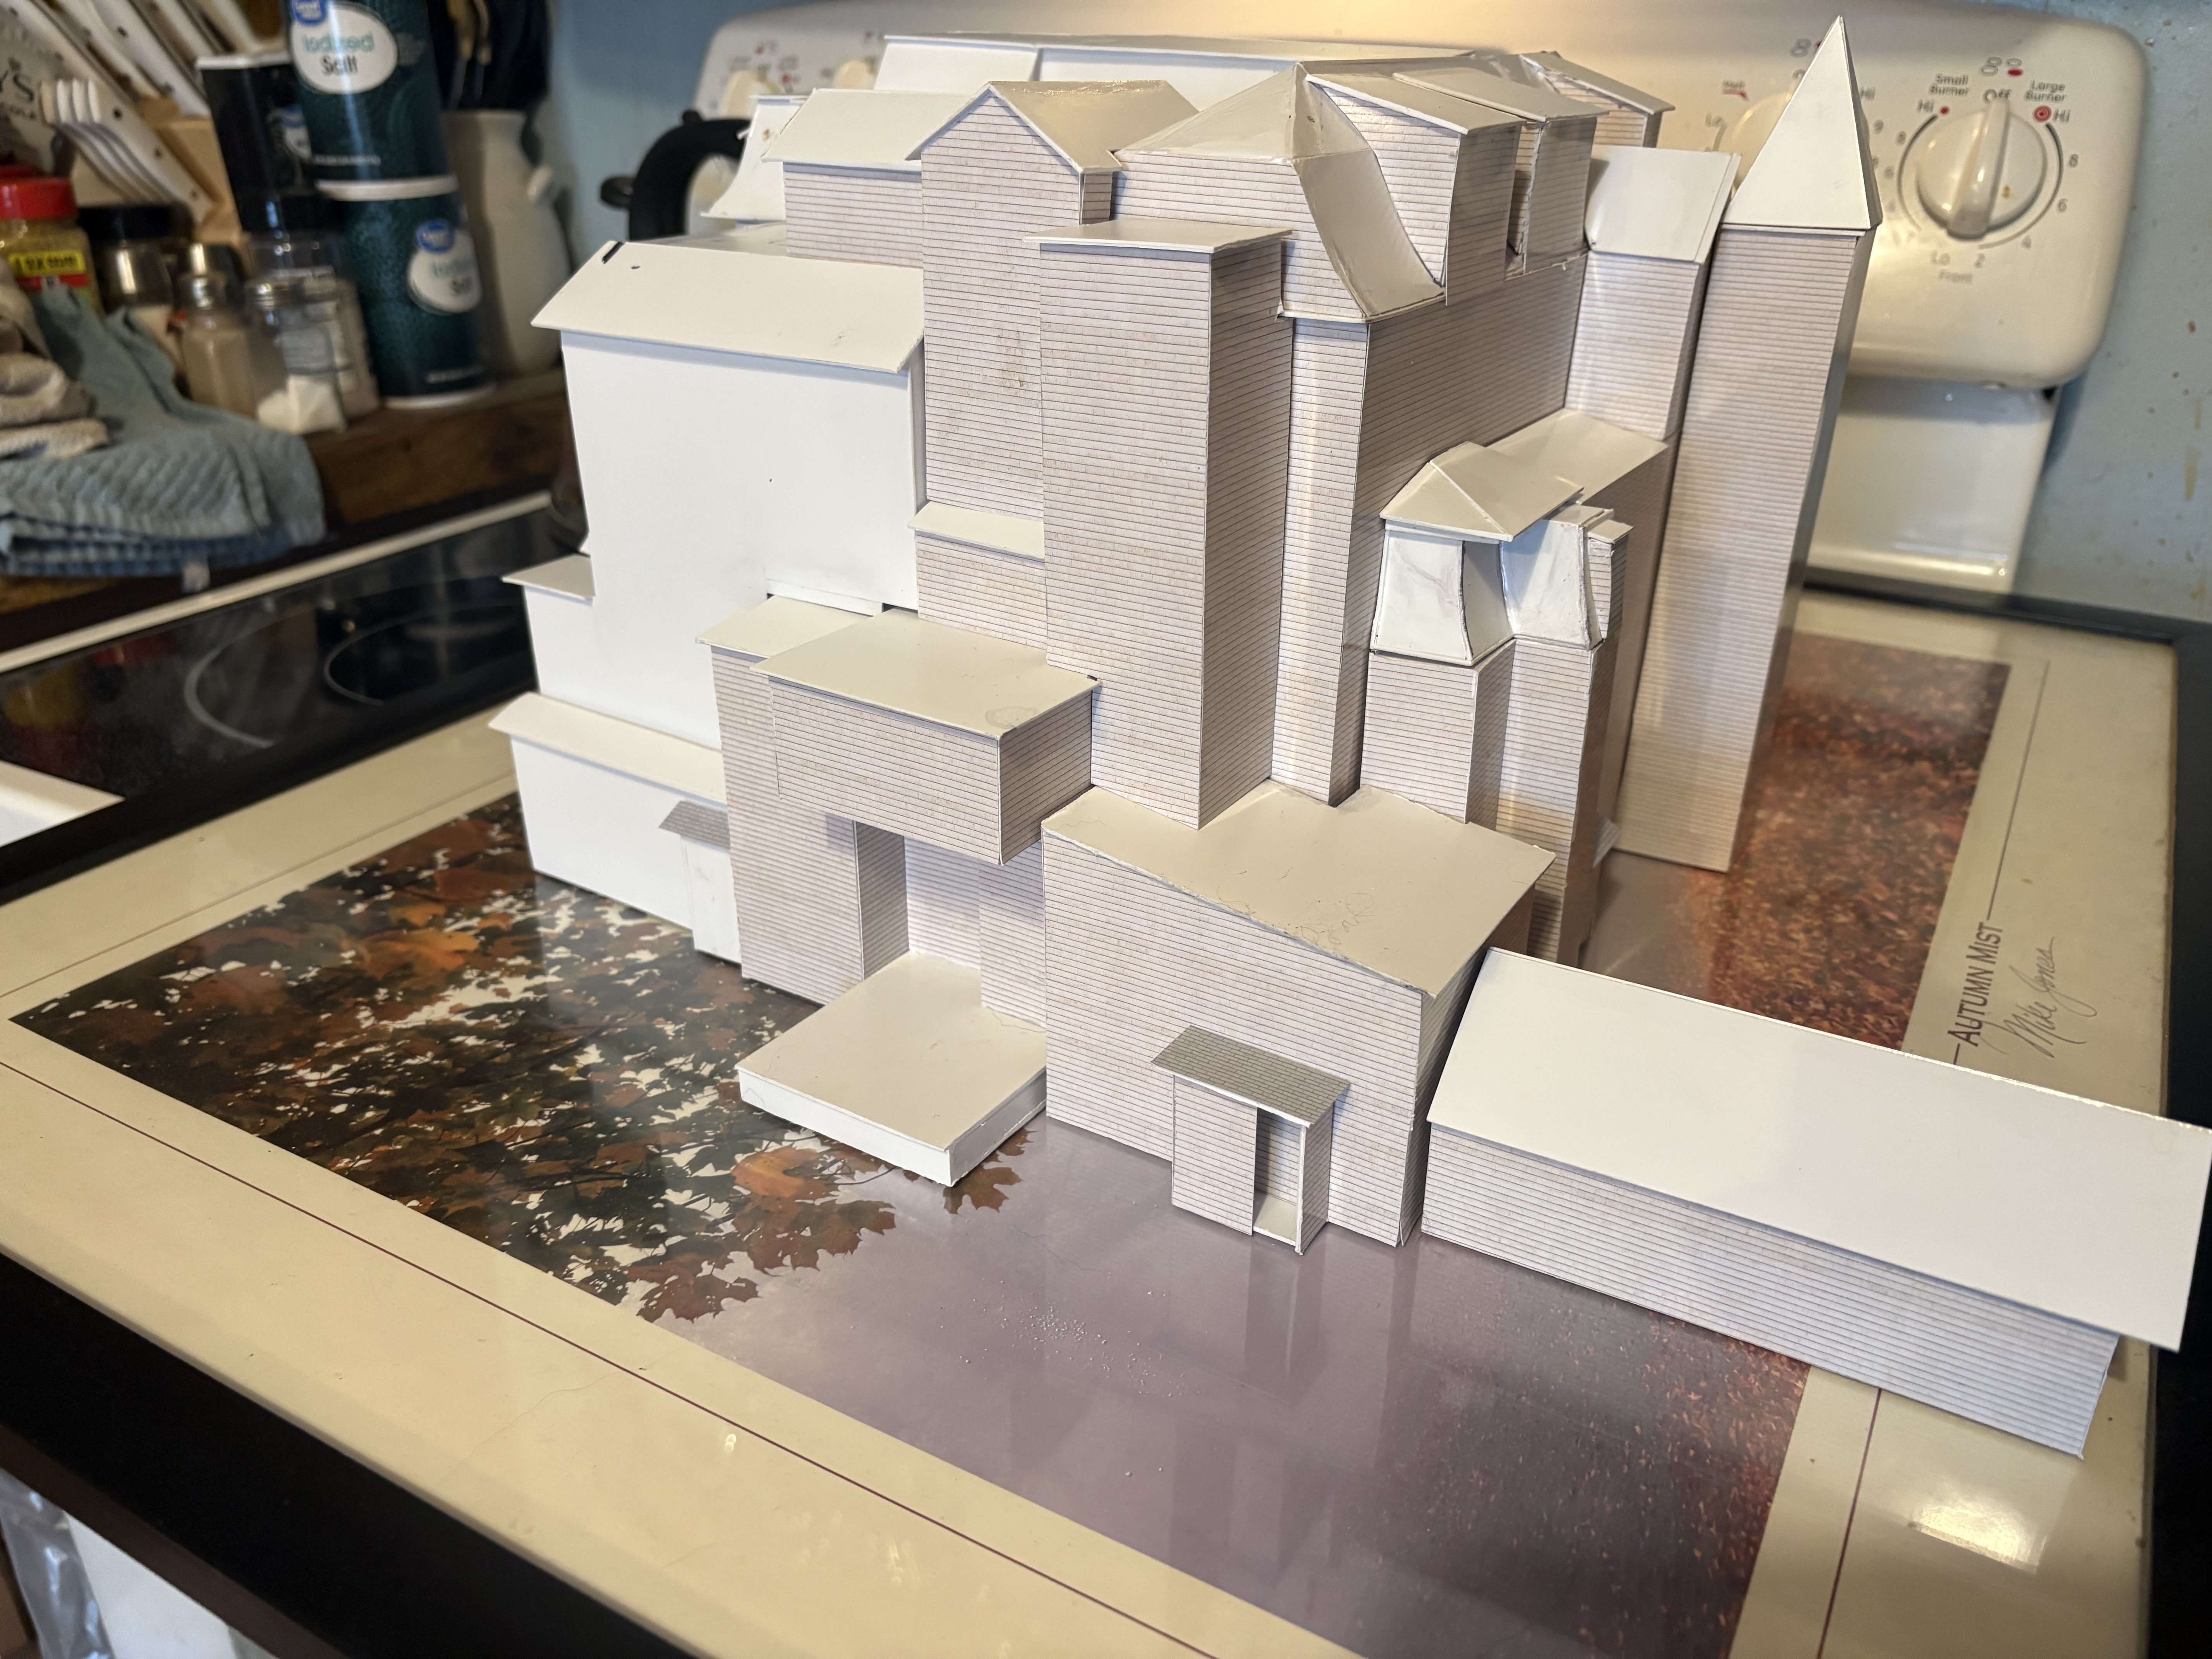
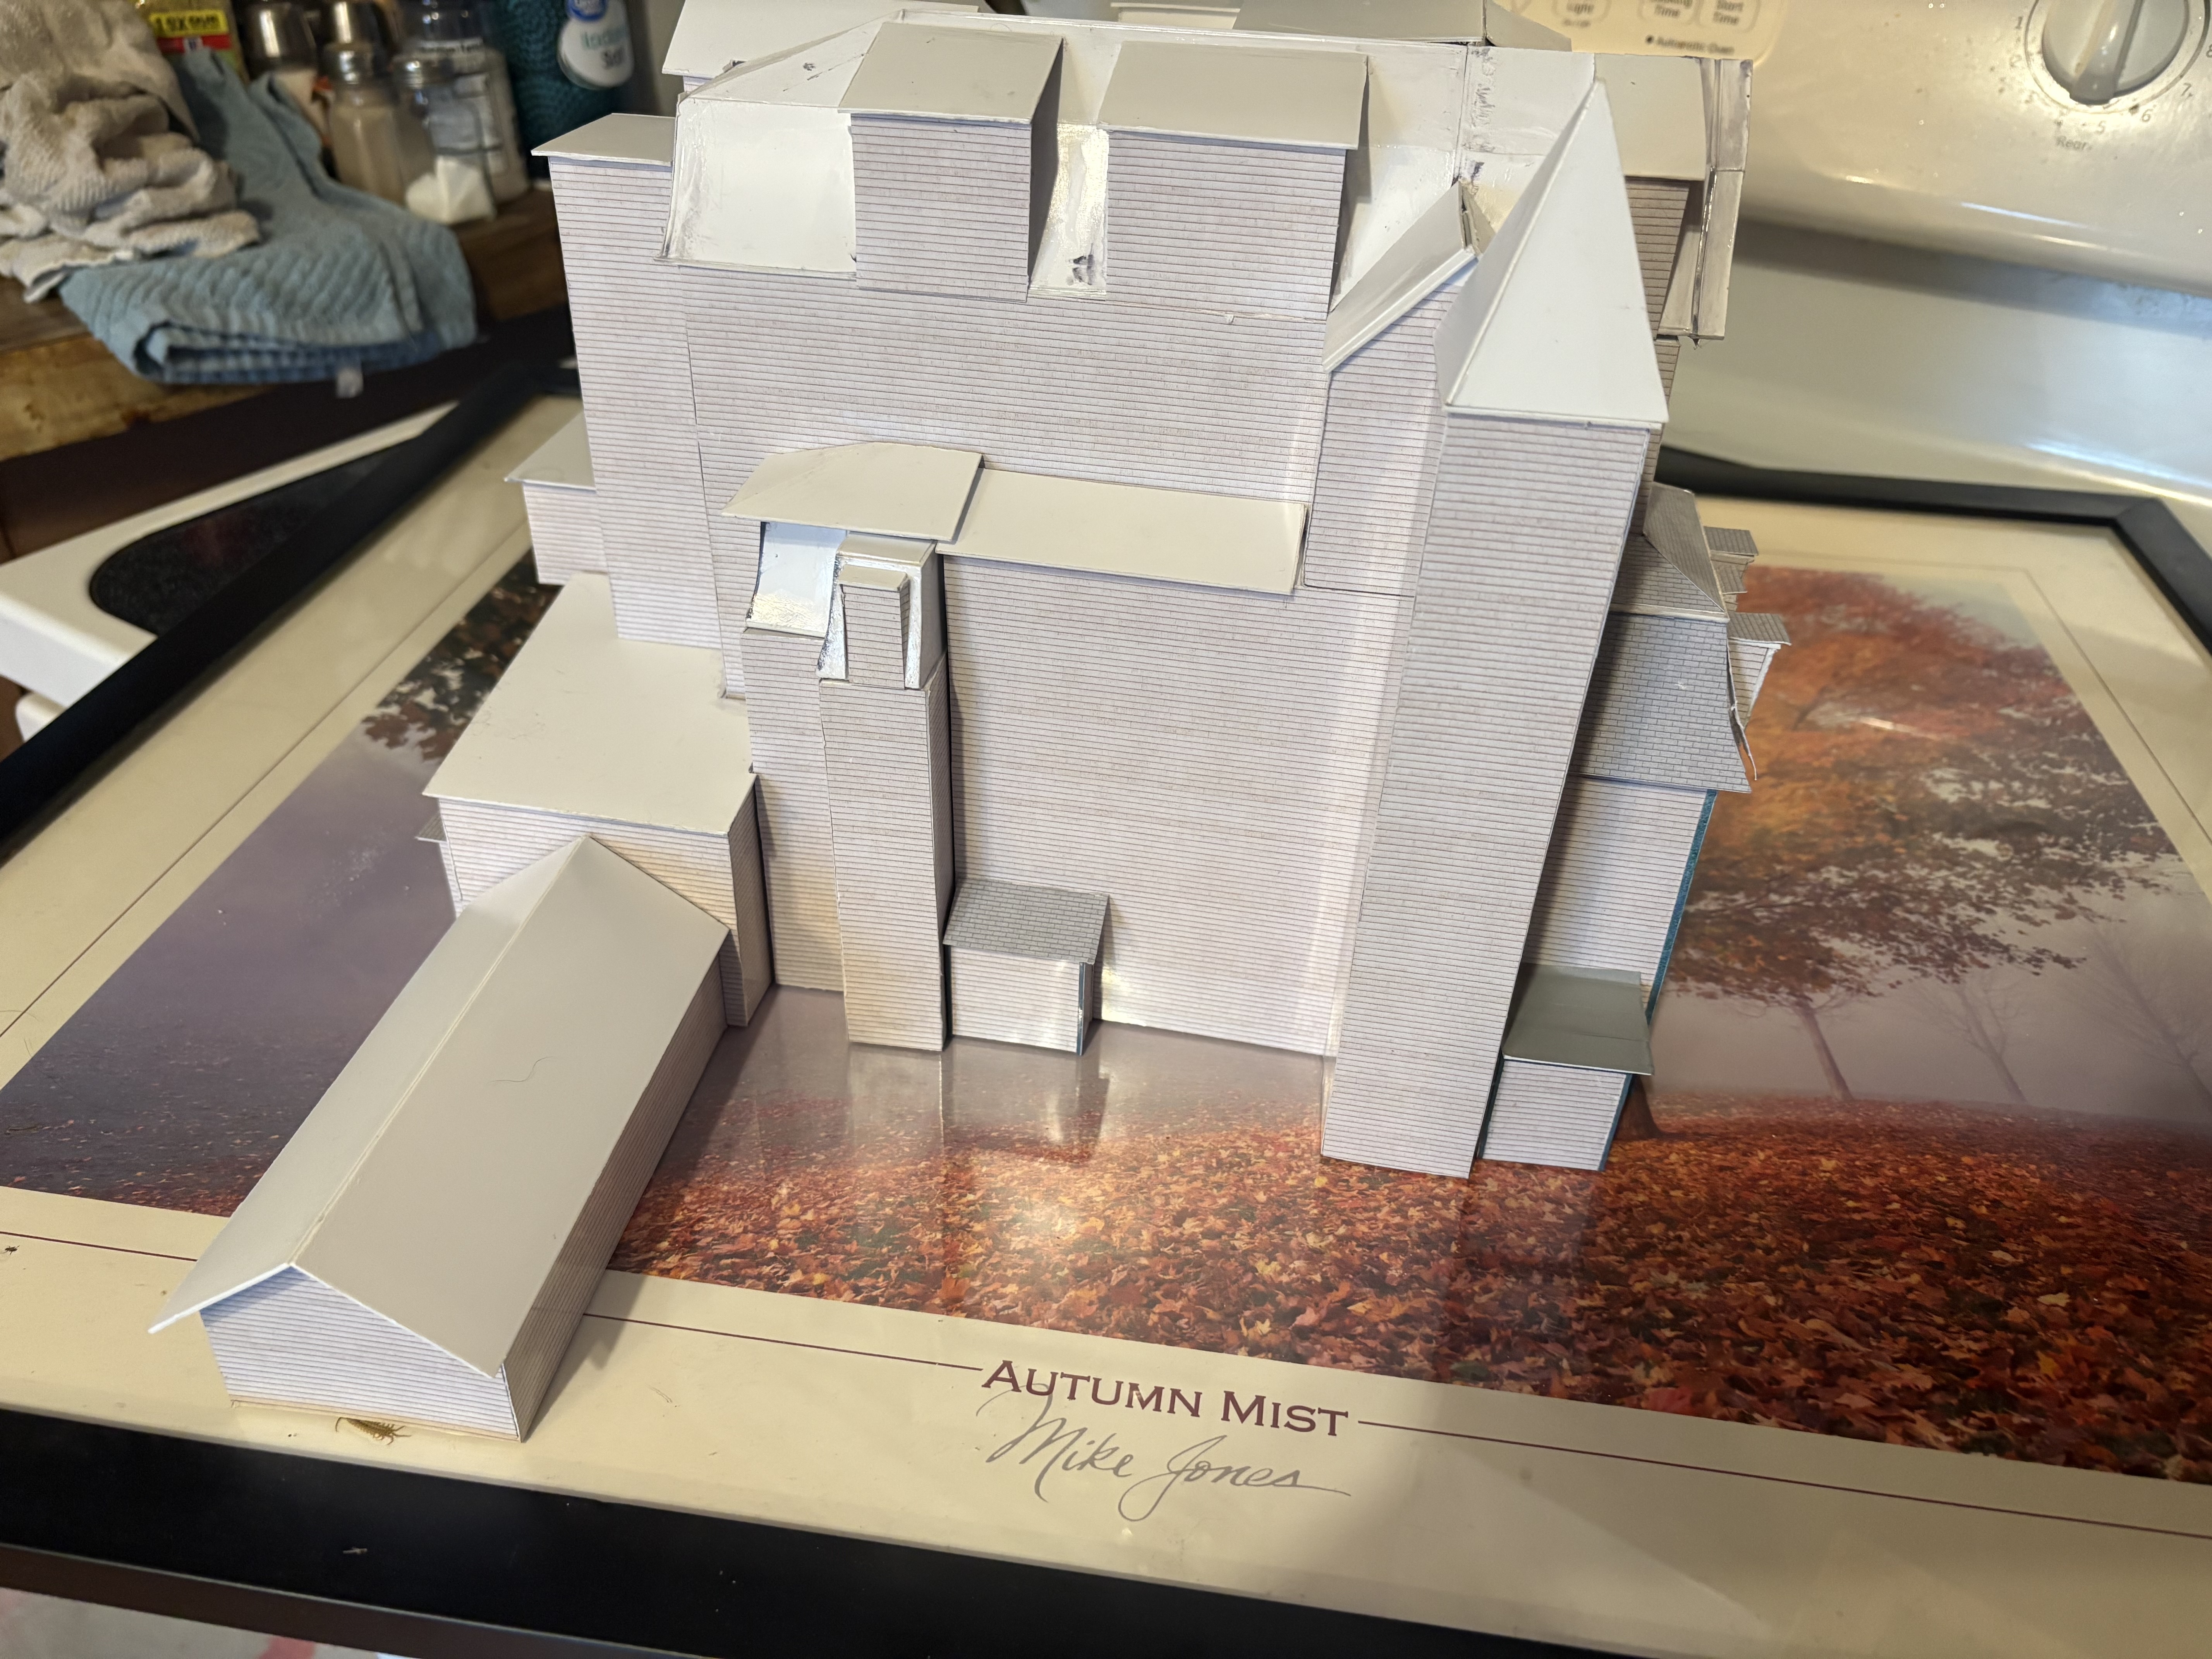
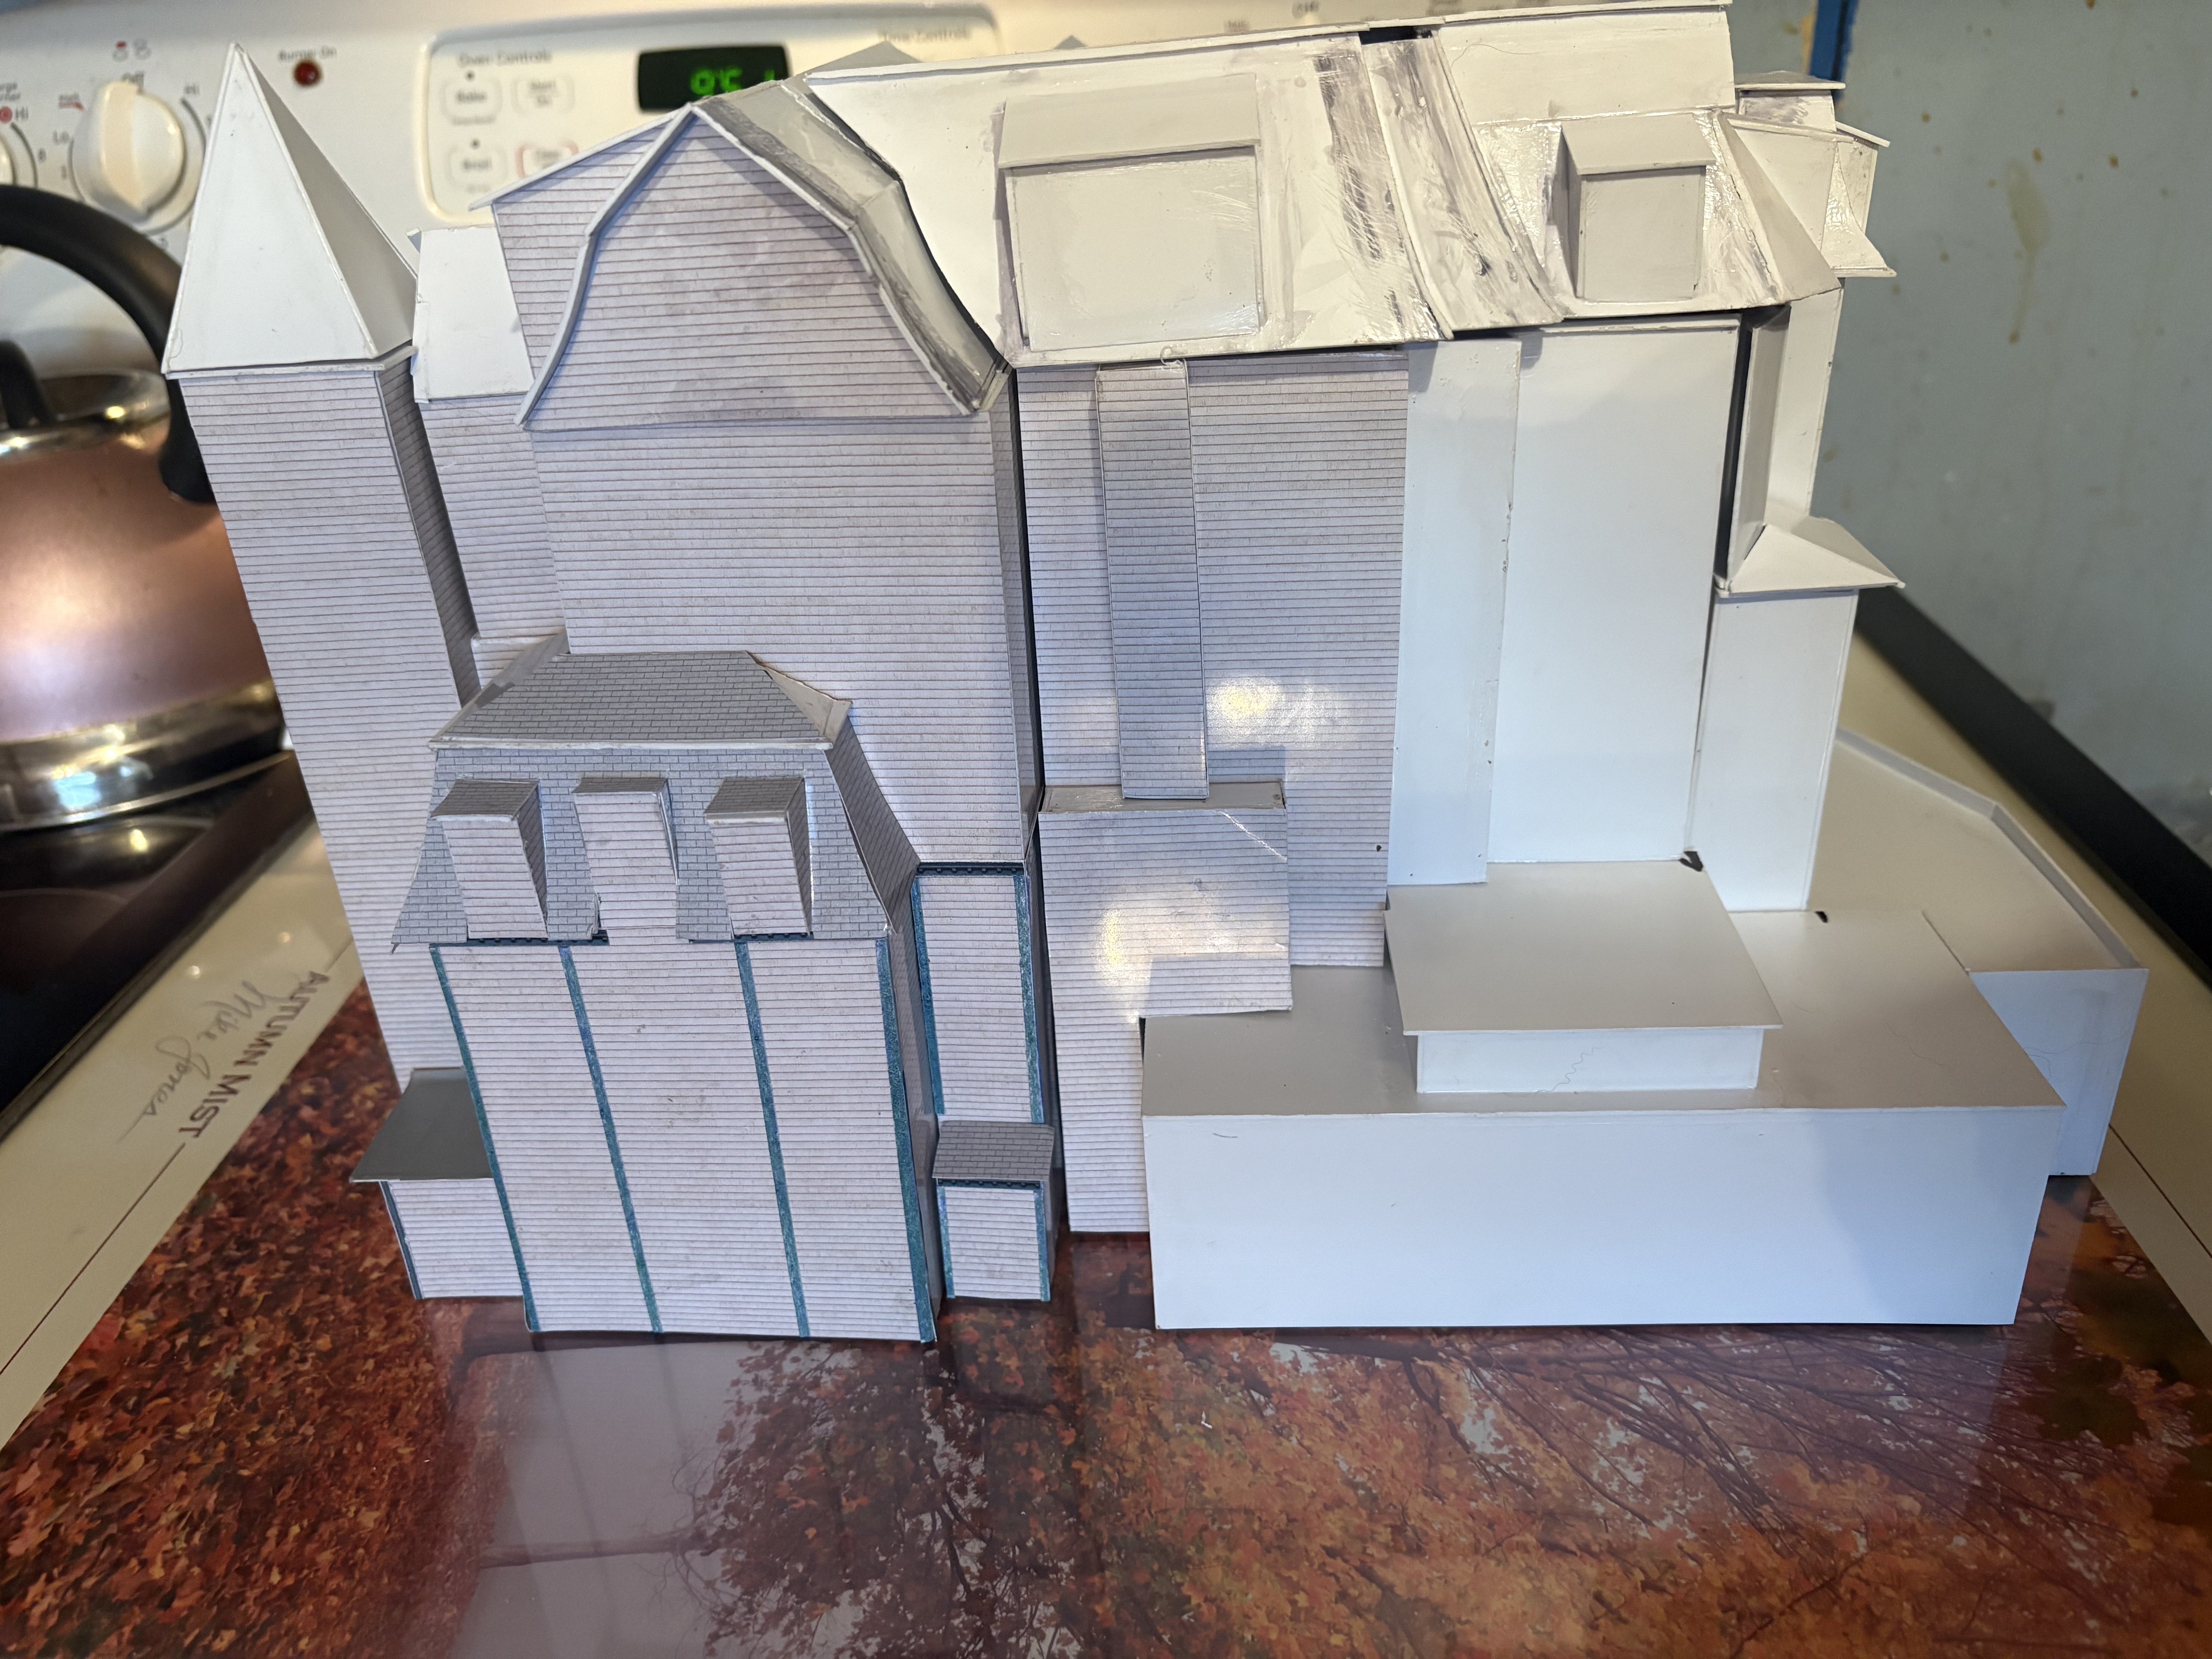
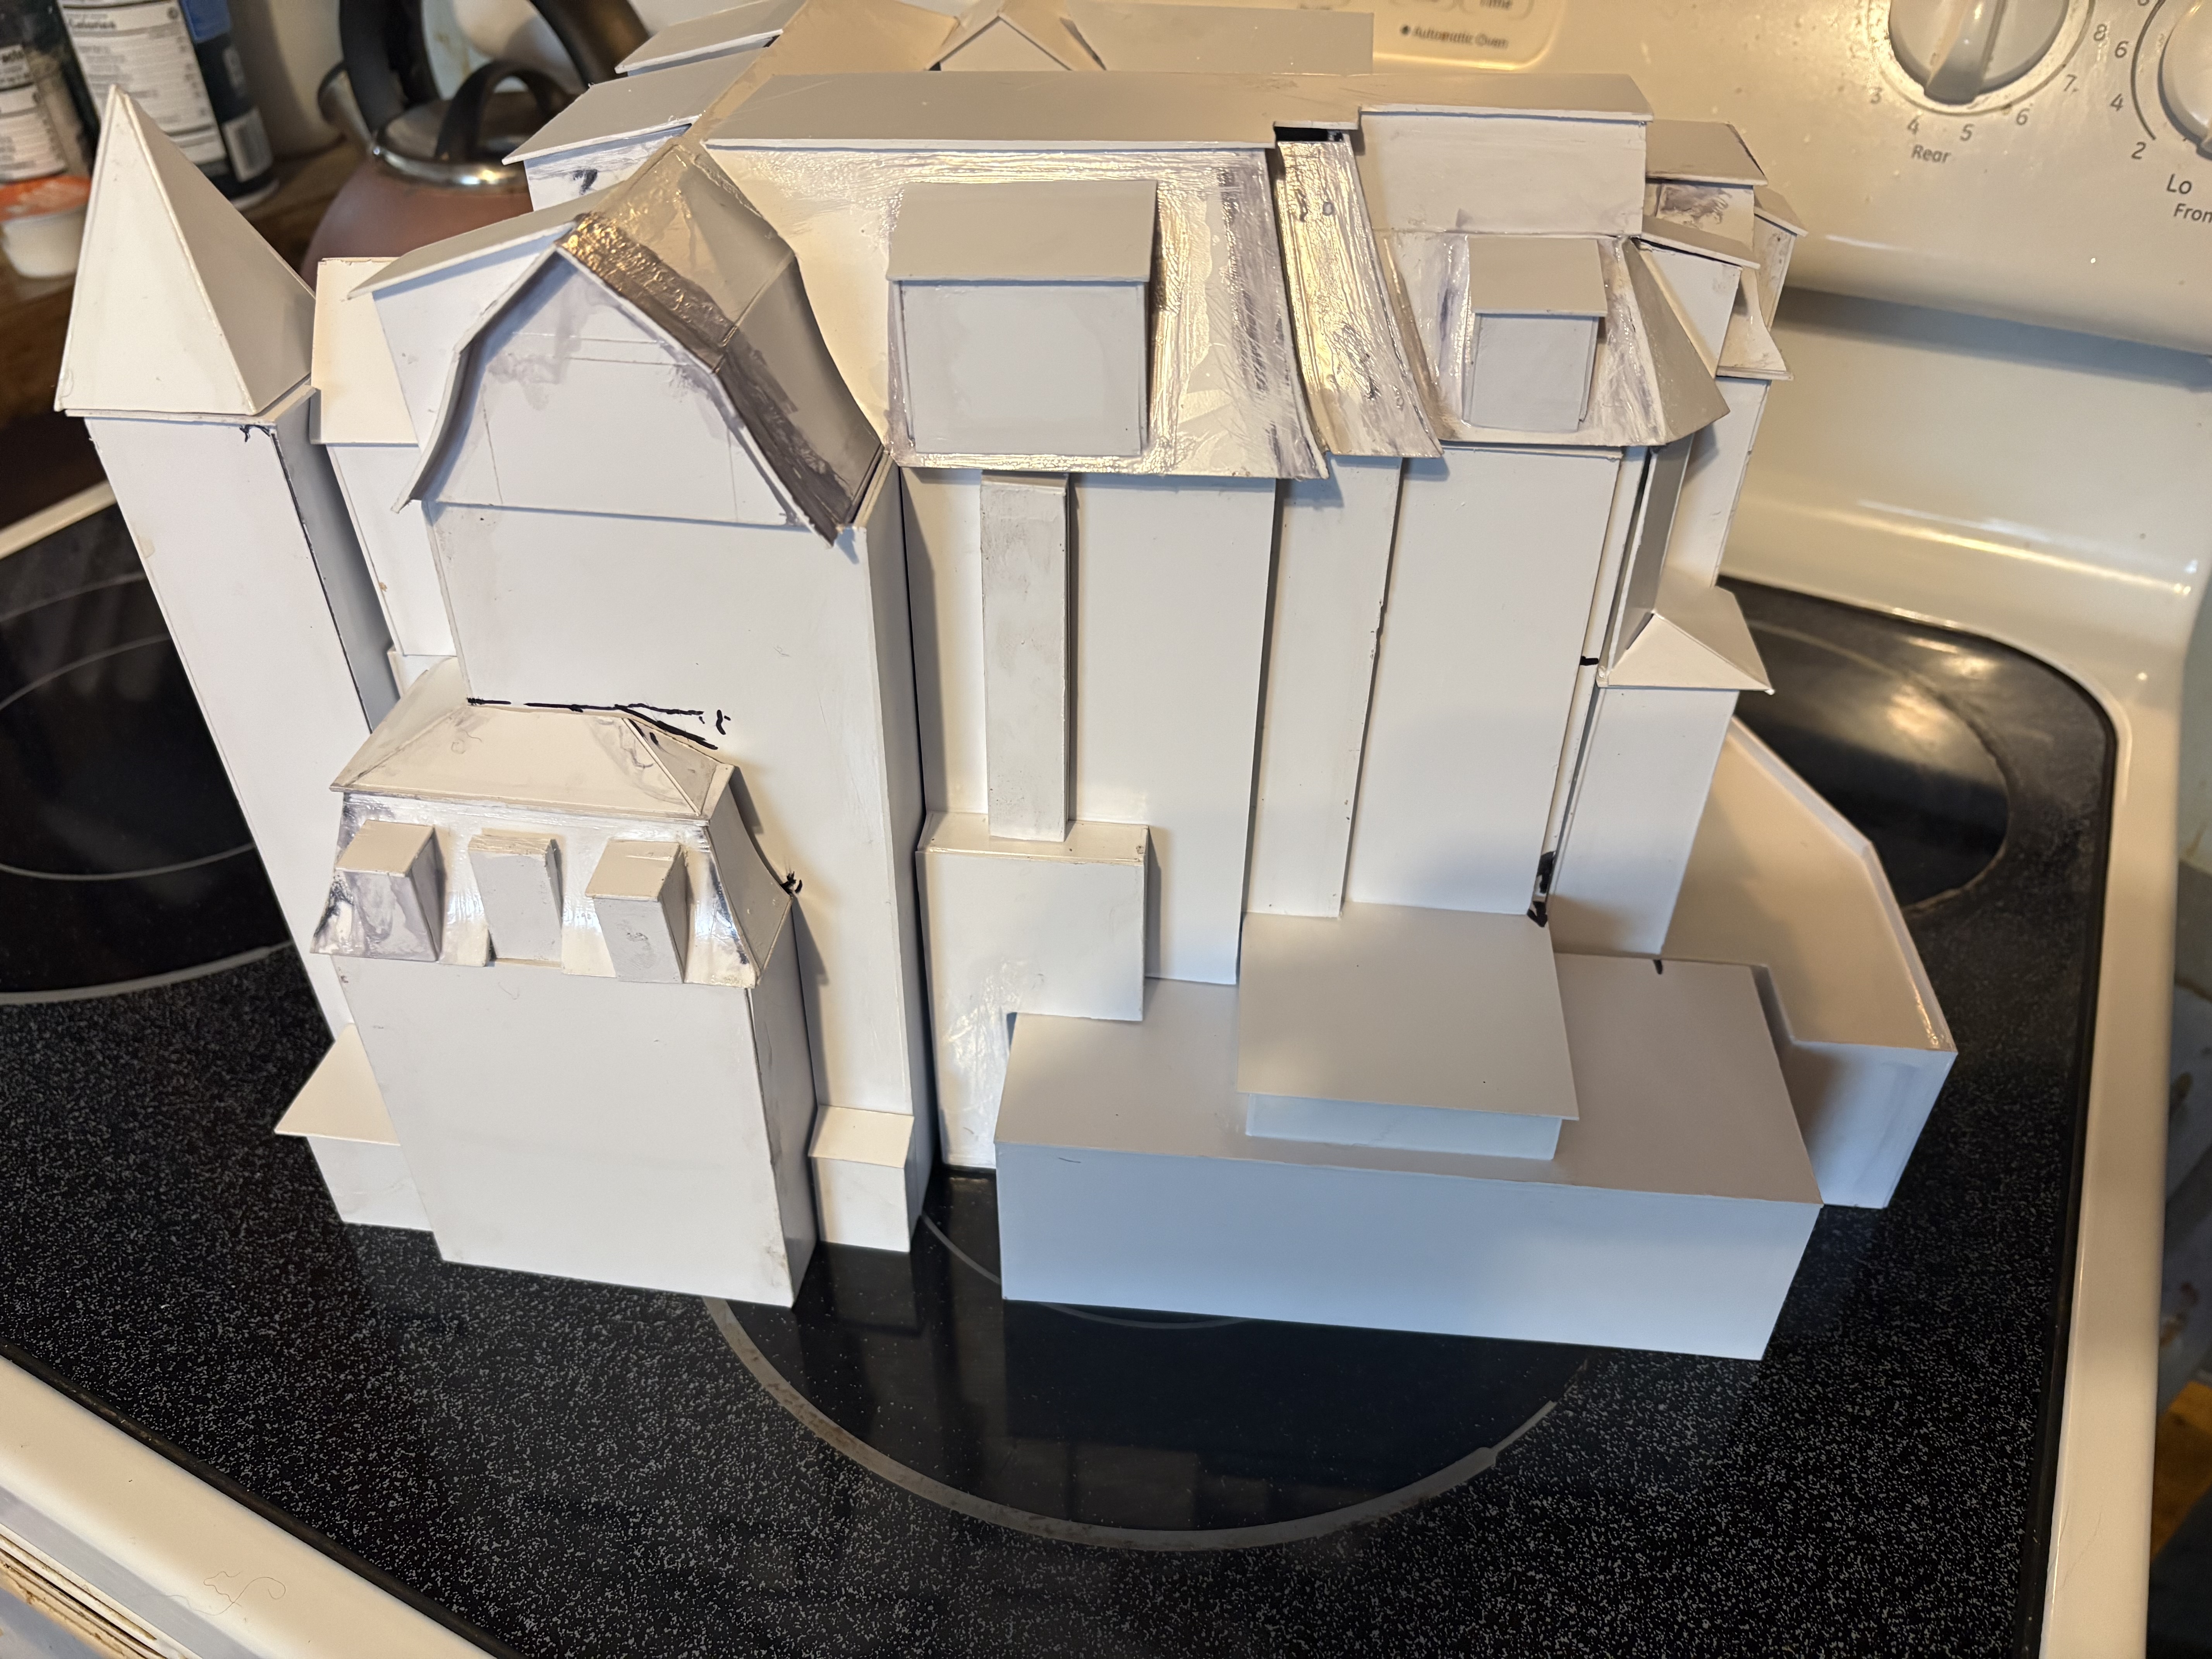
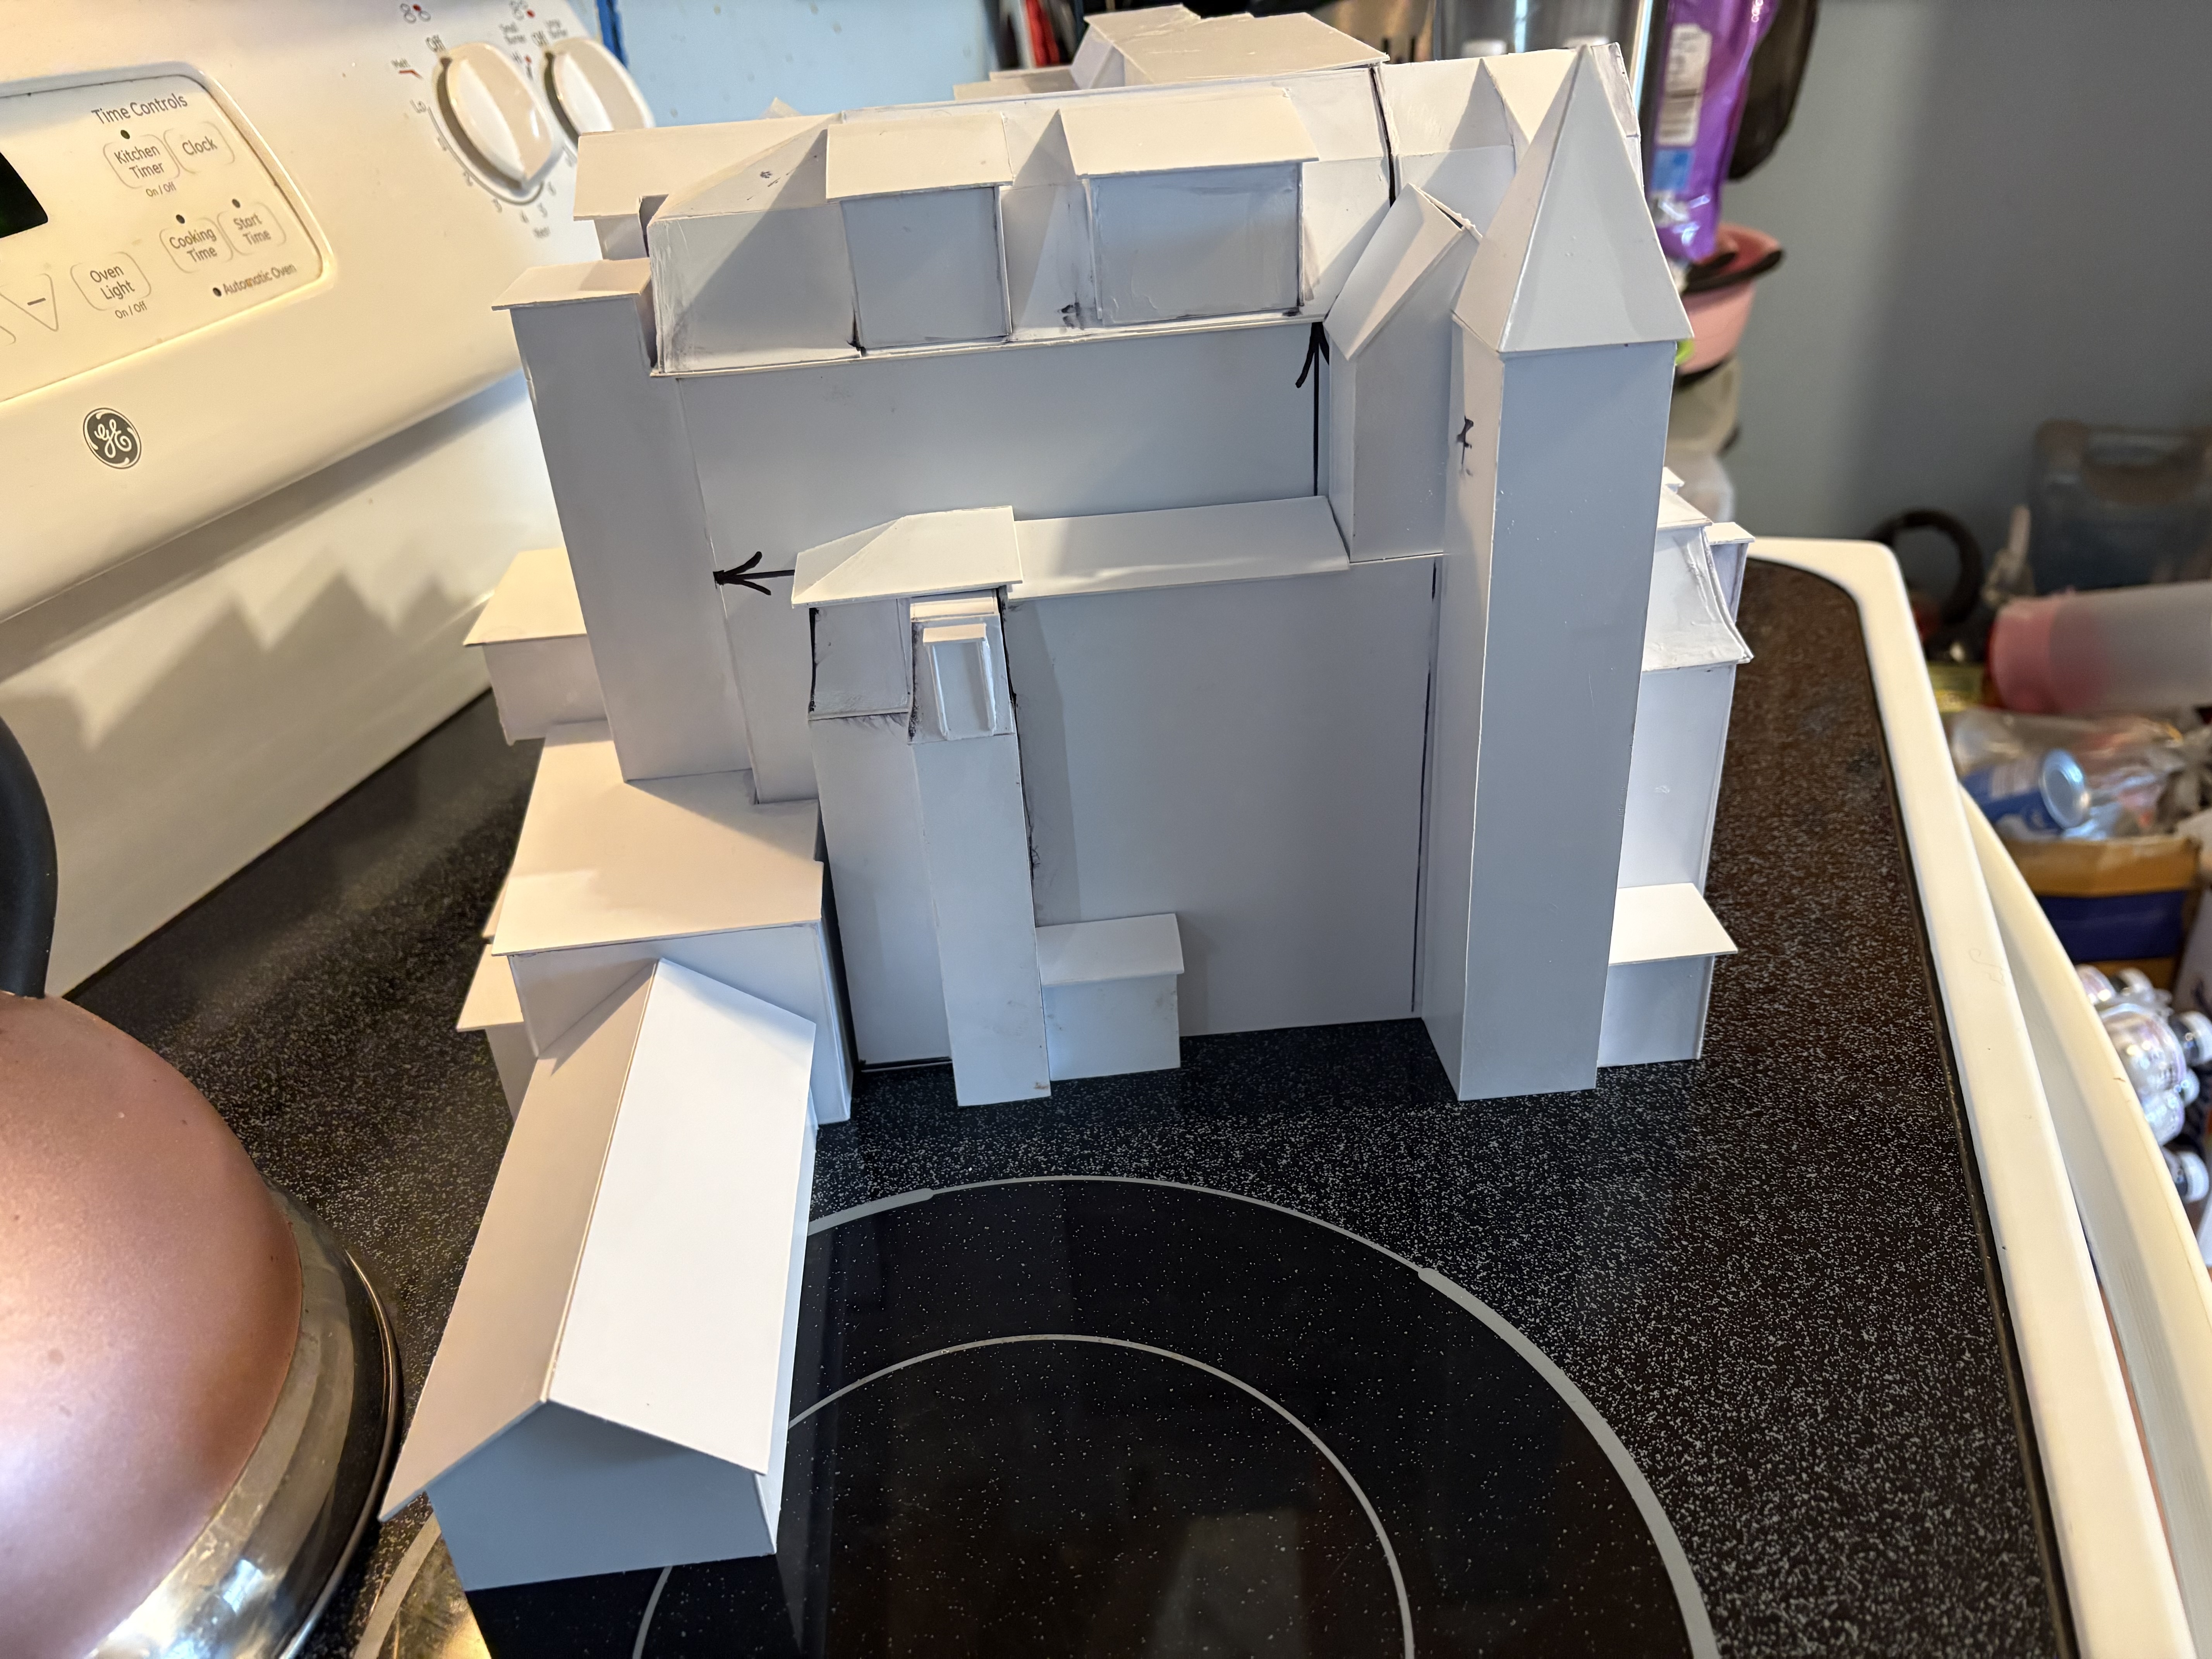
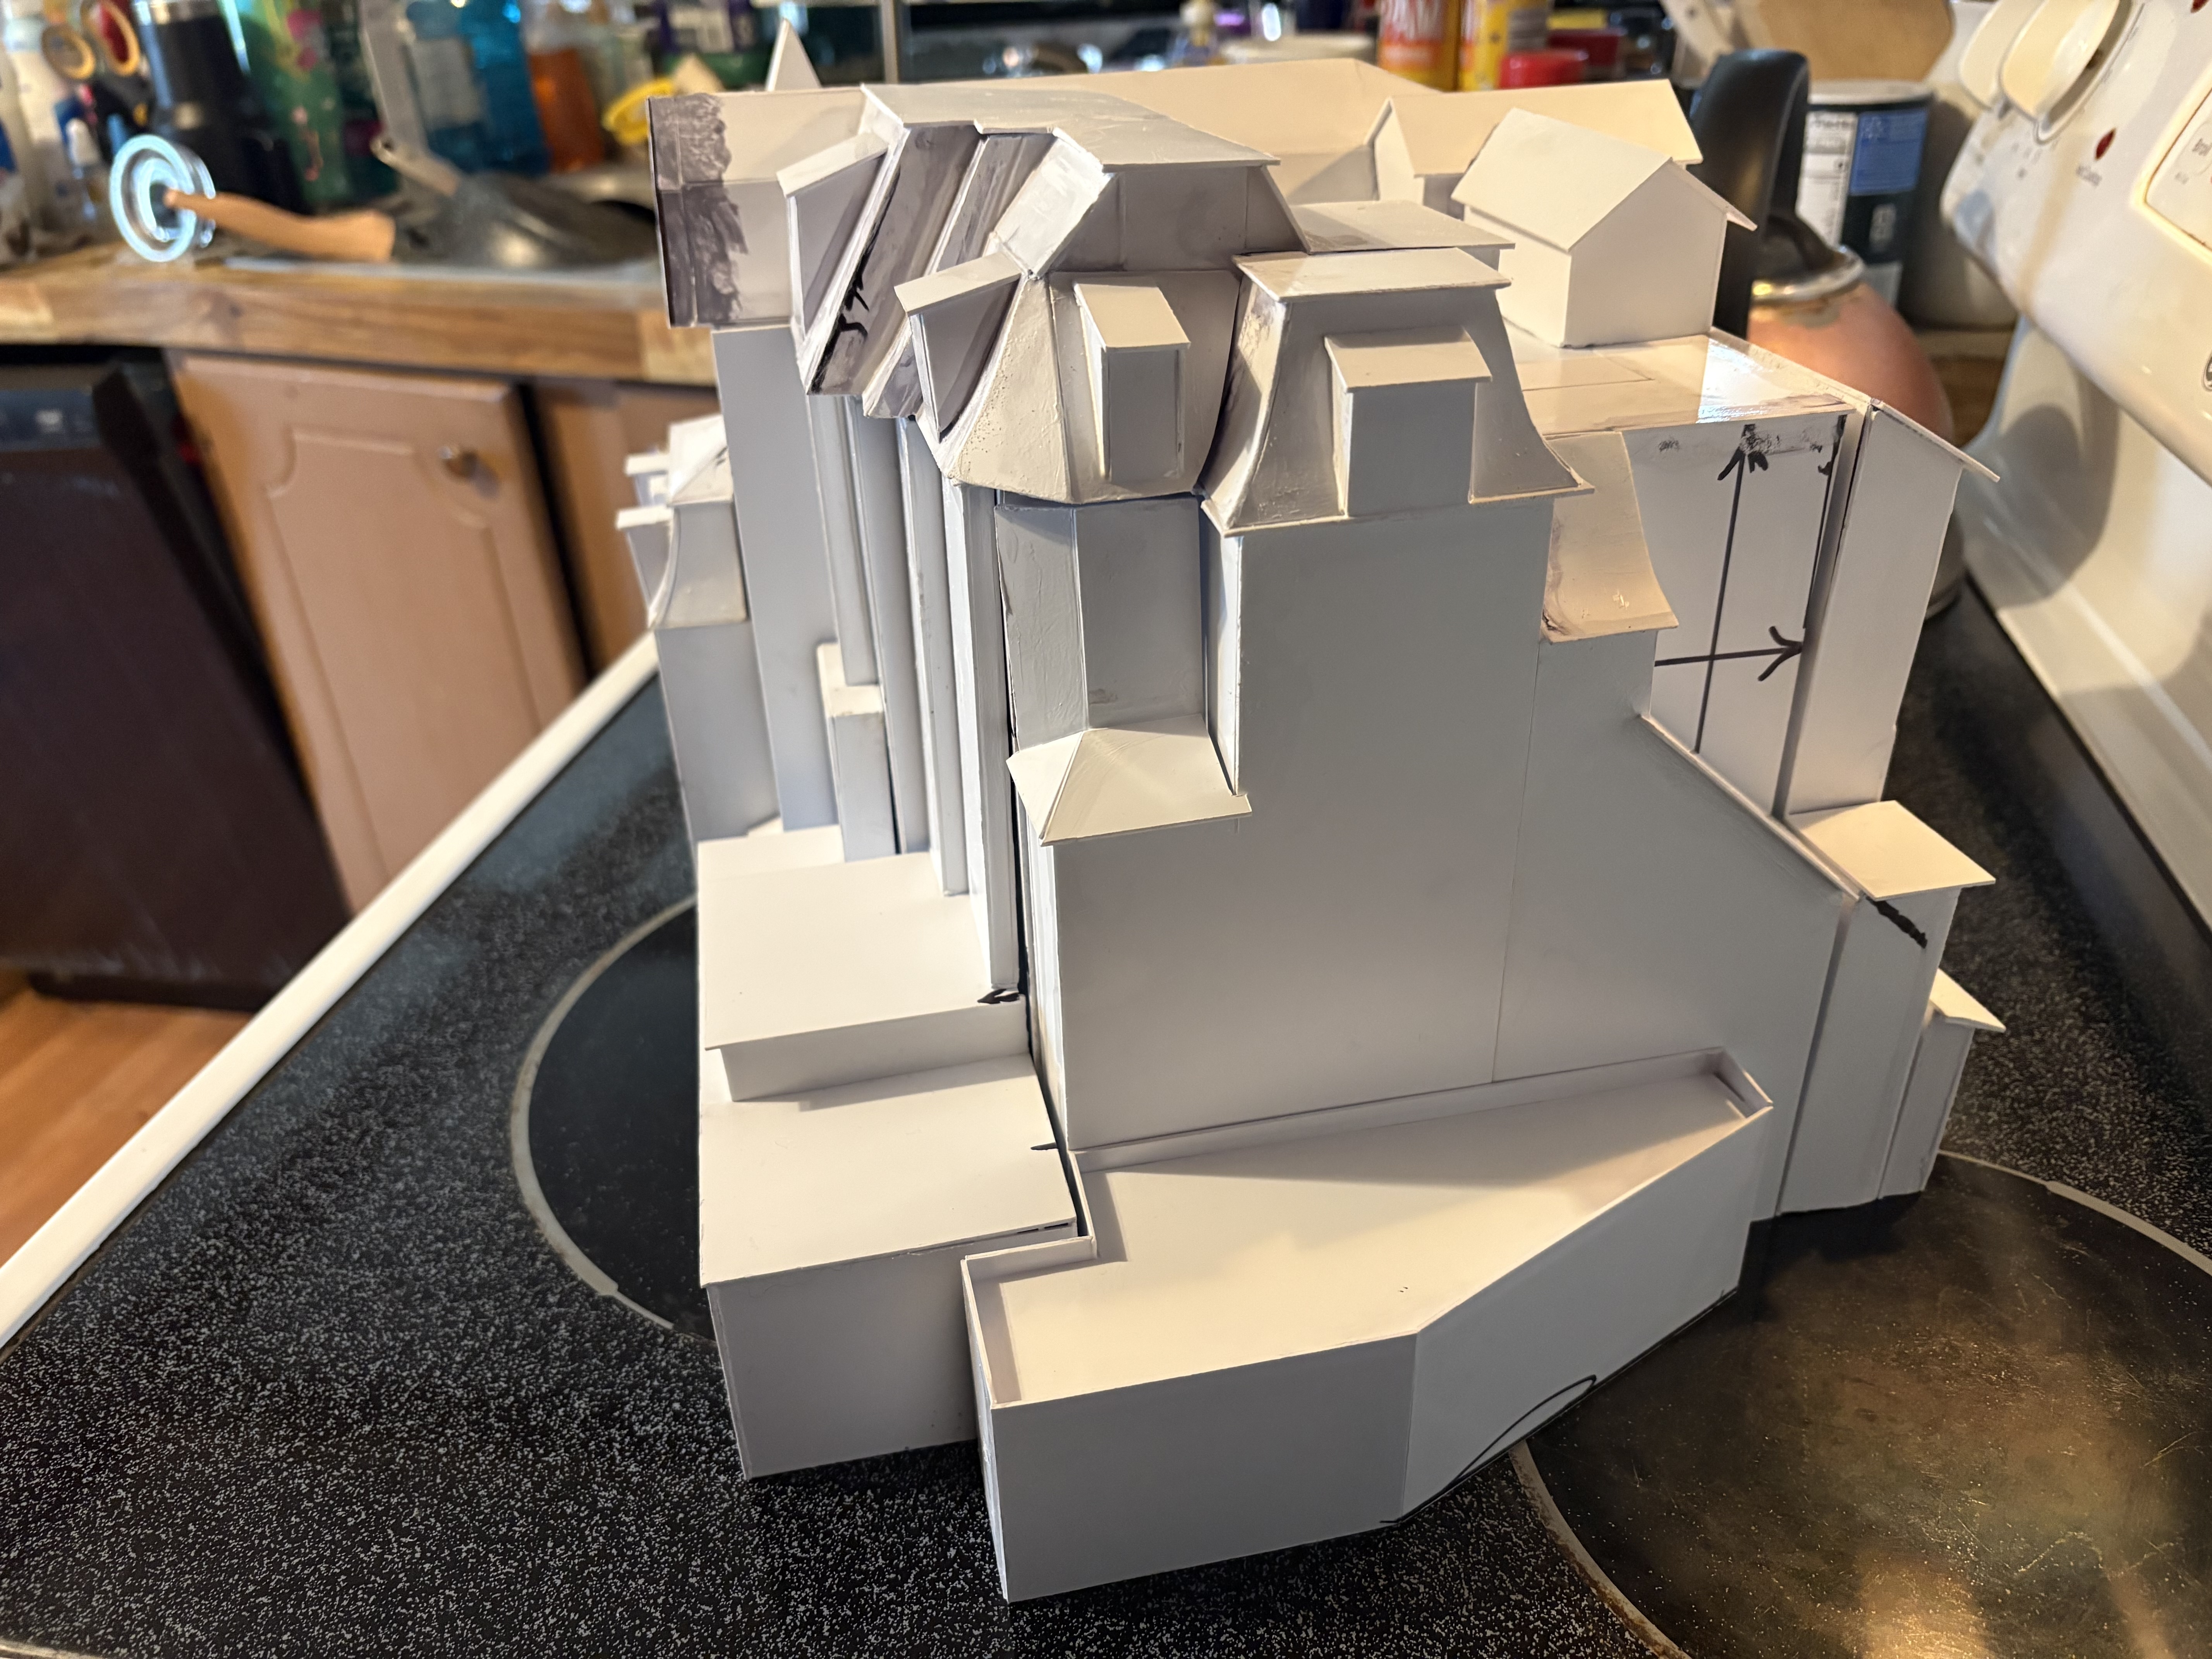
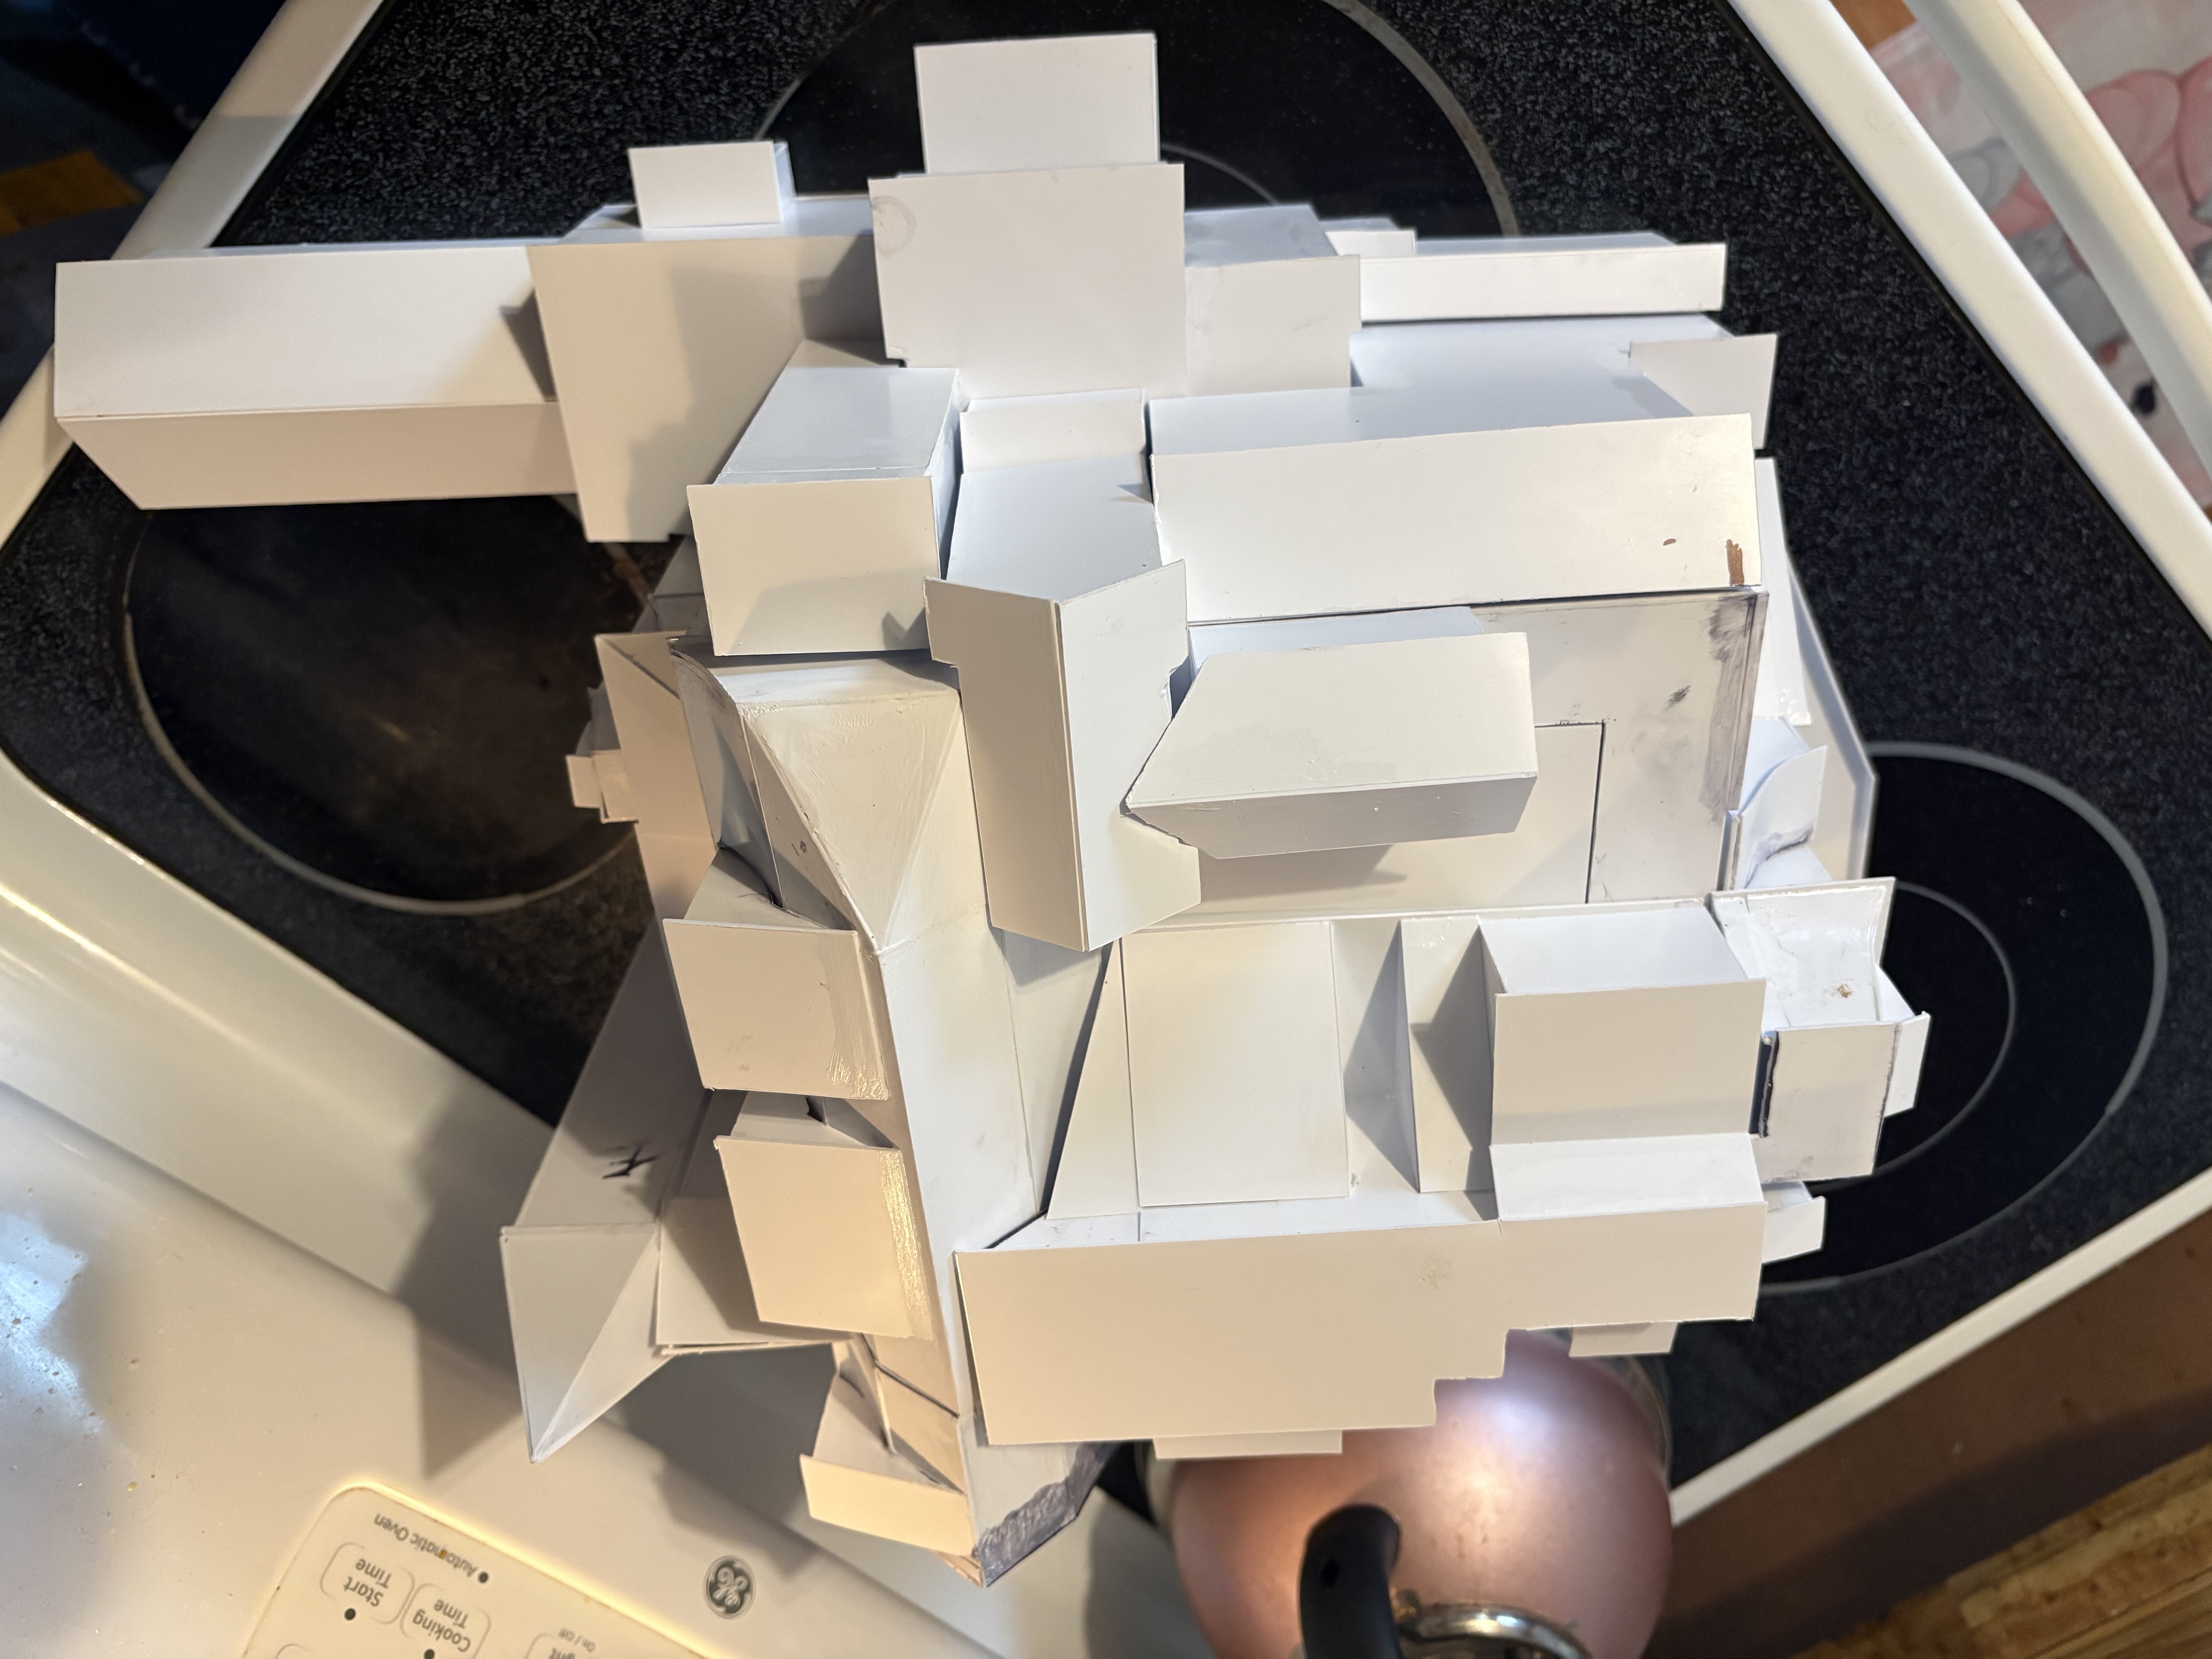
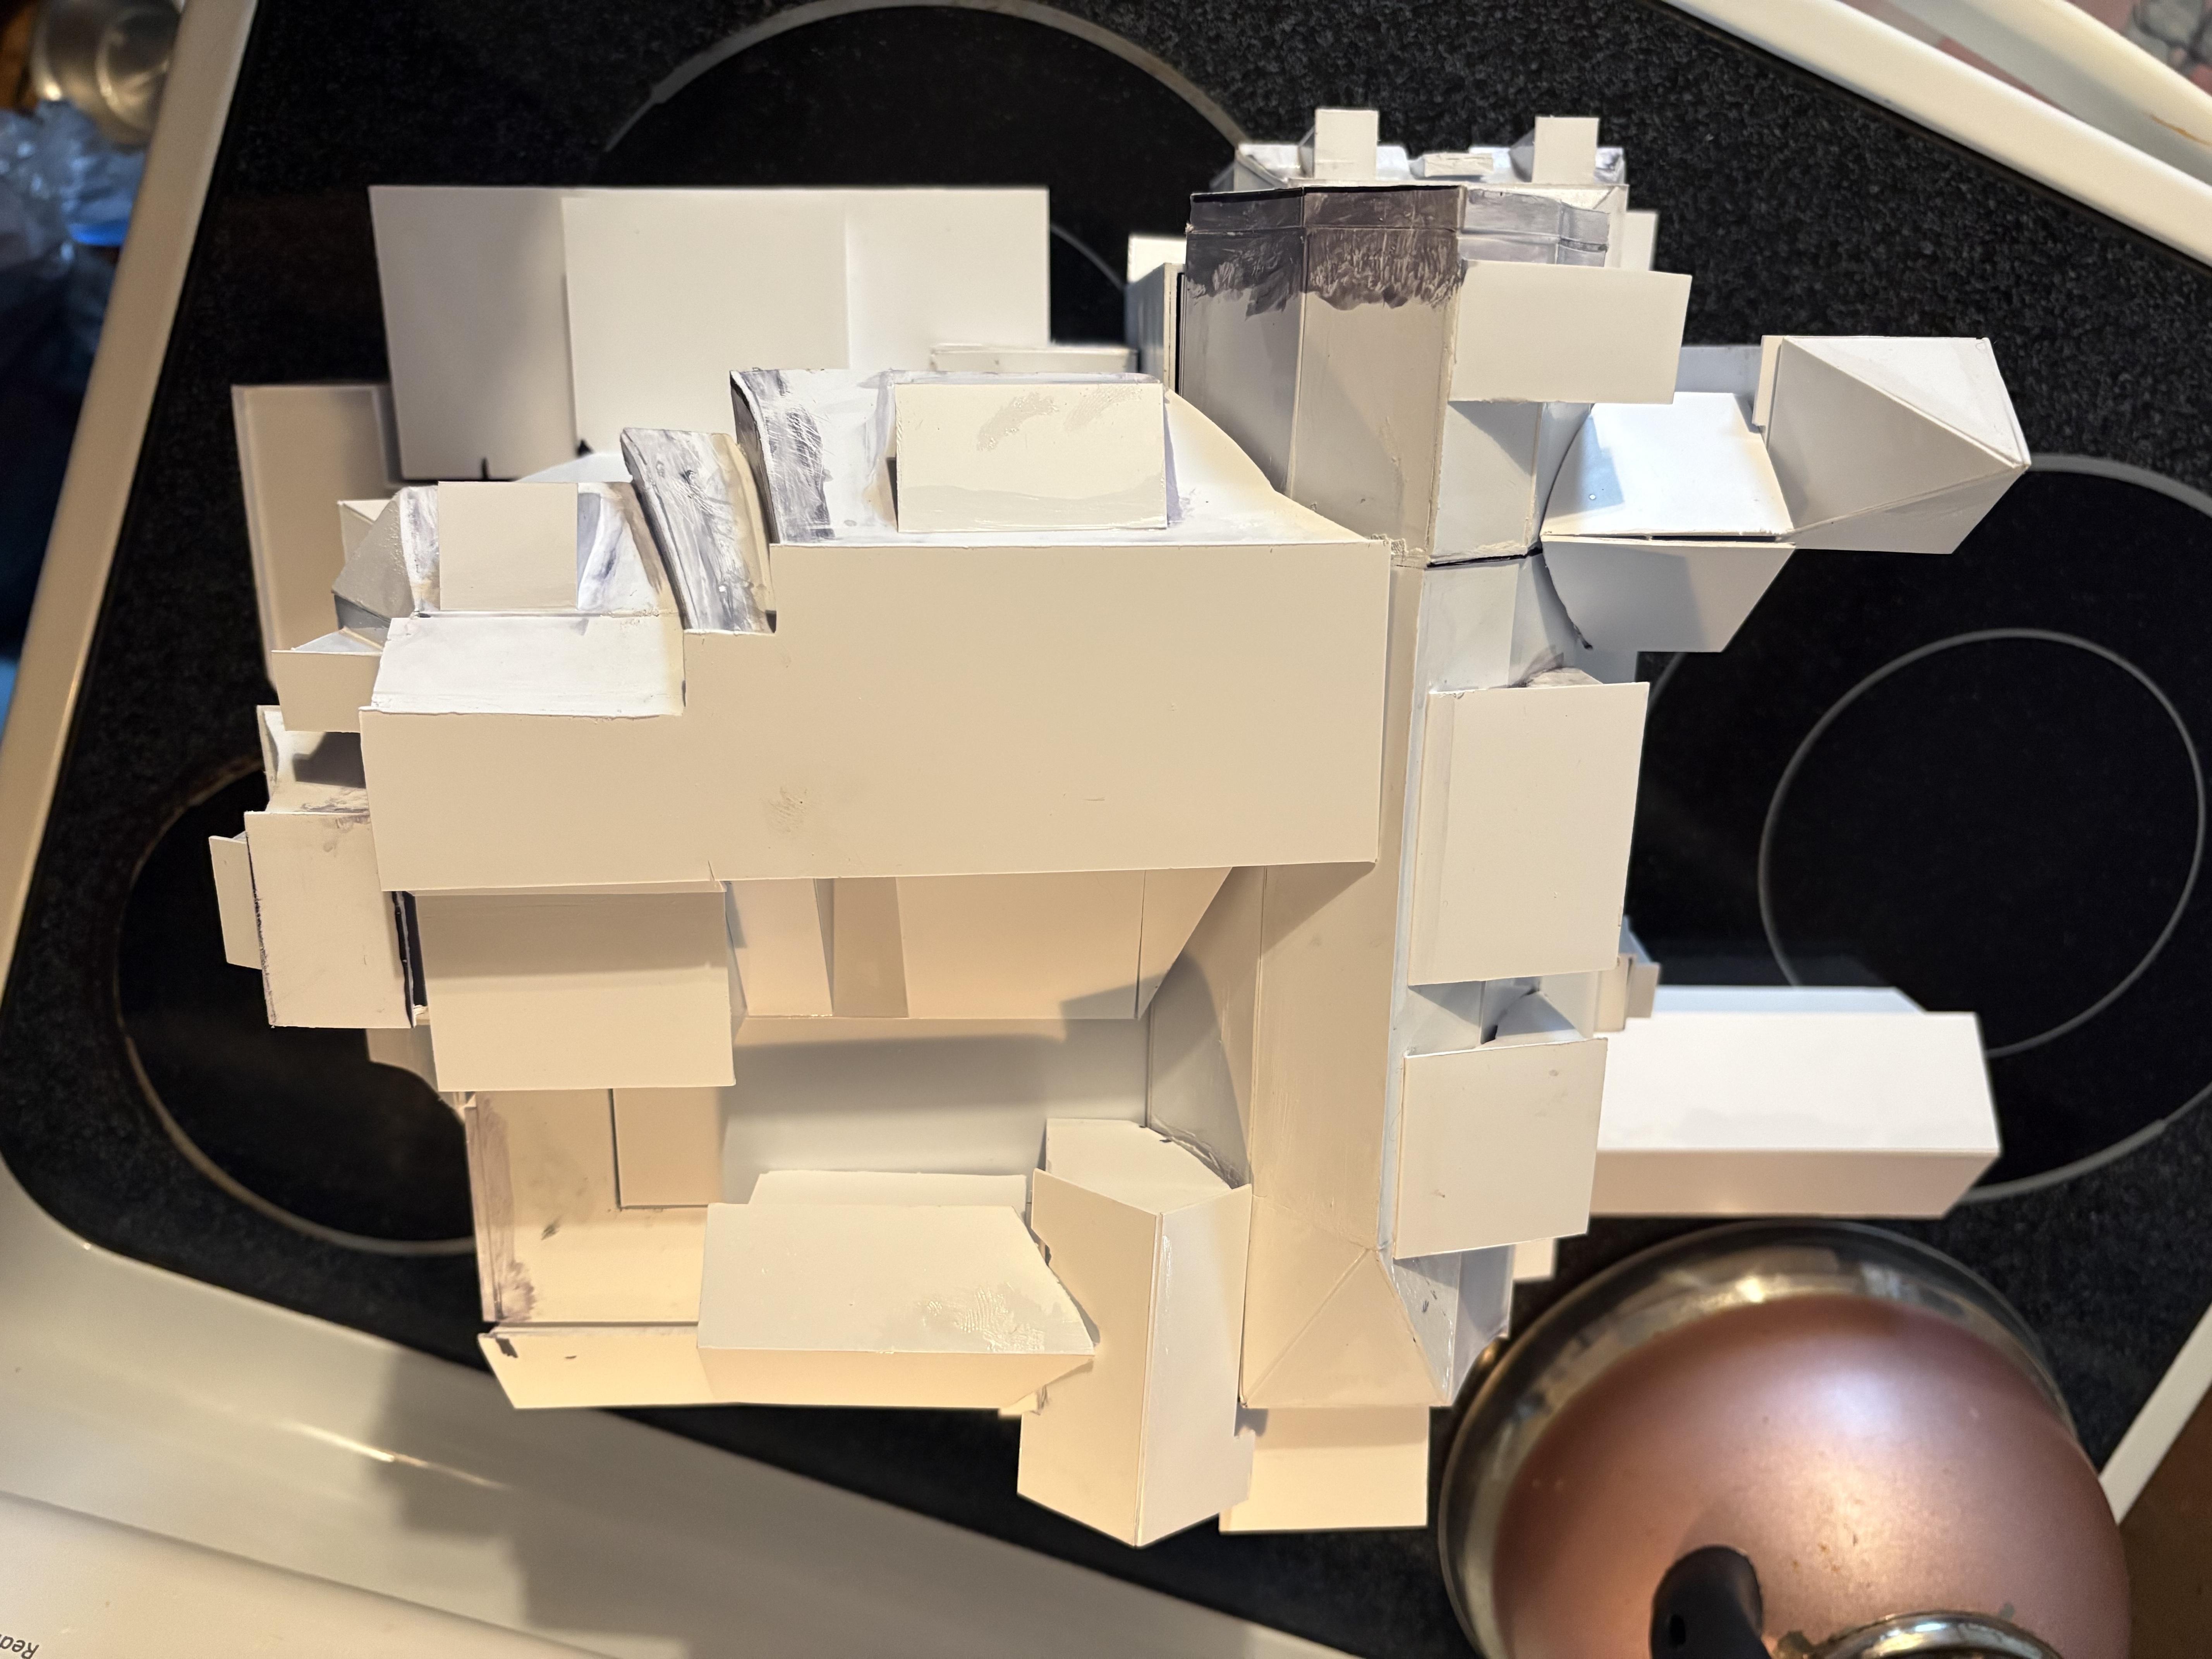
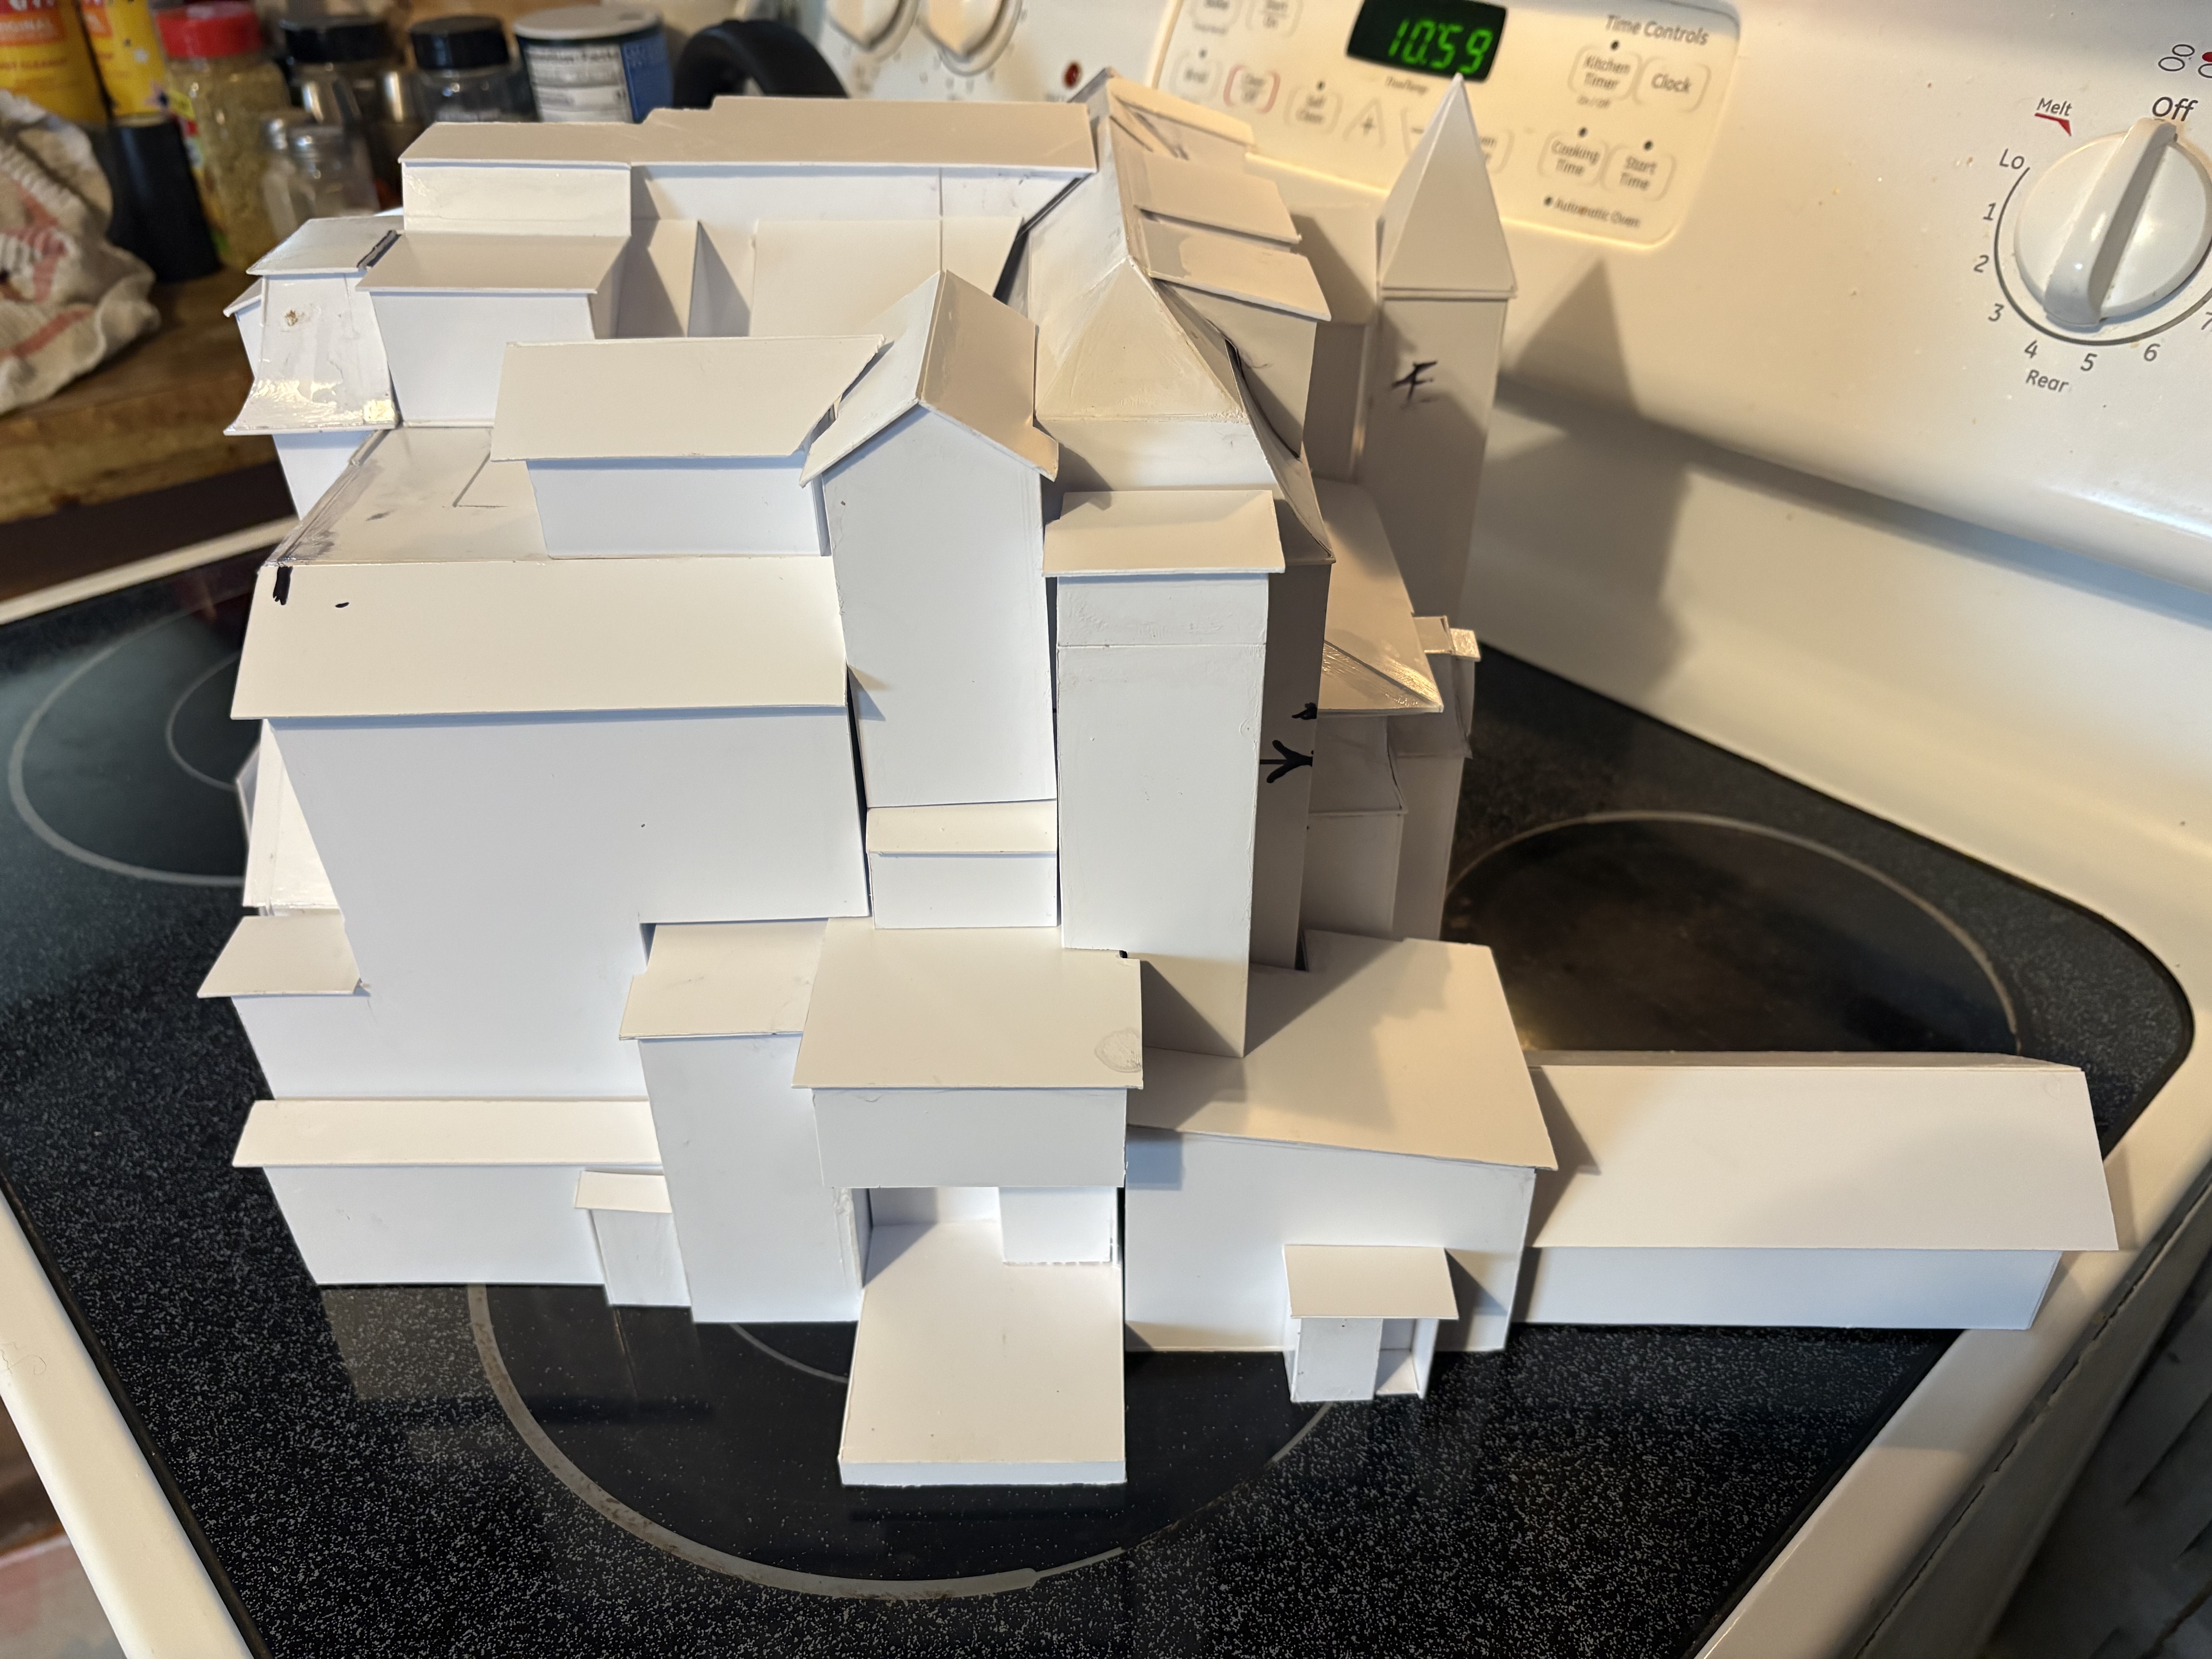
Well as for now, I have completed all the add ons and bump outs for the structure. I will next cover it with siding and some brick and shingles all printed on glossy photo paper. Then dull it down with a matte finish to kill the shine and the decorate it with windows door and signs that are also printed on paper. I may add chimneys and vents but that seems more like putting actual parts on a mock up. At the end of it all, this is just a mock up. Next update will start to look like something more like a structure instead of a frosted white cake 🎂 until next time 😁