Currently have two layouts, one for operation, the other as a test track for DCC-EX and other projects.
Tom.
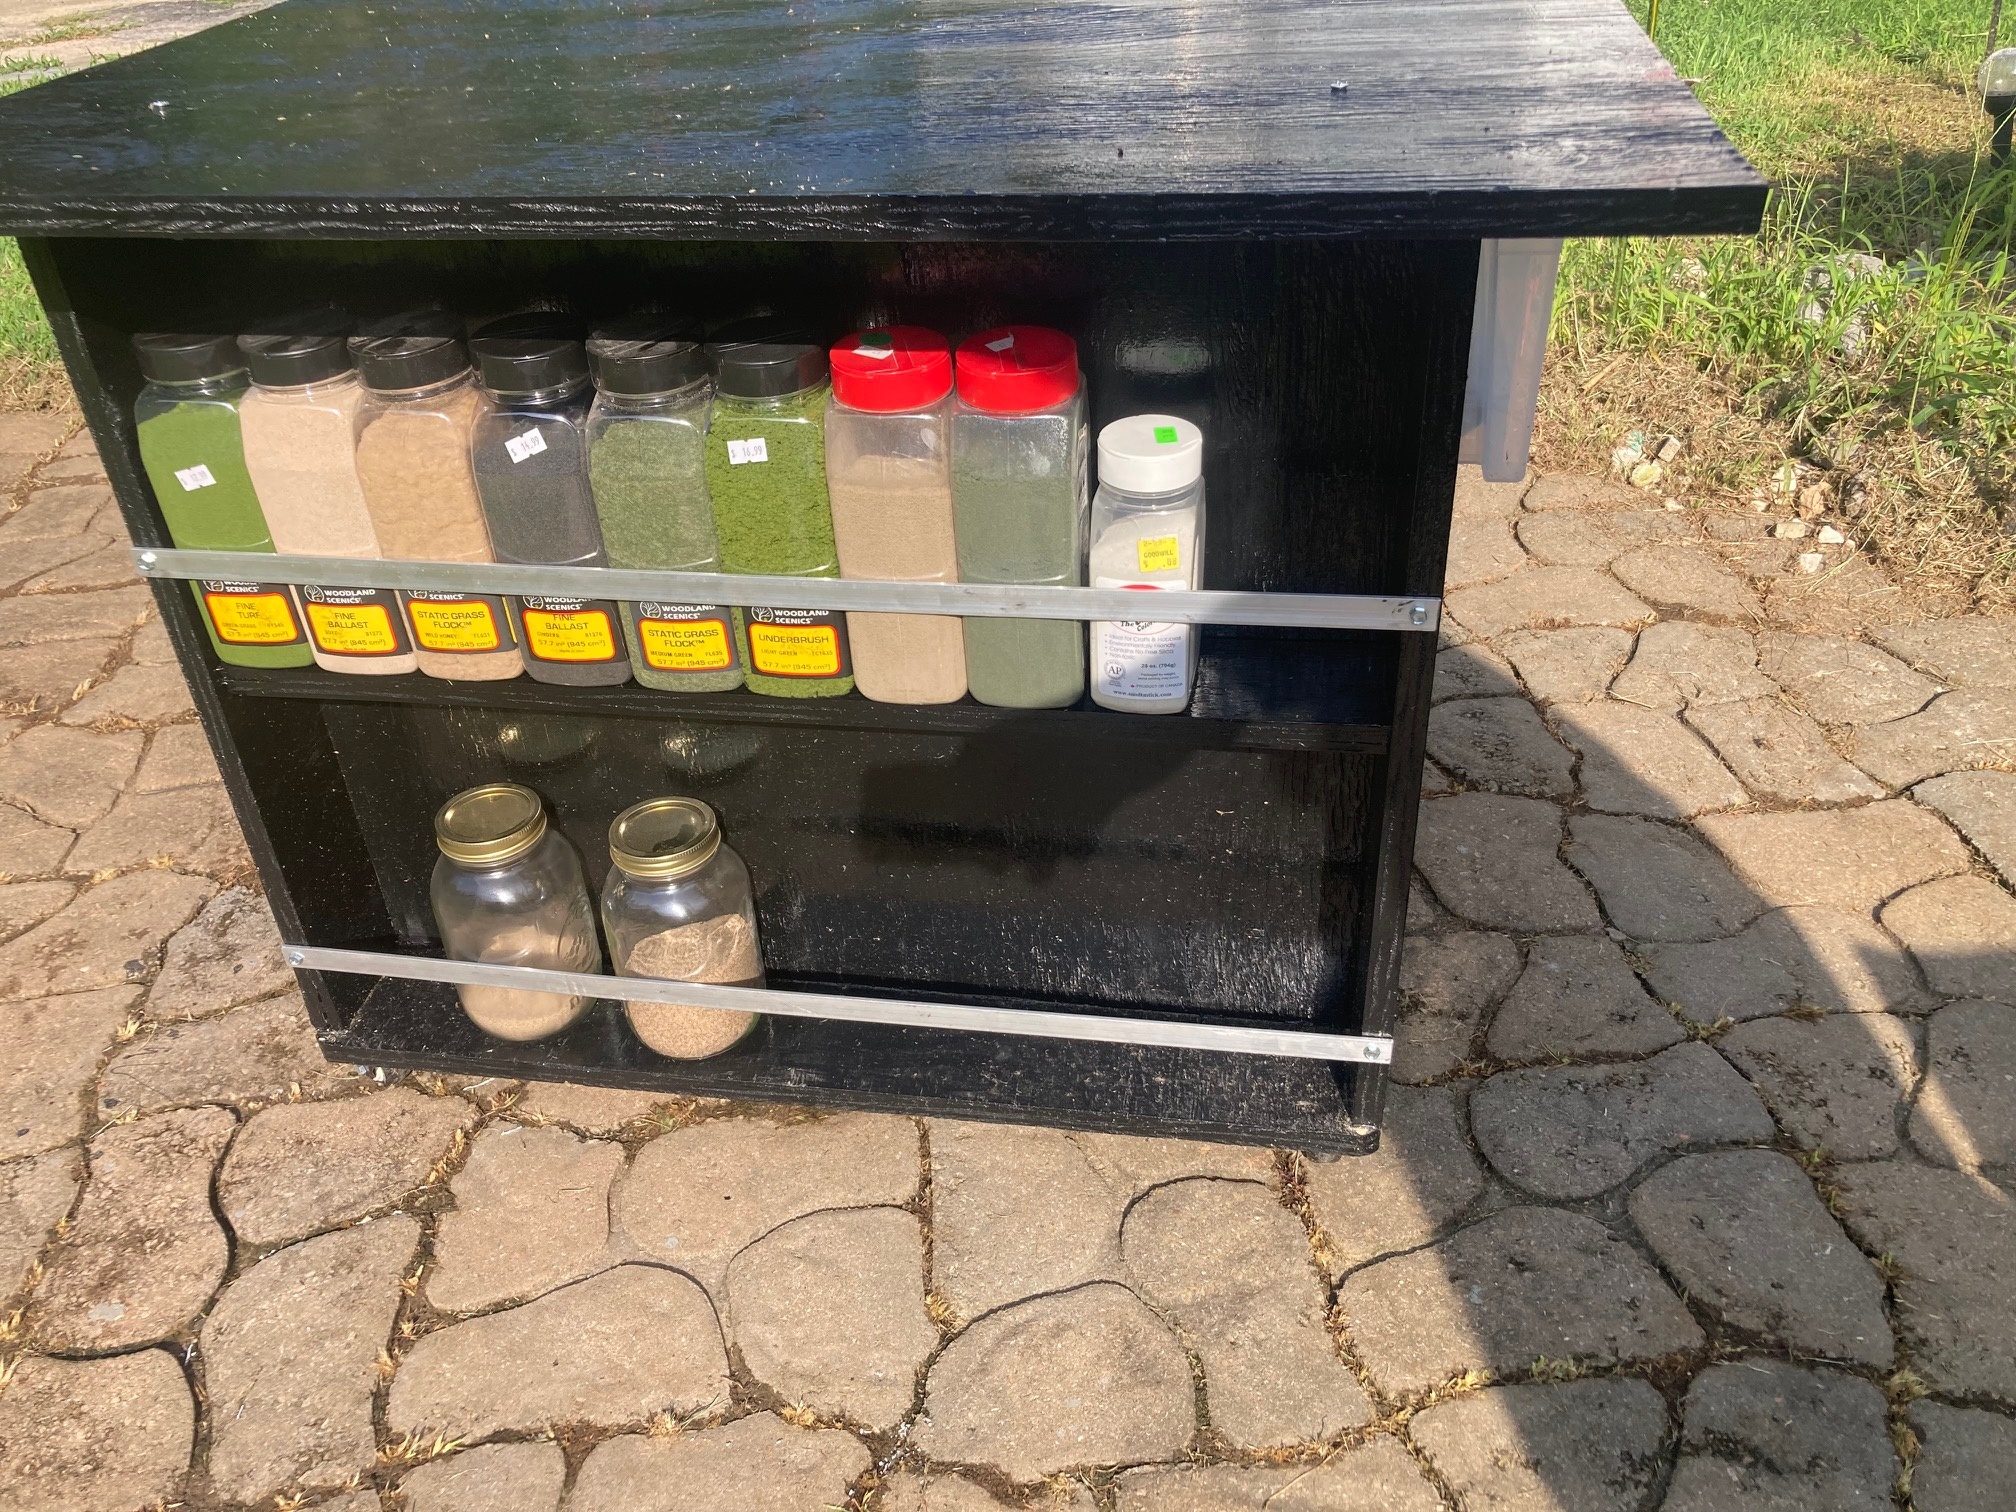
This is my Diorama table. It is for building complete scenes on, before they get installed onto a layout. I first got inspiration for it, from you and some of your older videos on screwtube where you were building structures on bases for your town so they can be set into the layout and also removed. I thought that was a great way of working off the layout and at a work bench where it was easier.
Next I got the final inspiration From Doug at Fos Scale models, where he posted a few pics of a table he built, that he uses for dioramas. I remembered what I saw in your videos, coupled with the table that Doug built and it finally made me see the full potential in a table like this and how useful it could be.
I don't know the size of Dougs table, as he only provided pictures on his Patreon page, but I altered my design from his, and built mine to very specific dimensions, to fit the spaces I have available
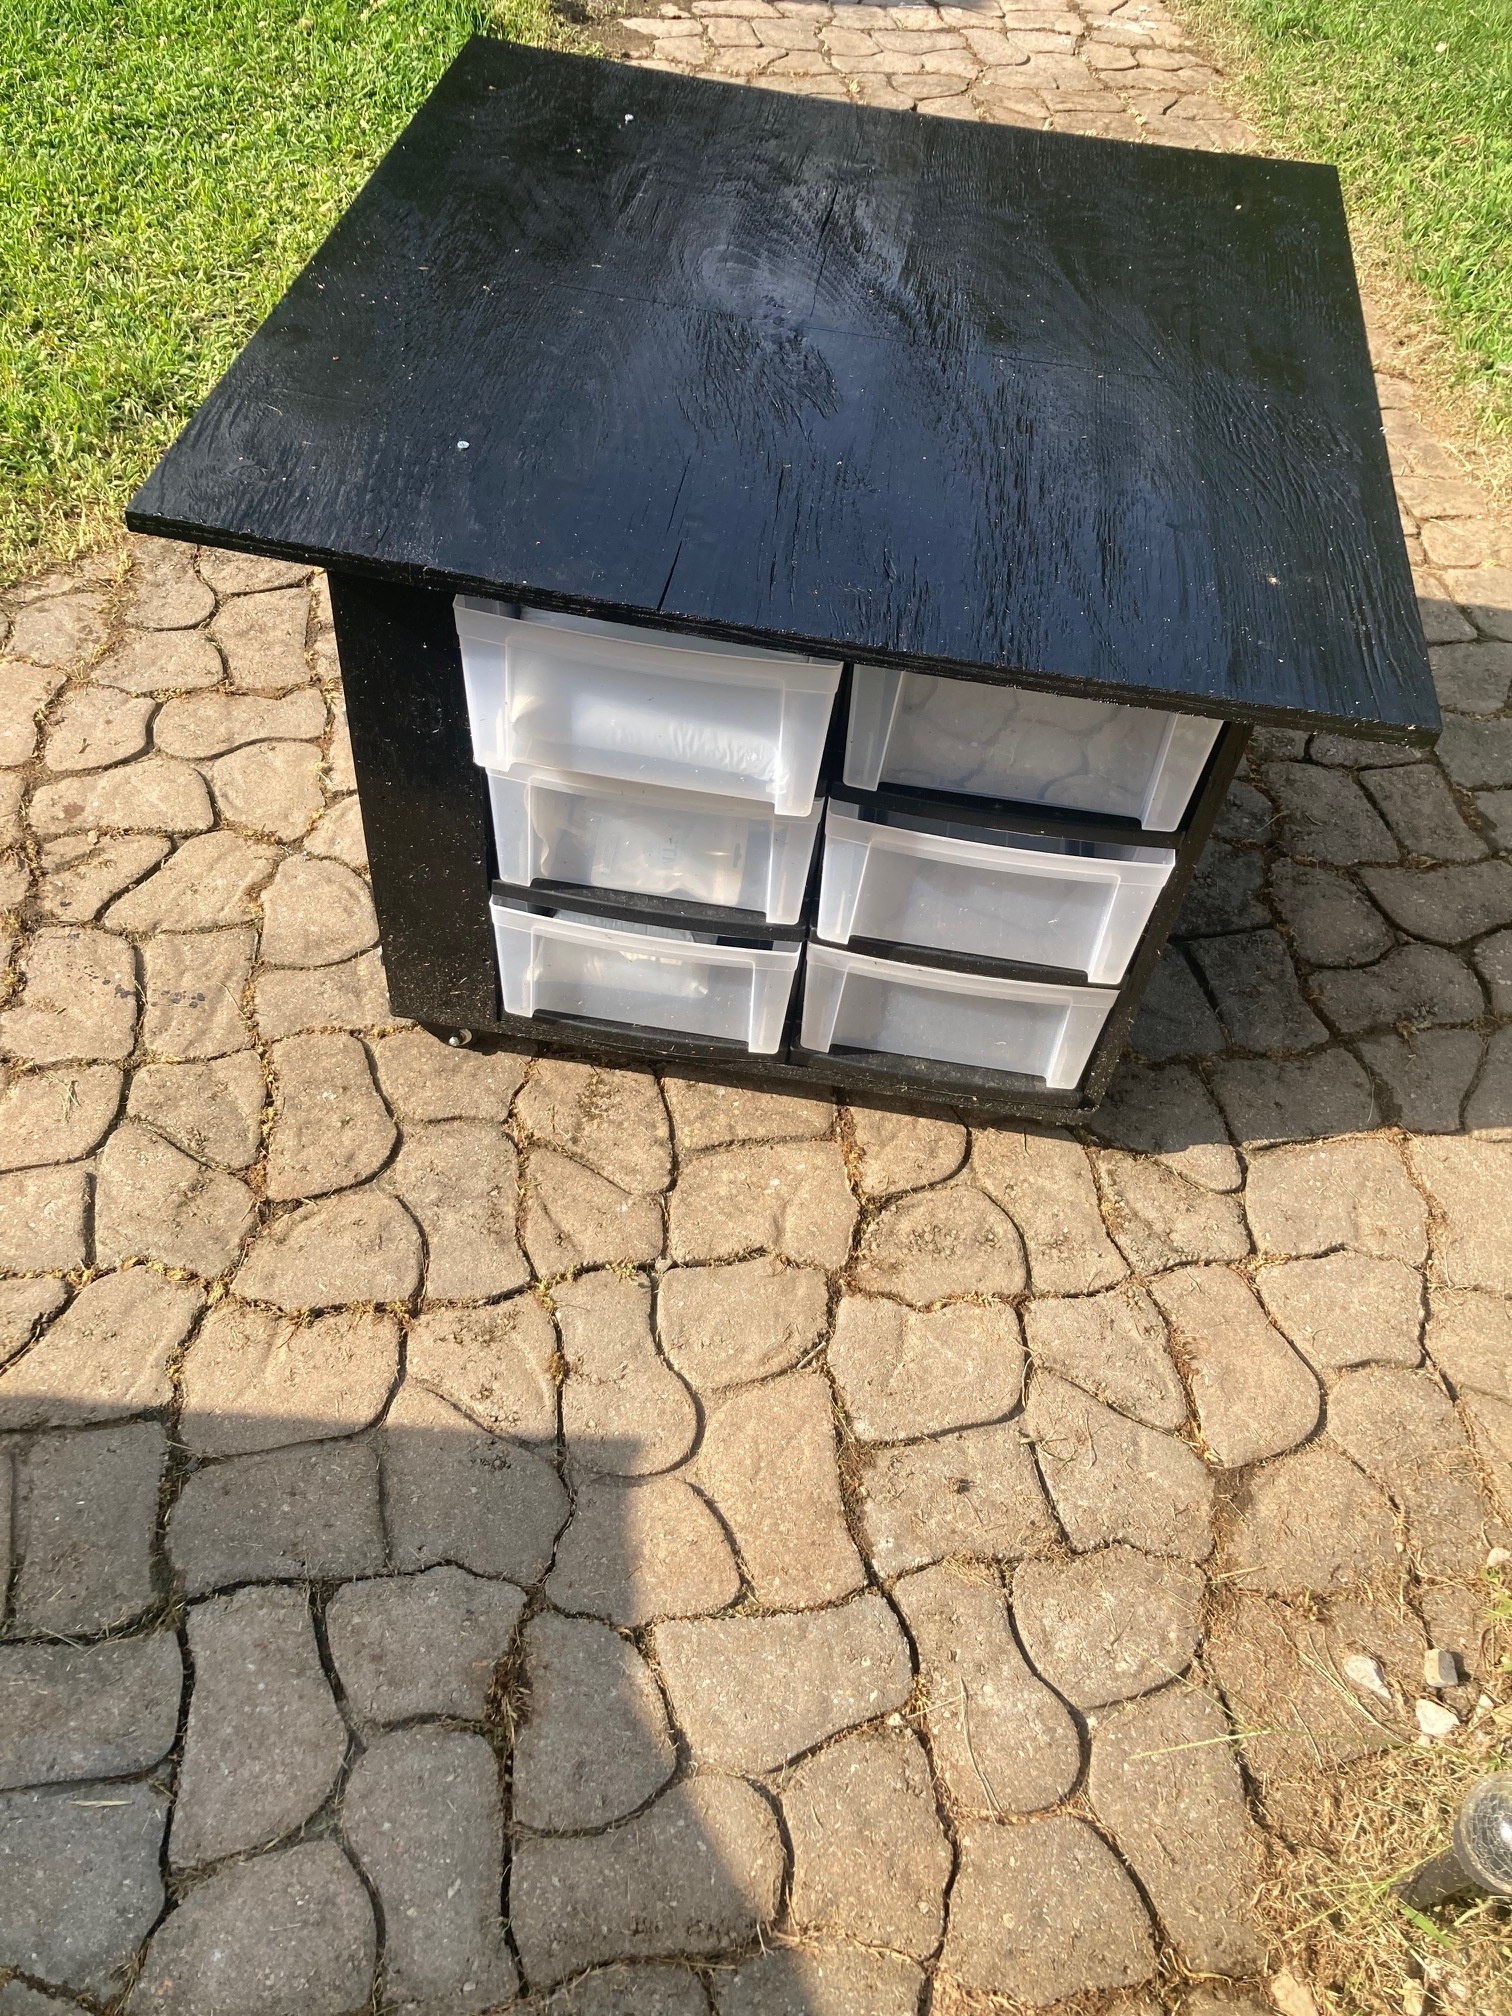
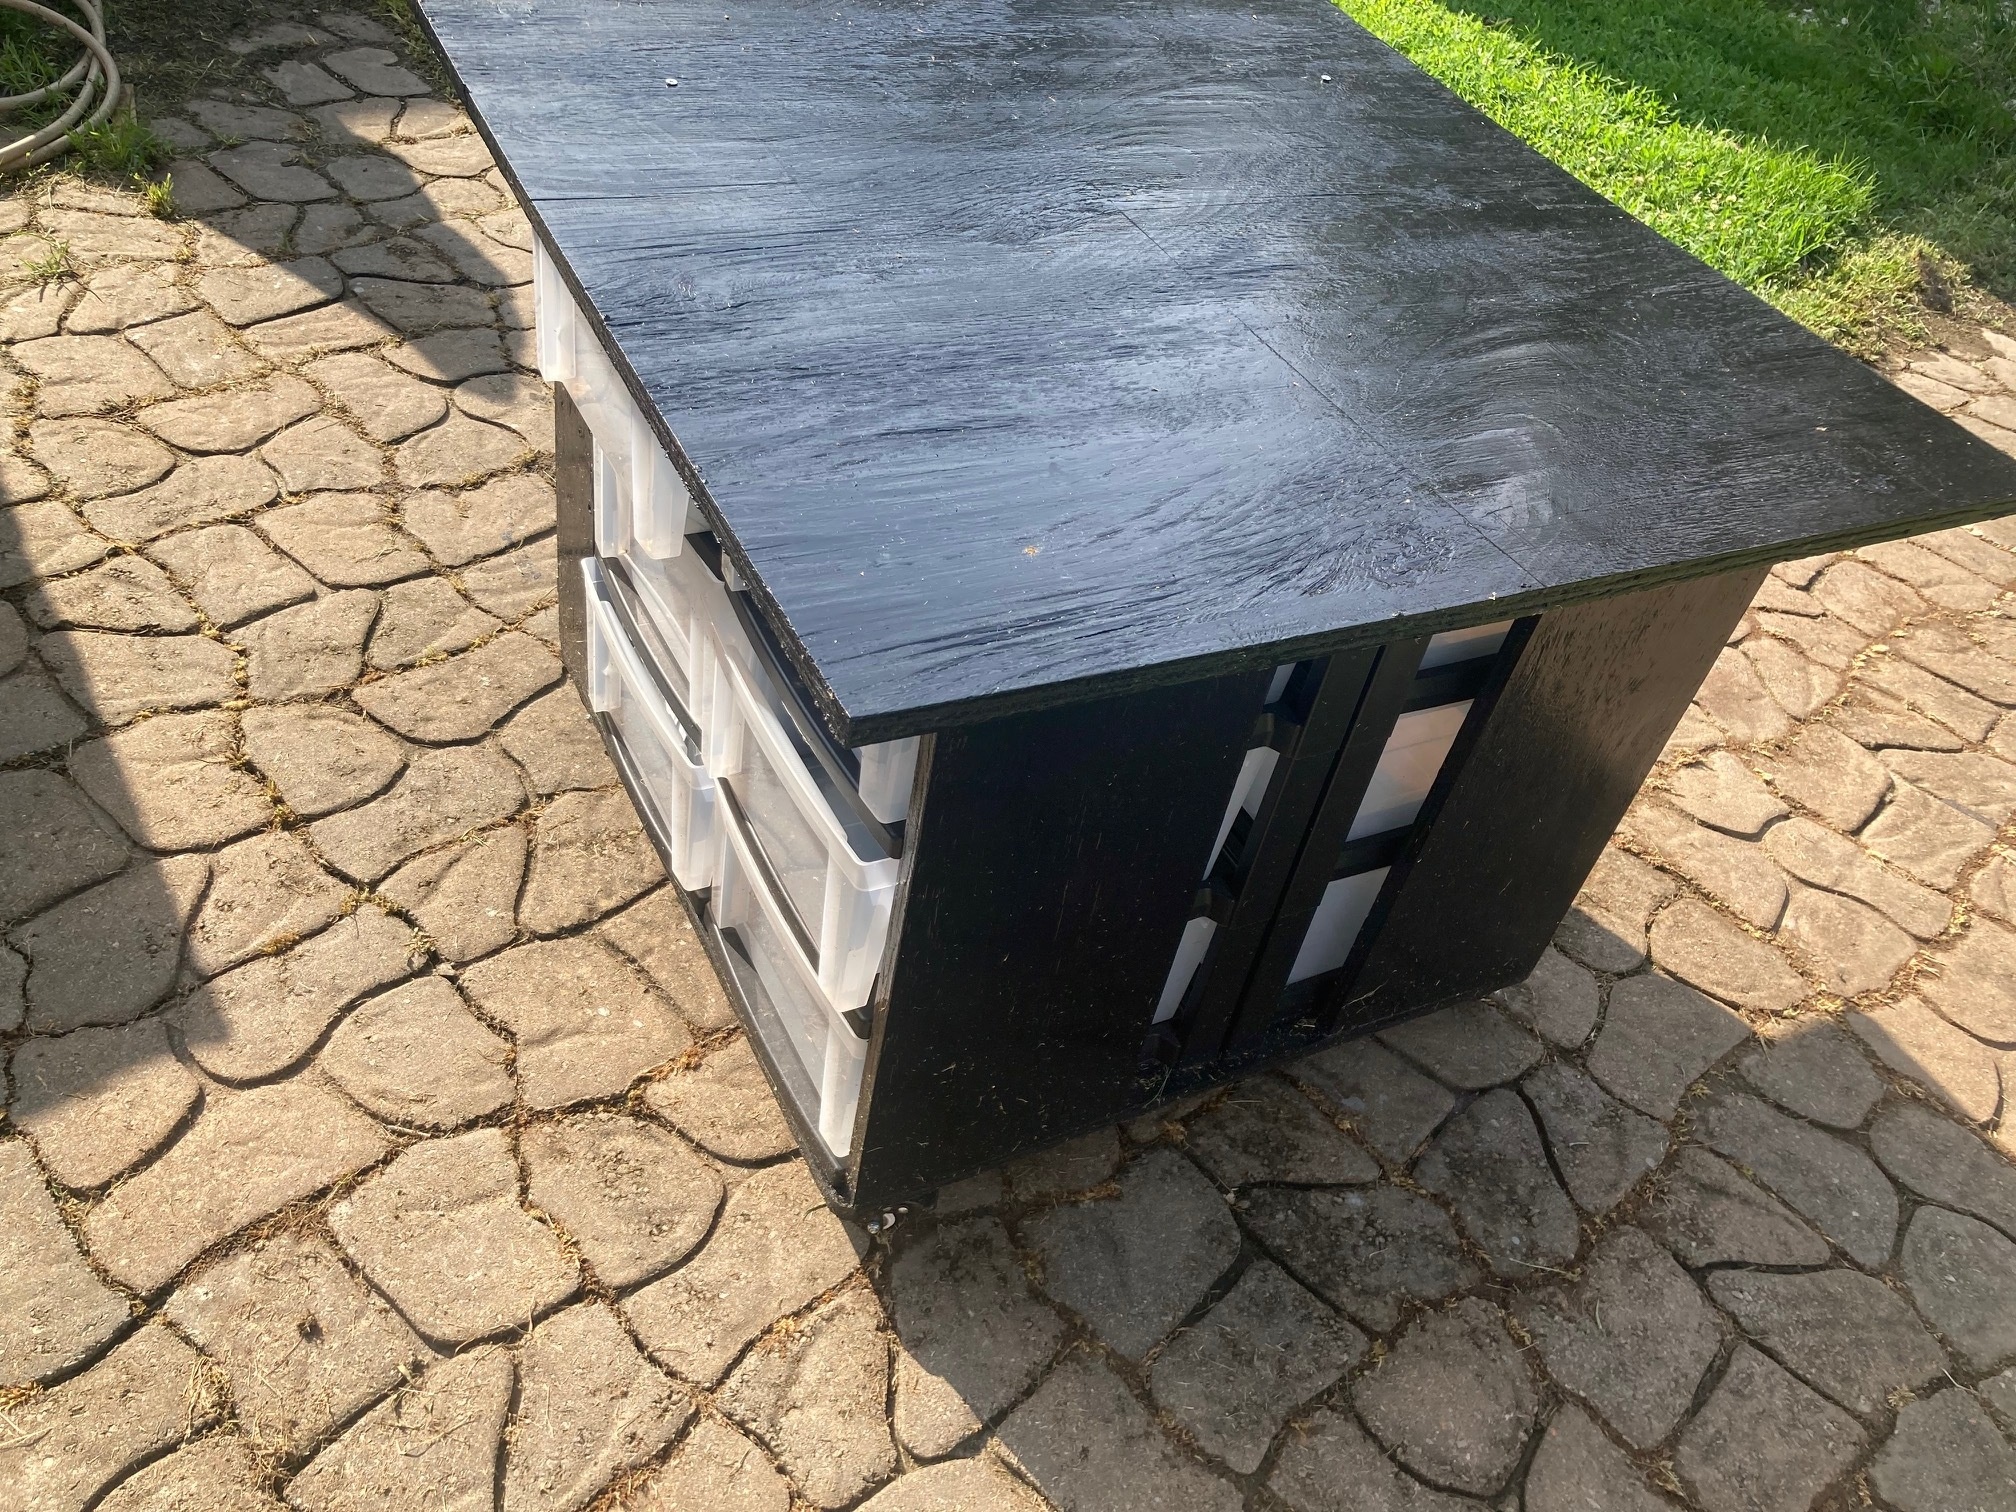
The size of the table top is 38 inches square and is removable. The base under it is 30 inches square and it sits on 2 inch locking casters. I wanted the base as wide as possible so to keep it from being top heavy but also wanted it to be able to pass through any doors here, that is why the top is removable. The table top is 28 inches from the floor. That sounds low, but it matches the height of my workbench, so this table can be butted up against it seamlessly. My desk chair allow me to fit my legs under it when its lowered all the way down.
The casters wheels and plastic drawers, of which there are 4 units of 3 drawers each, all came from amazon. Everything else including rustoleum gloss black paint (2quarts) and all the rest of materials can be purchased at Home Depot. The paint is not really necessary but sealing the wood will help prevent swelling and warping and makes it look nicer.
The table is made of 1 full sheet of 5/8 plywood and is fastened with deck screws and liquid nail for a strong joint. I chose 5/8ths to save a few pennies and mostly to save weight. 1 face also has storage for 20 shaker cans of scenic materials. The aluminum flat bar stock that holds the canisters in place is also from Home Depot. the 4th side of the table that has no useful features, i am considering putting a pair of duplex outlets on it and a hanger for an extension cord, so I can power the table if I want to use it outside or away from a nearby outlet.
Total cost of project was about $250 in materials, $100 of that was the plastic drawers and almost $70 was paint. I probably should have gotten a gallon instead of quarts, but I did do 2 coats of paint and 3 on the top.
I hope someone can see this and be inspired to build something similar to fit their specific needs and share any changes with us.
Cheers, Rob

Welcome to my Locals Community.
It doesn't cost anything to be a member. In addition to being a member you can also support my effort on here for just $2 a month. I just lowered this as of February 11 2025. This will help with producing more content to share with you.
Supporter Only content is available for those of you who sign up for the $2 a month, other members can enjoy the rest of the content provided here and not on ScrewTube.
I am streaming from Rumble Studio more often now, mostly At The Workbench and now WorkBench Wednesday with Rumble only after party, so follow me on Rumble at: https://rumble.com/c/TomKvichak for more content
Enjoy your stay and have fun!
A short clip that I did not include in my last video of me adding spikes to the trestle
Debbie is having a procedure late wednesday, so we won't be getting home till the evening
Posted that I would do a stream on YouTube on Thursday, but I forgot about Jim T's stream at 6 PM
May do another marathon stream on Rumble & YouTube on Friday instead.
Still up in the air