
Currently have two layouts, one for operation, the other as a test track for DCC-EX and other projects.

Since I did not place the walls on the template, the spacing between the vertical bracing is not equal. Therefore, I have to measure & cut each horizontal brace individually!
Once all the braces are in I can assemble the bin in it's entirety.
Step #12 is complete!
Next step is the cradle that goes above the bin!
____________________FREE STUFF HERE___________ ________________
PURE TALK
1ST MONTH FREE
NO ACTIVATION CHARGE
https://puretalk.com/r/600f6590
GREAT OFFER FOR STARLINK
1ST MONTH FREE - FREE EQUIPMENT- FREE INSTILATION in most areas
400 Mbps Residential Package
YOU DO NOT HAVE TO BUY THE EQUIPMENT - IT'S FREE -
Just return the equipment when you no longer want Starlink. It's That Easy!
Here's the link:
https://starlink.com/residential?referral=RC-DF-9395377-57142-60
______________________END OF FREE STUFF__________________
*ALWAYS NEED THOSE UNIQUE CHATTERS*****
JOIN IN ON THE CHAT DURING THE LIVE STREAM, - SAY HI - Don't Be...

Welcome to my Locals Community.
It doesn't cost anything to be a member. In addition to being a member you can also support my effort on here for just $2 a month. I just lowered this as of February 11 2025. This will help with producing more content to share with you.
Supporter Only content is available for those of you who sign up for the $2 a month, other members can enjoy the rest of the content provided here and not on ScrewTube.
I am streaming from Rumble Studio more often now, mostly At The Workbench and now WorkBench Wednesday with Rumble only after party, so follow me on Rumble at: https://rumble.com/c/TomKvichak for more content
Enjoy your stay and have fun!
A short clip that I did not include in my last video of me adding spikes to the trestle

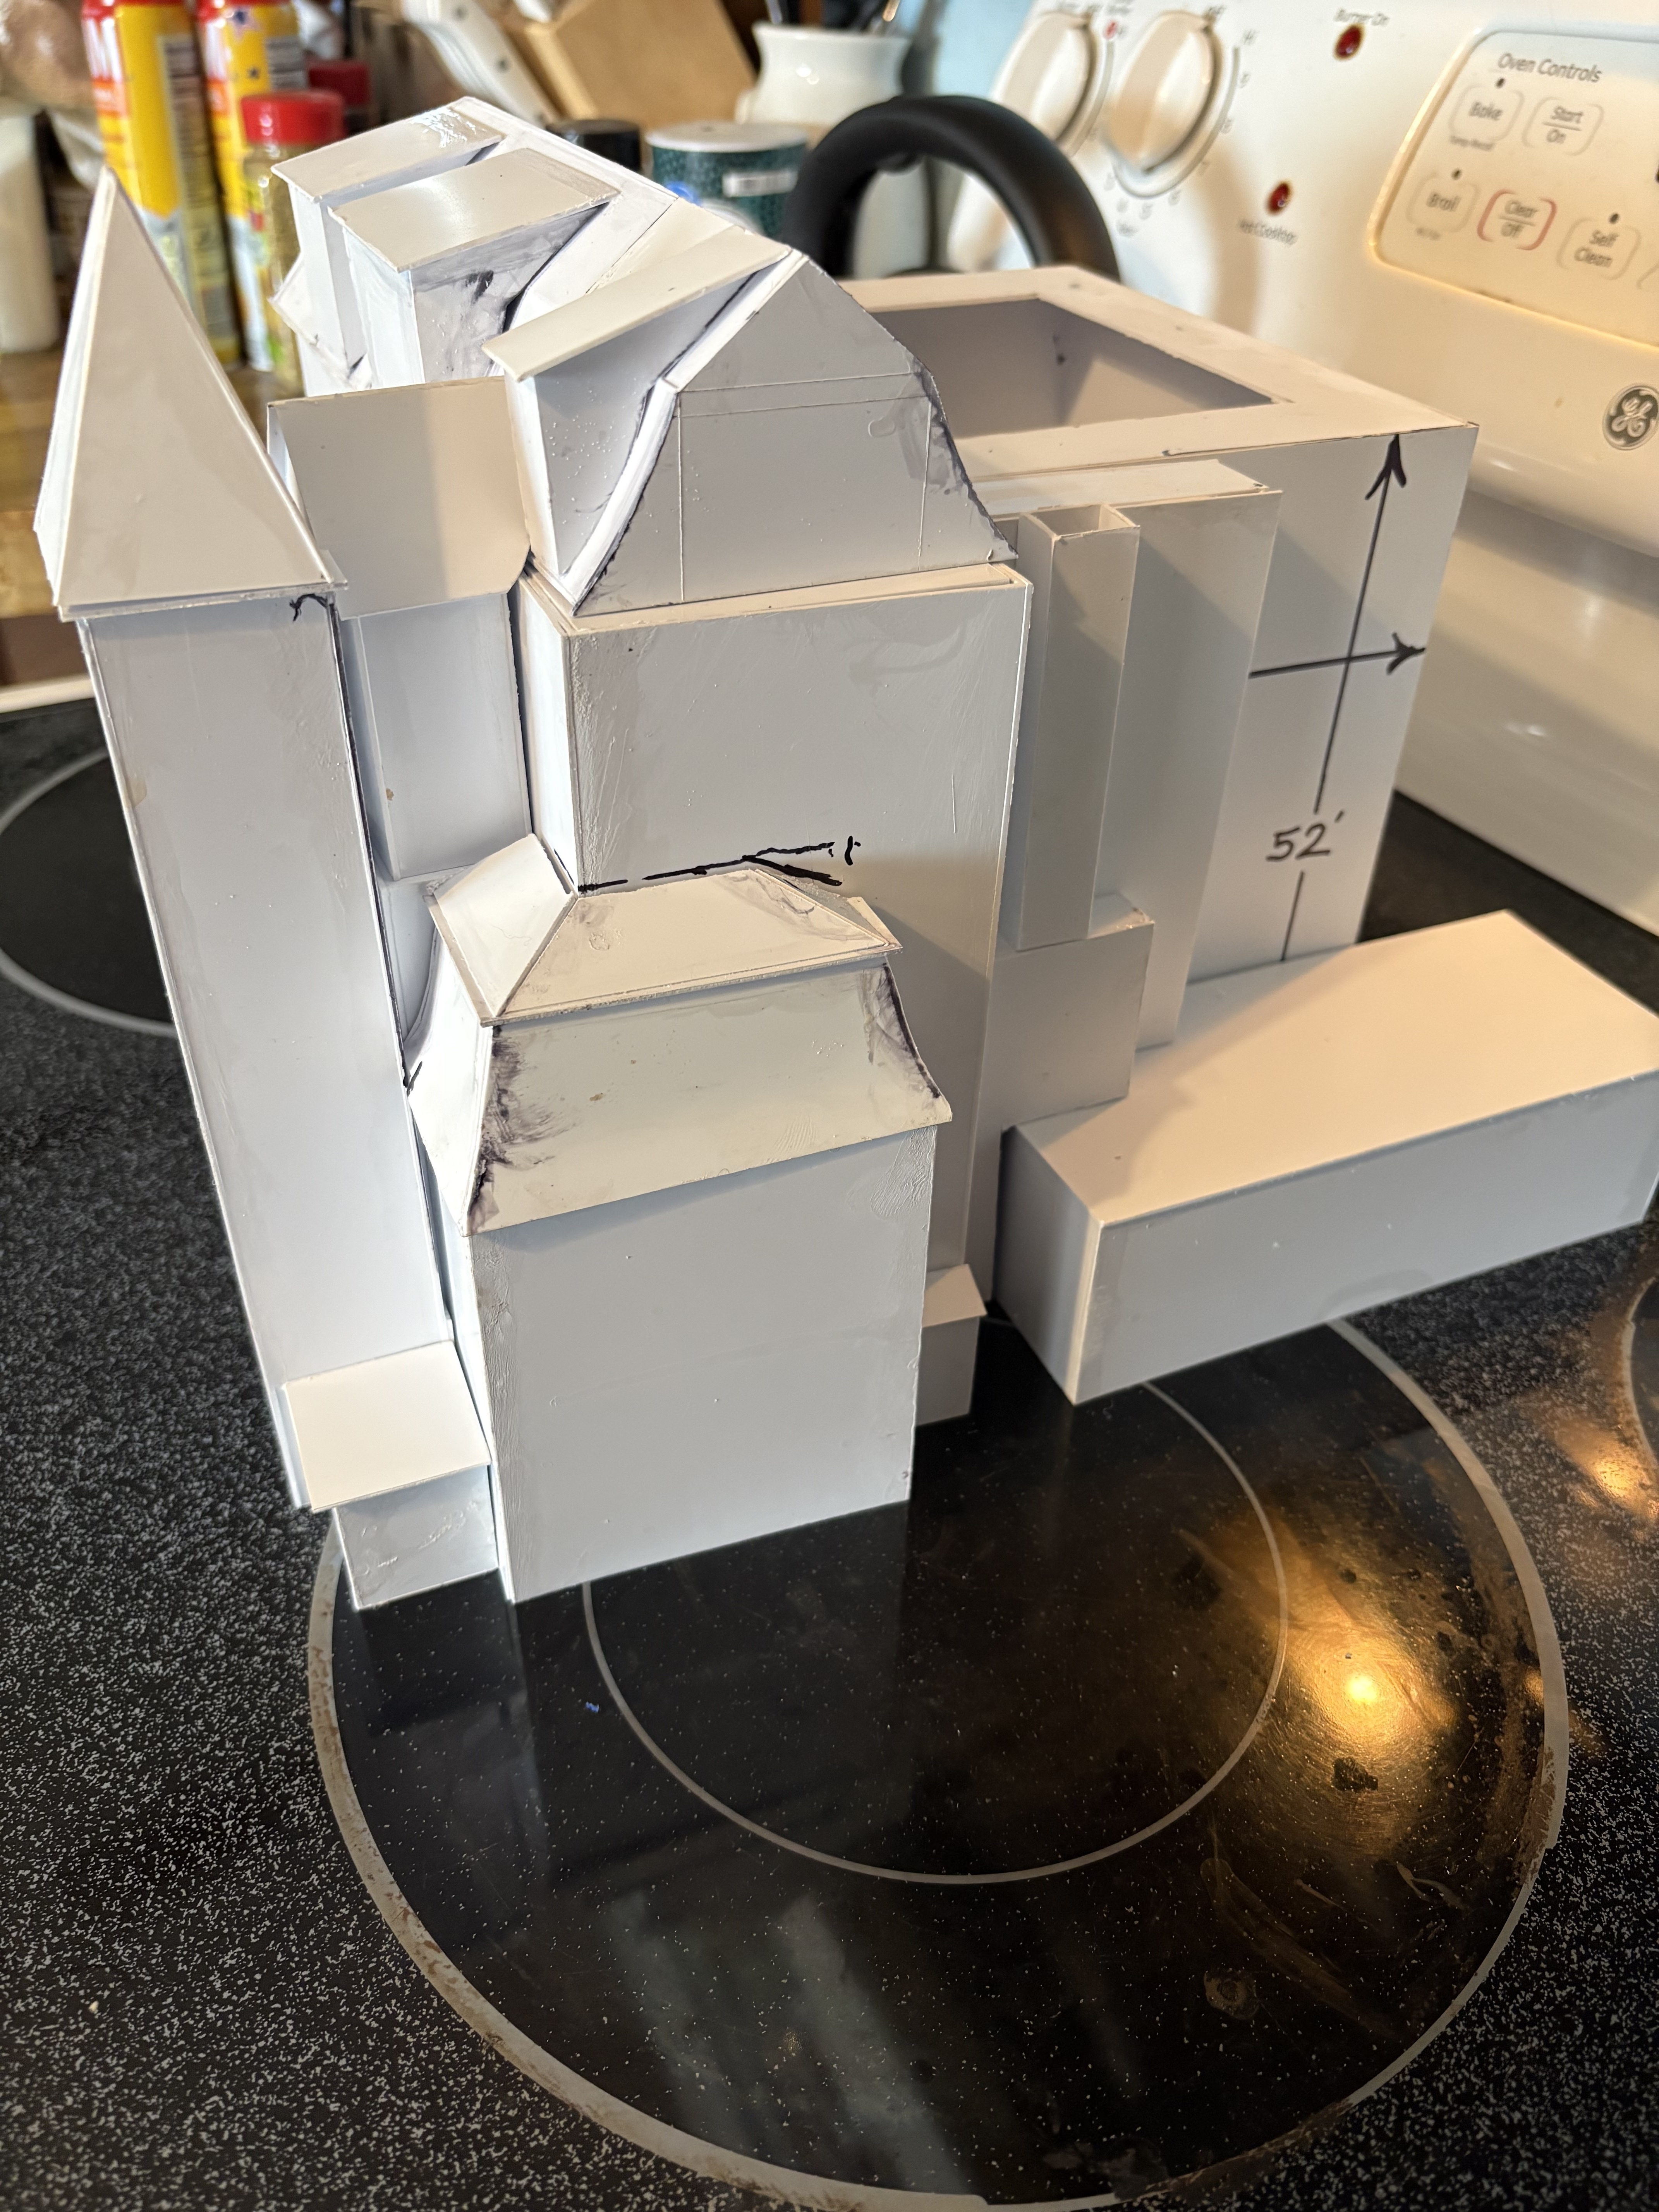
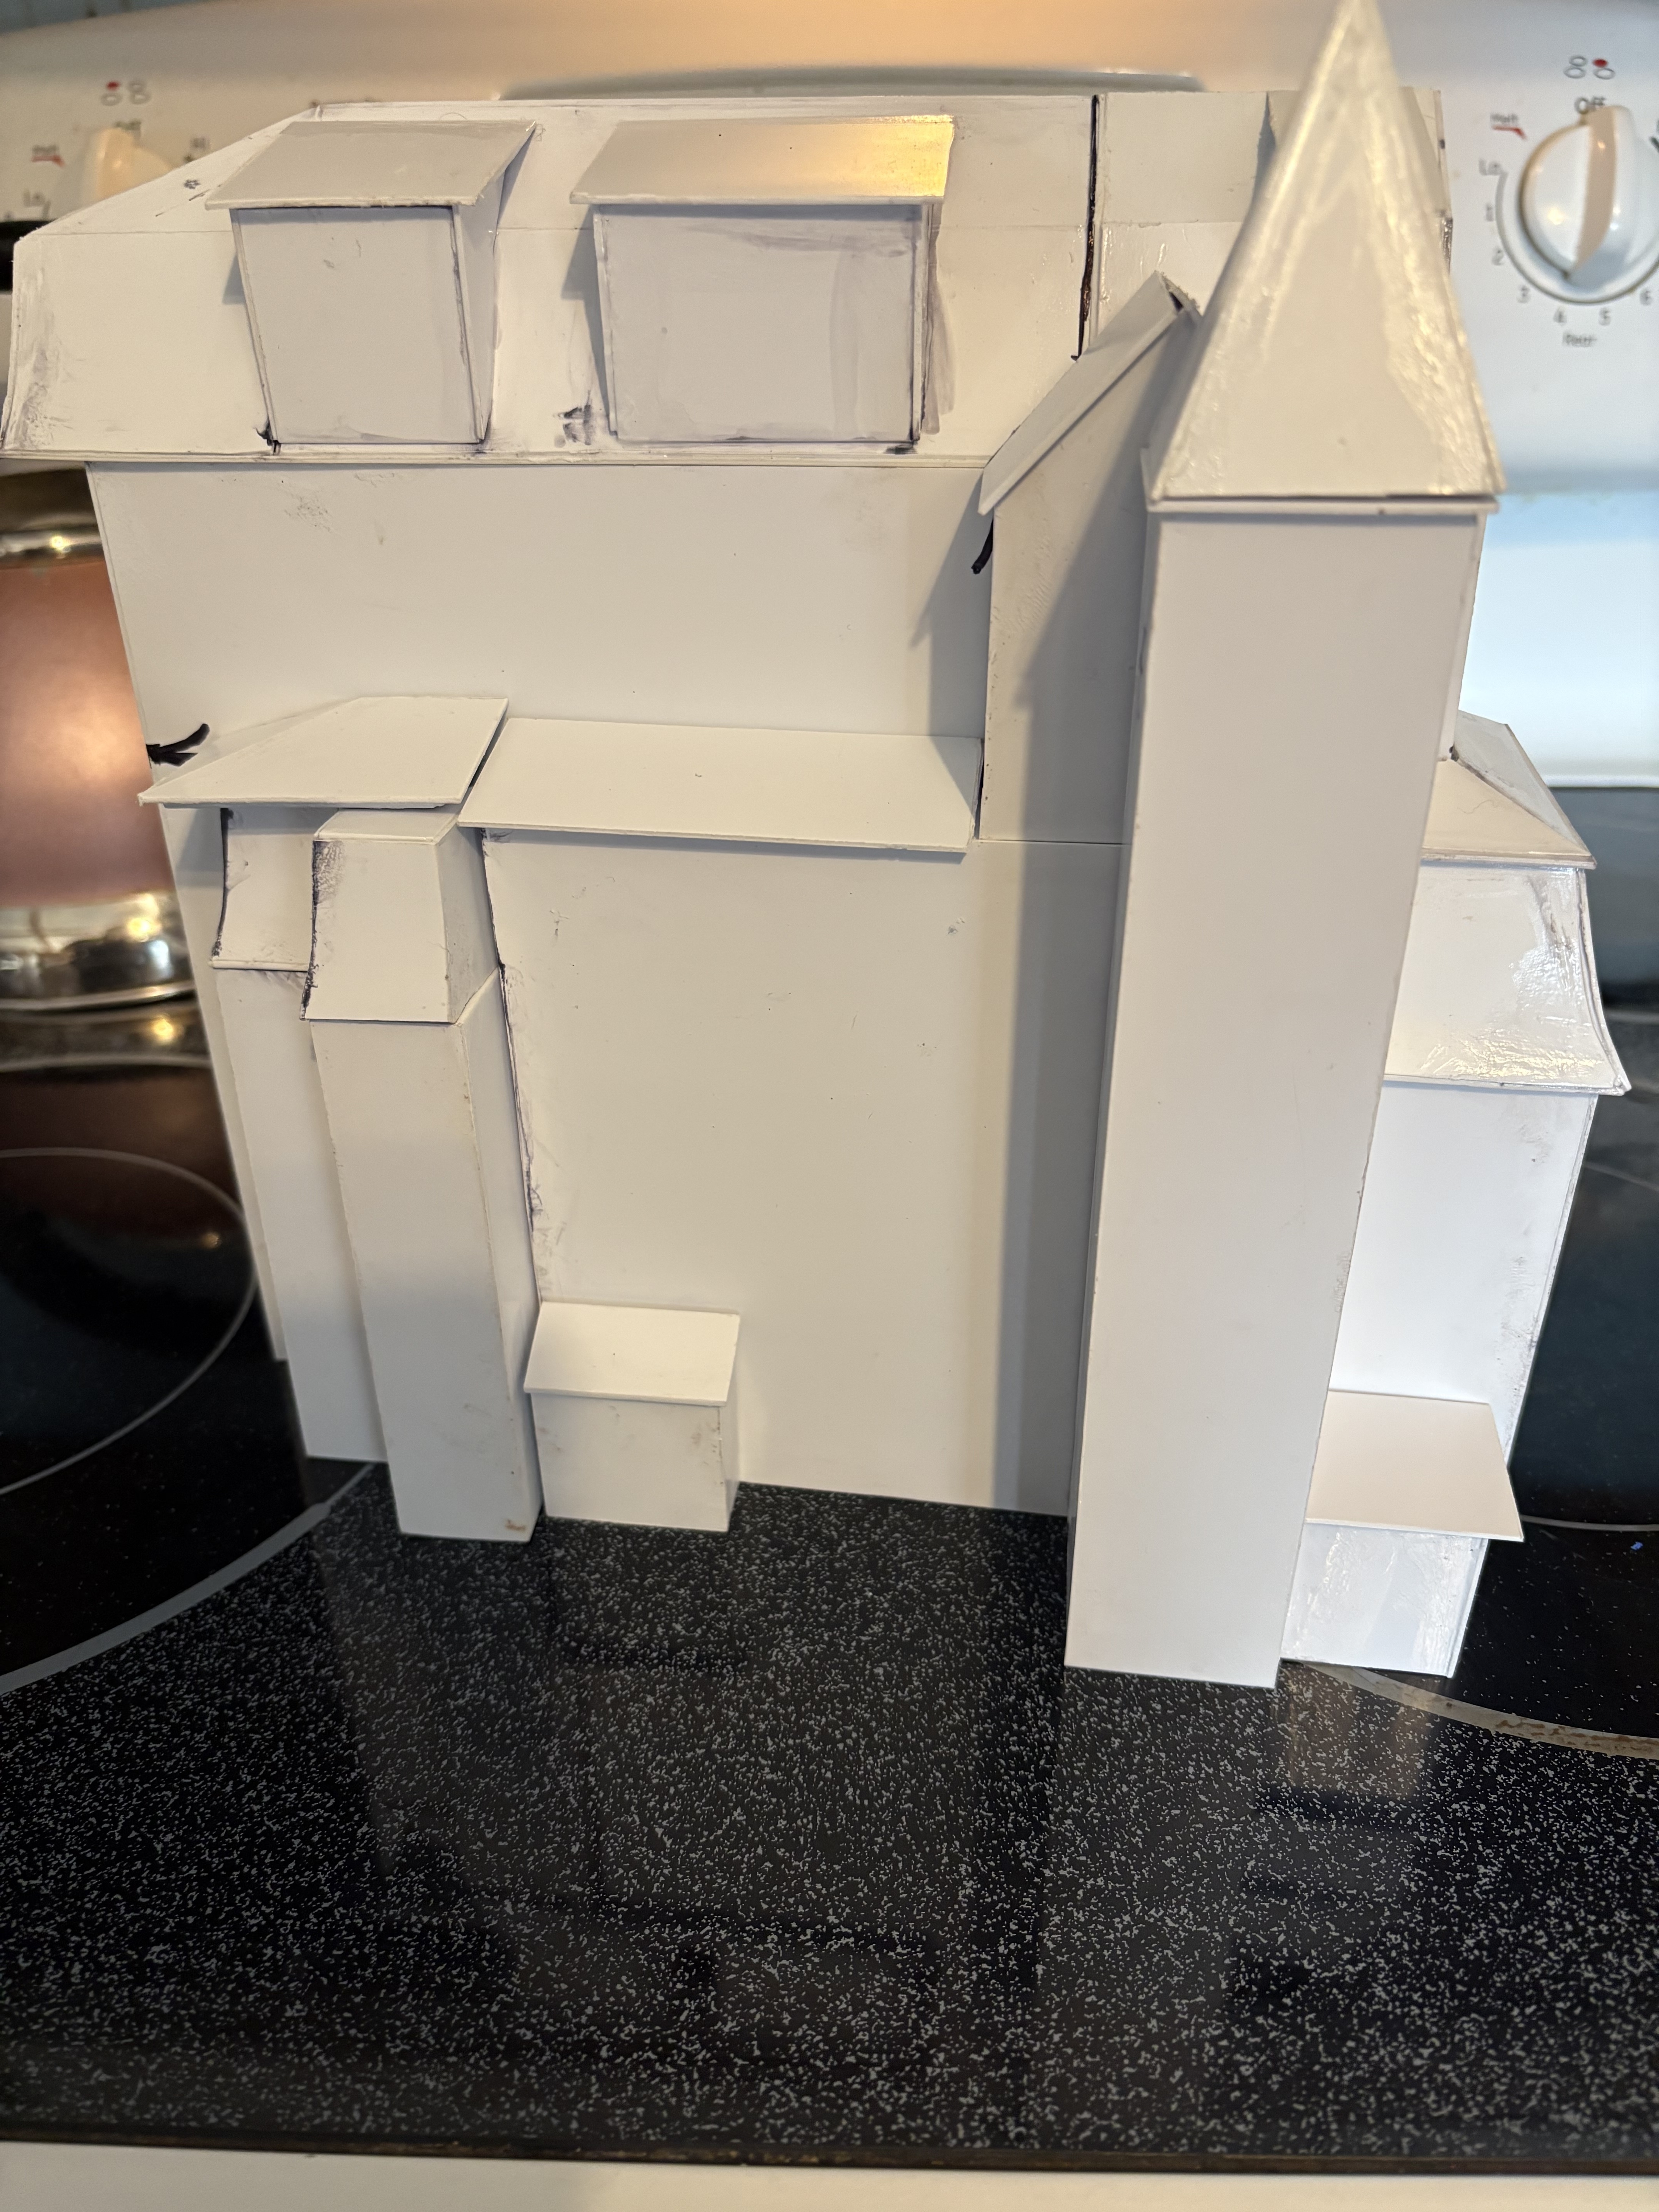
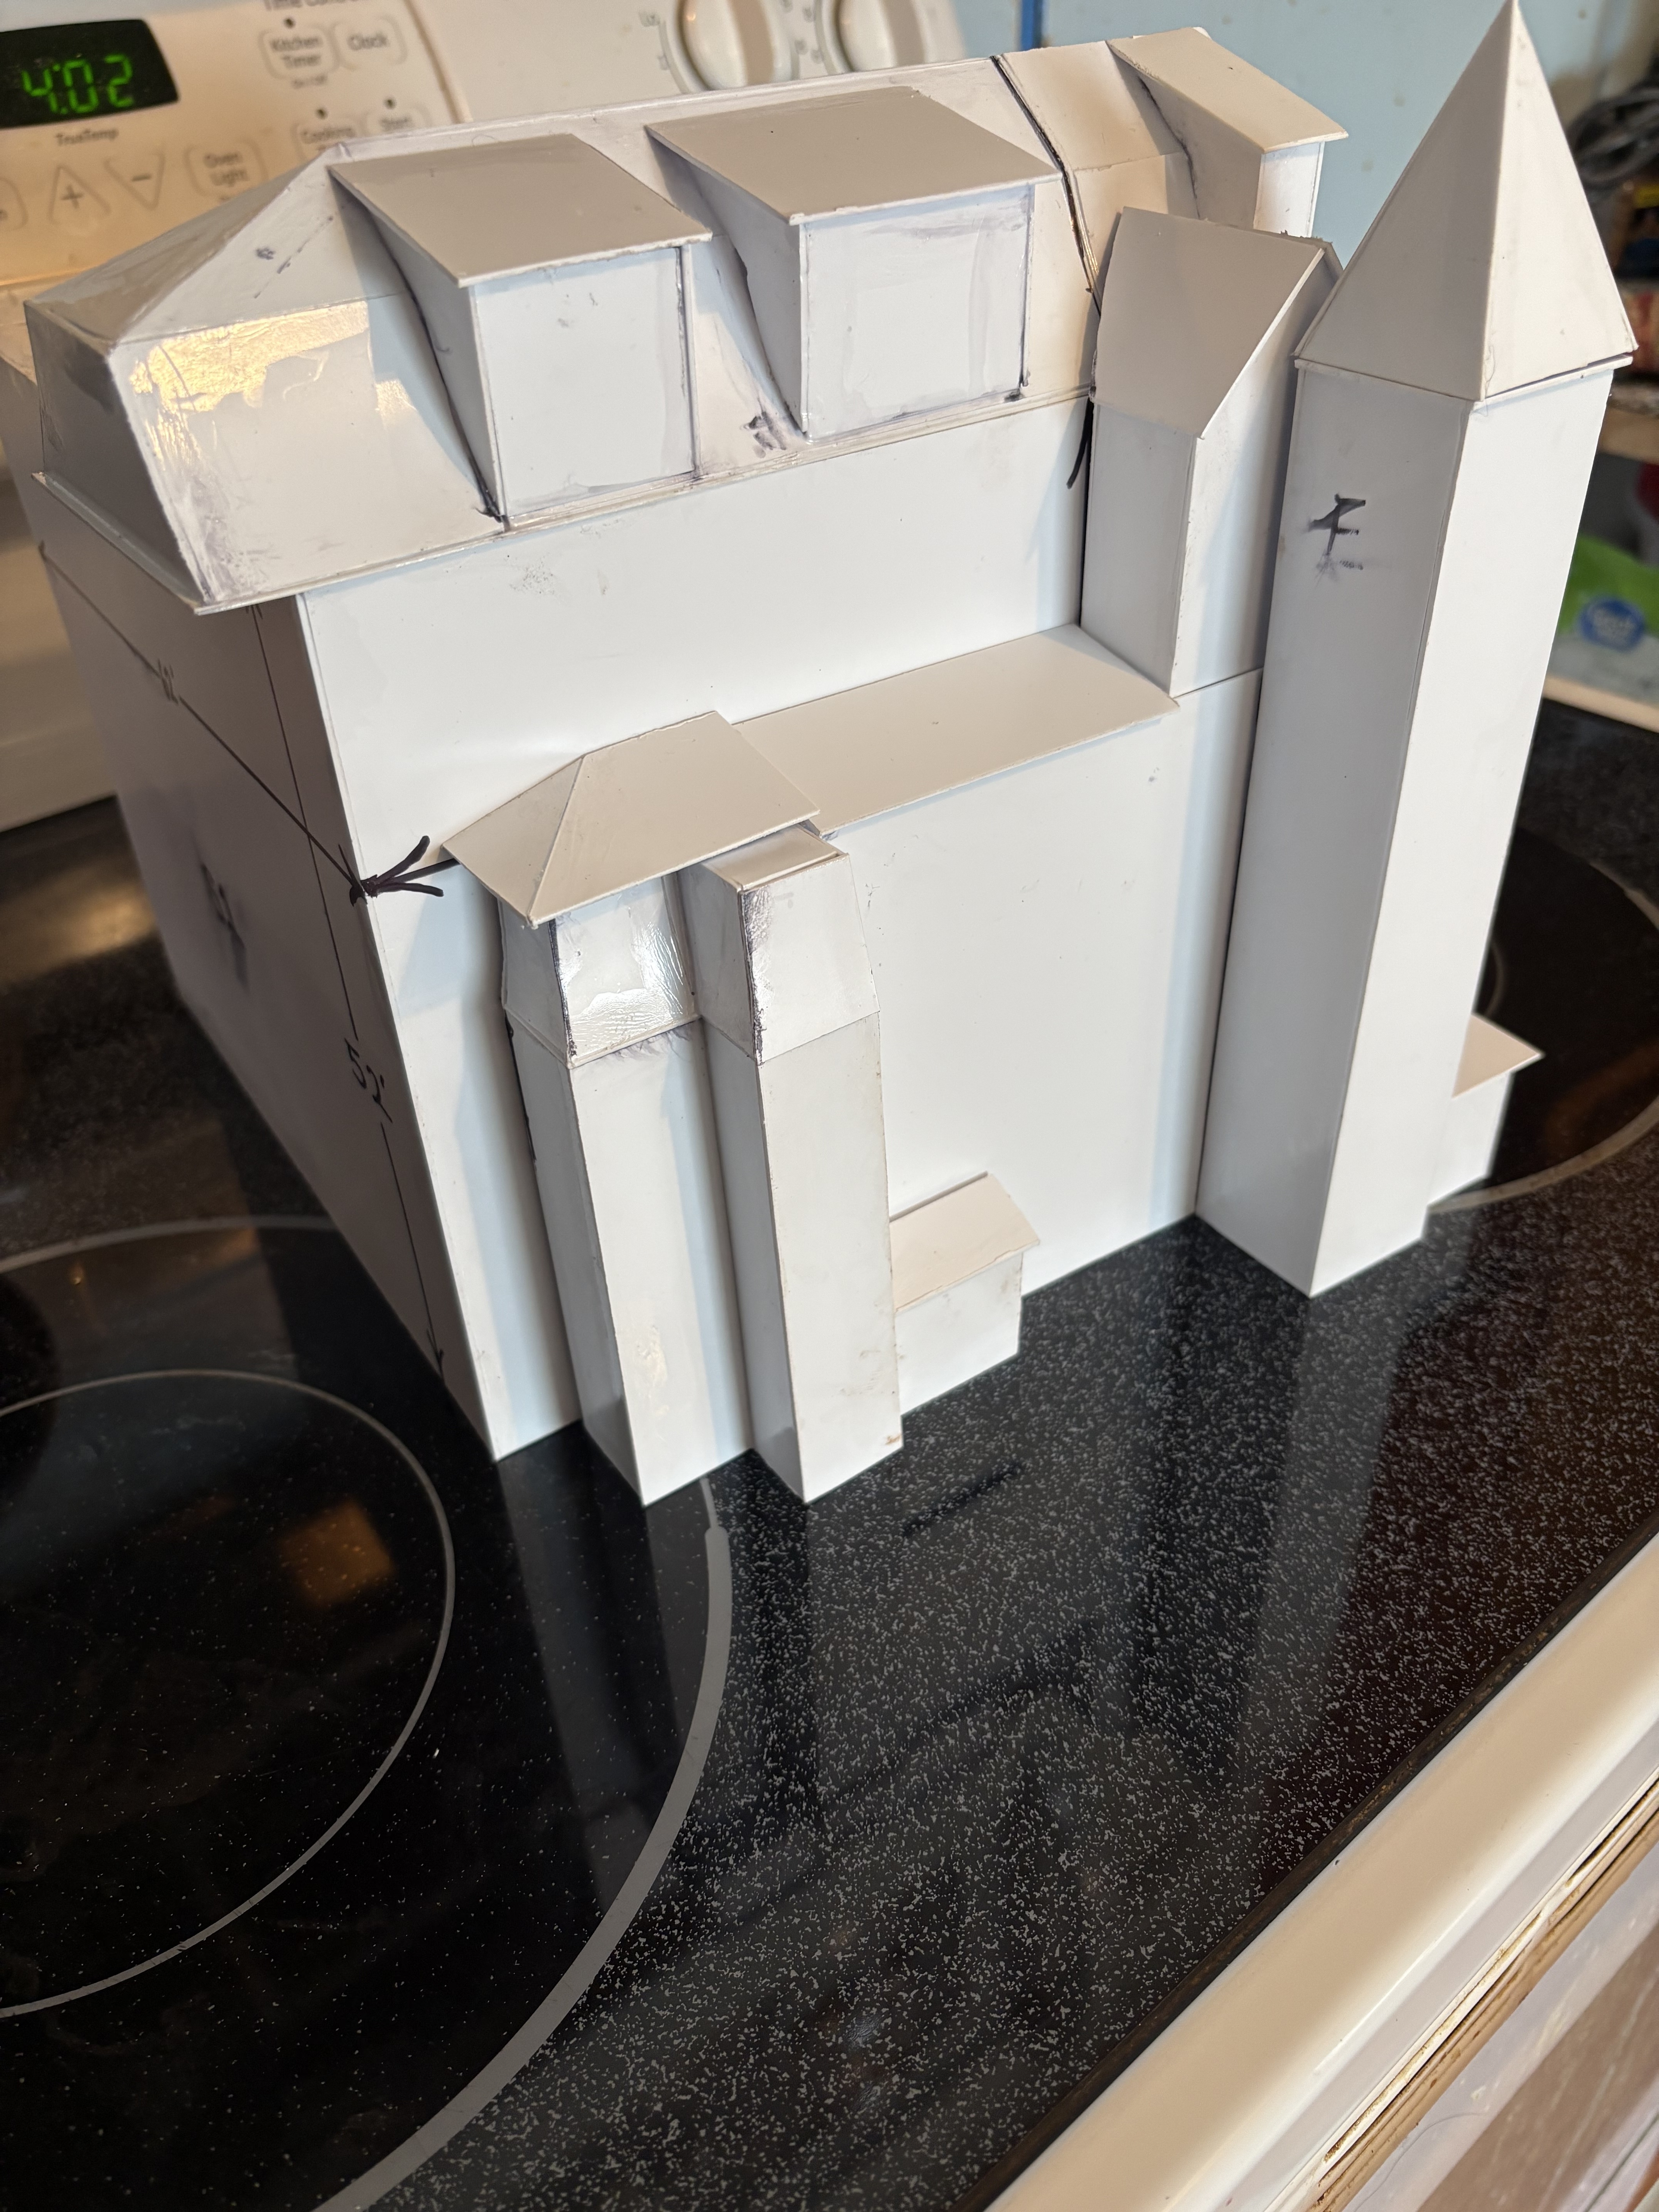
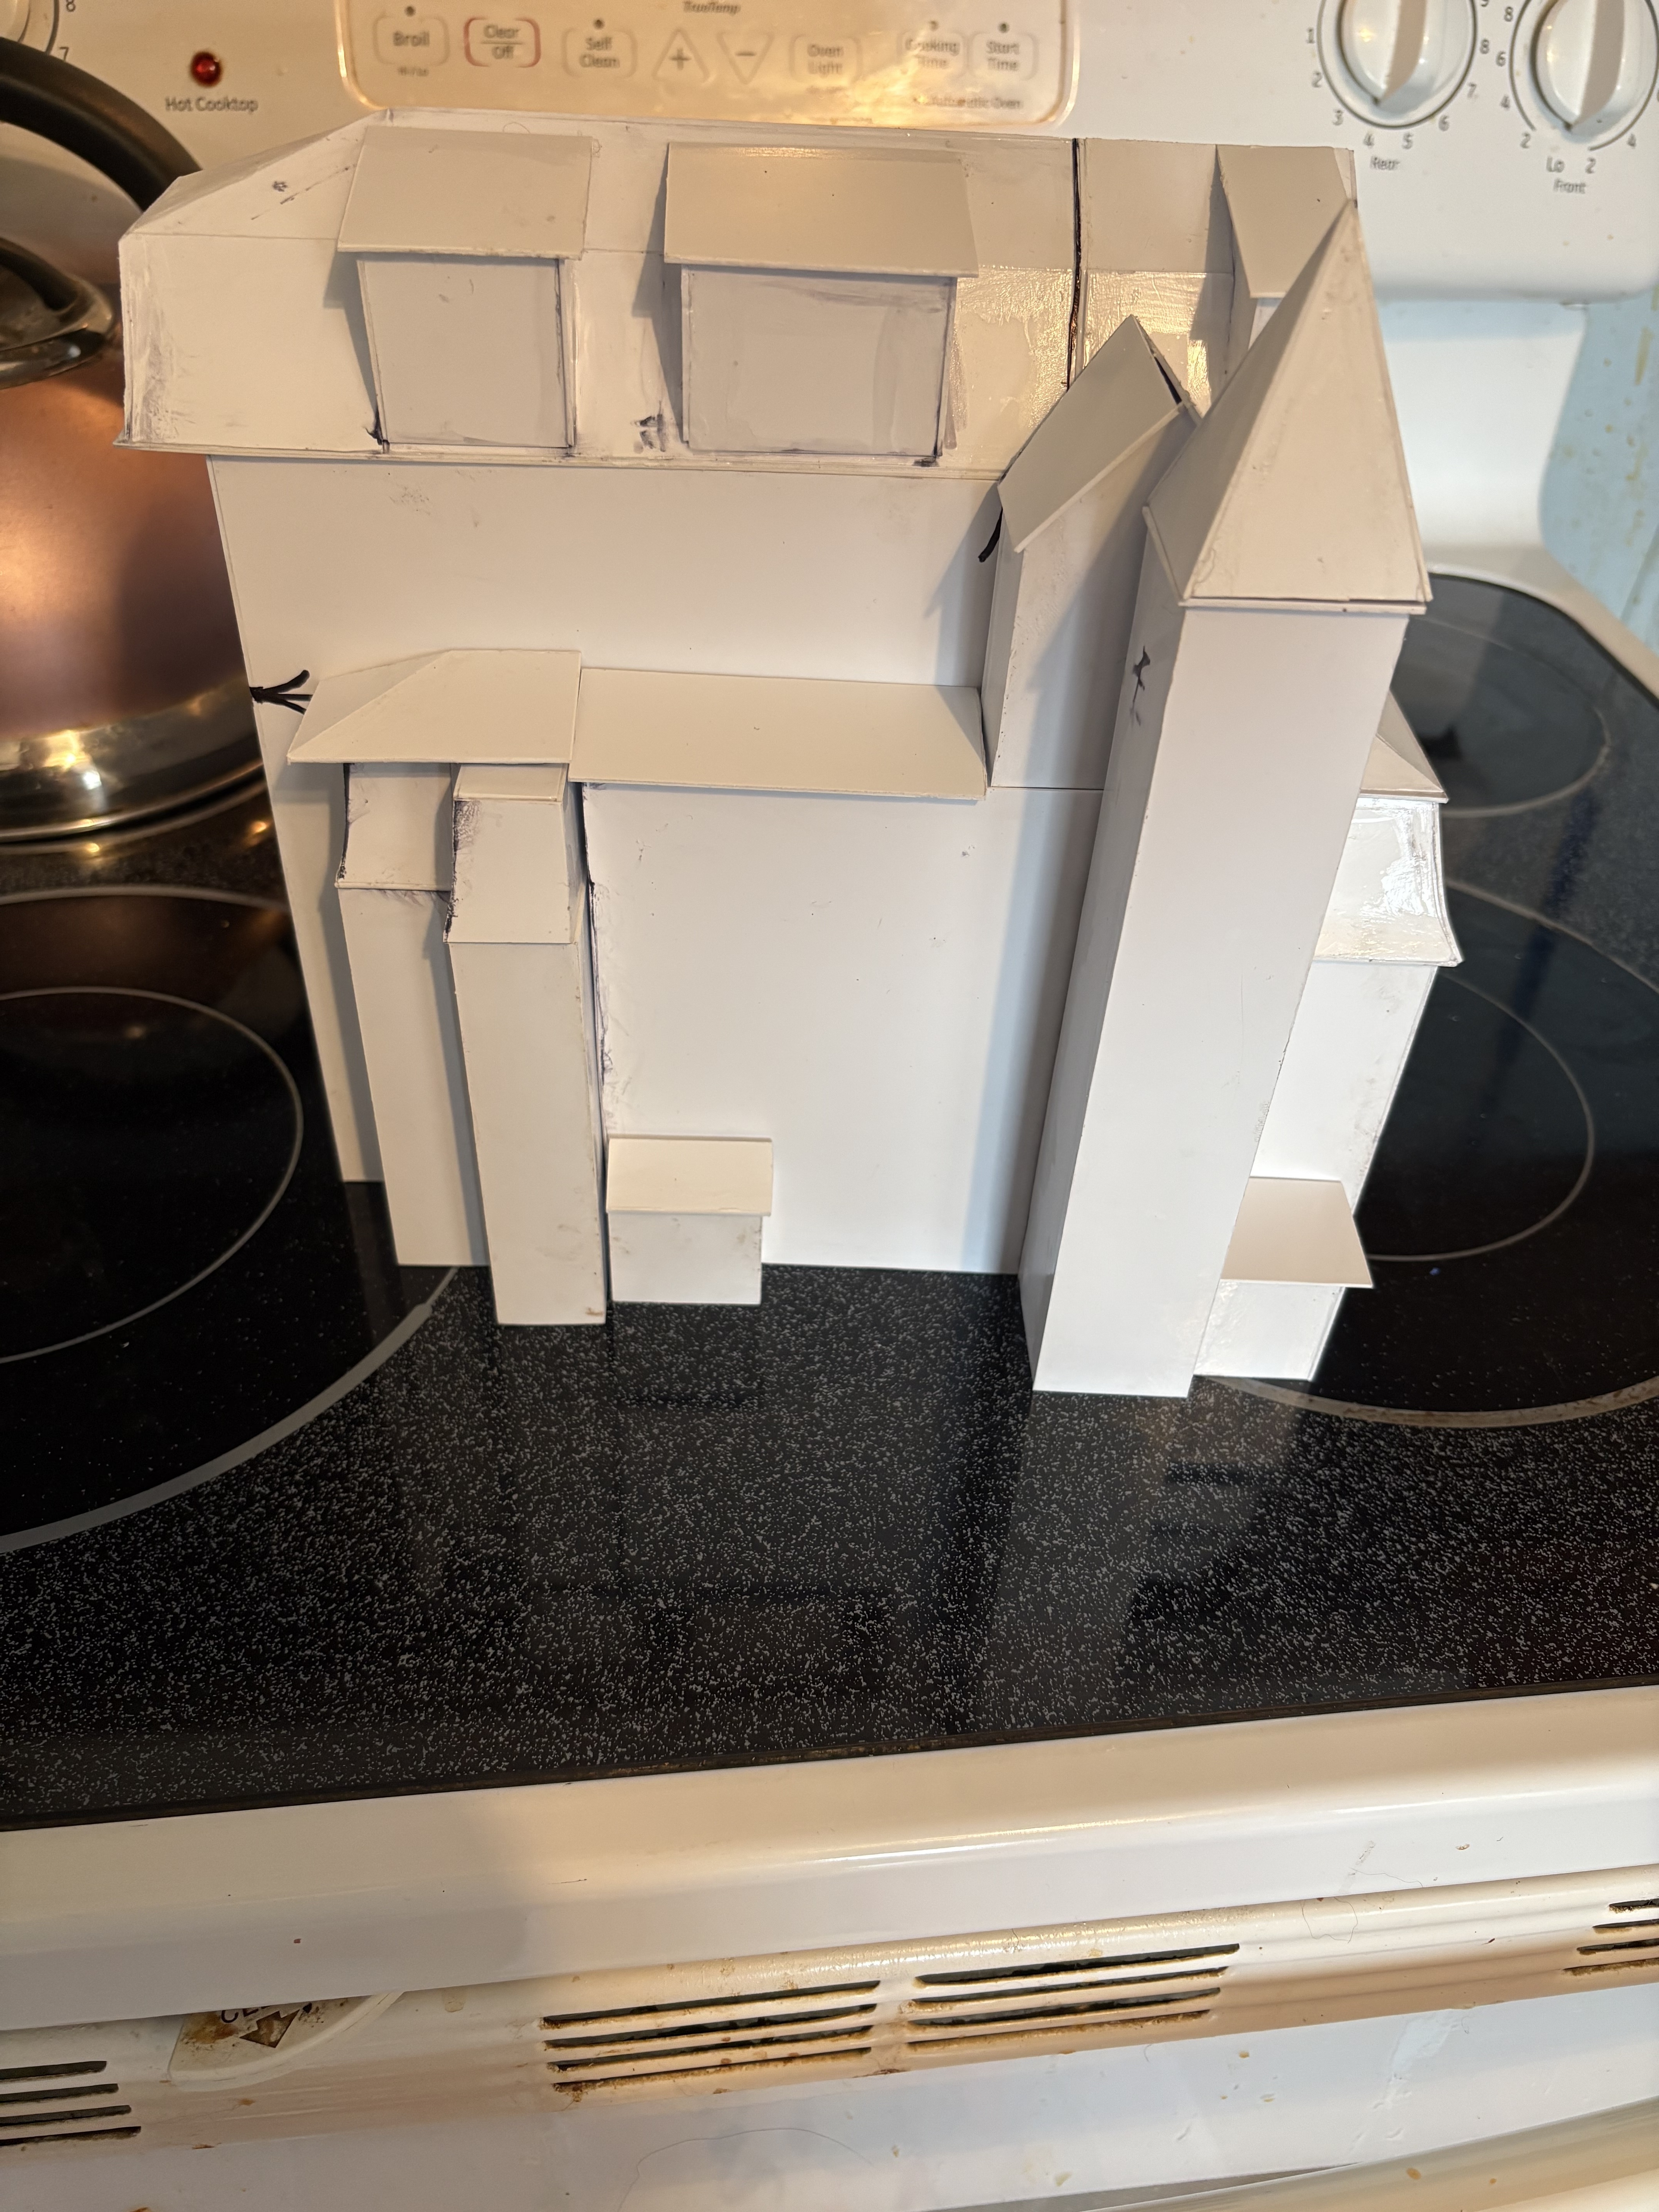
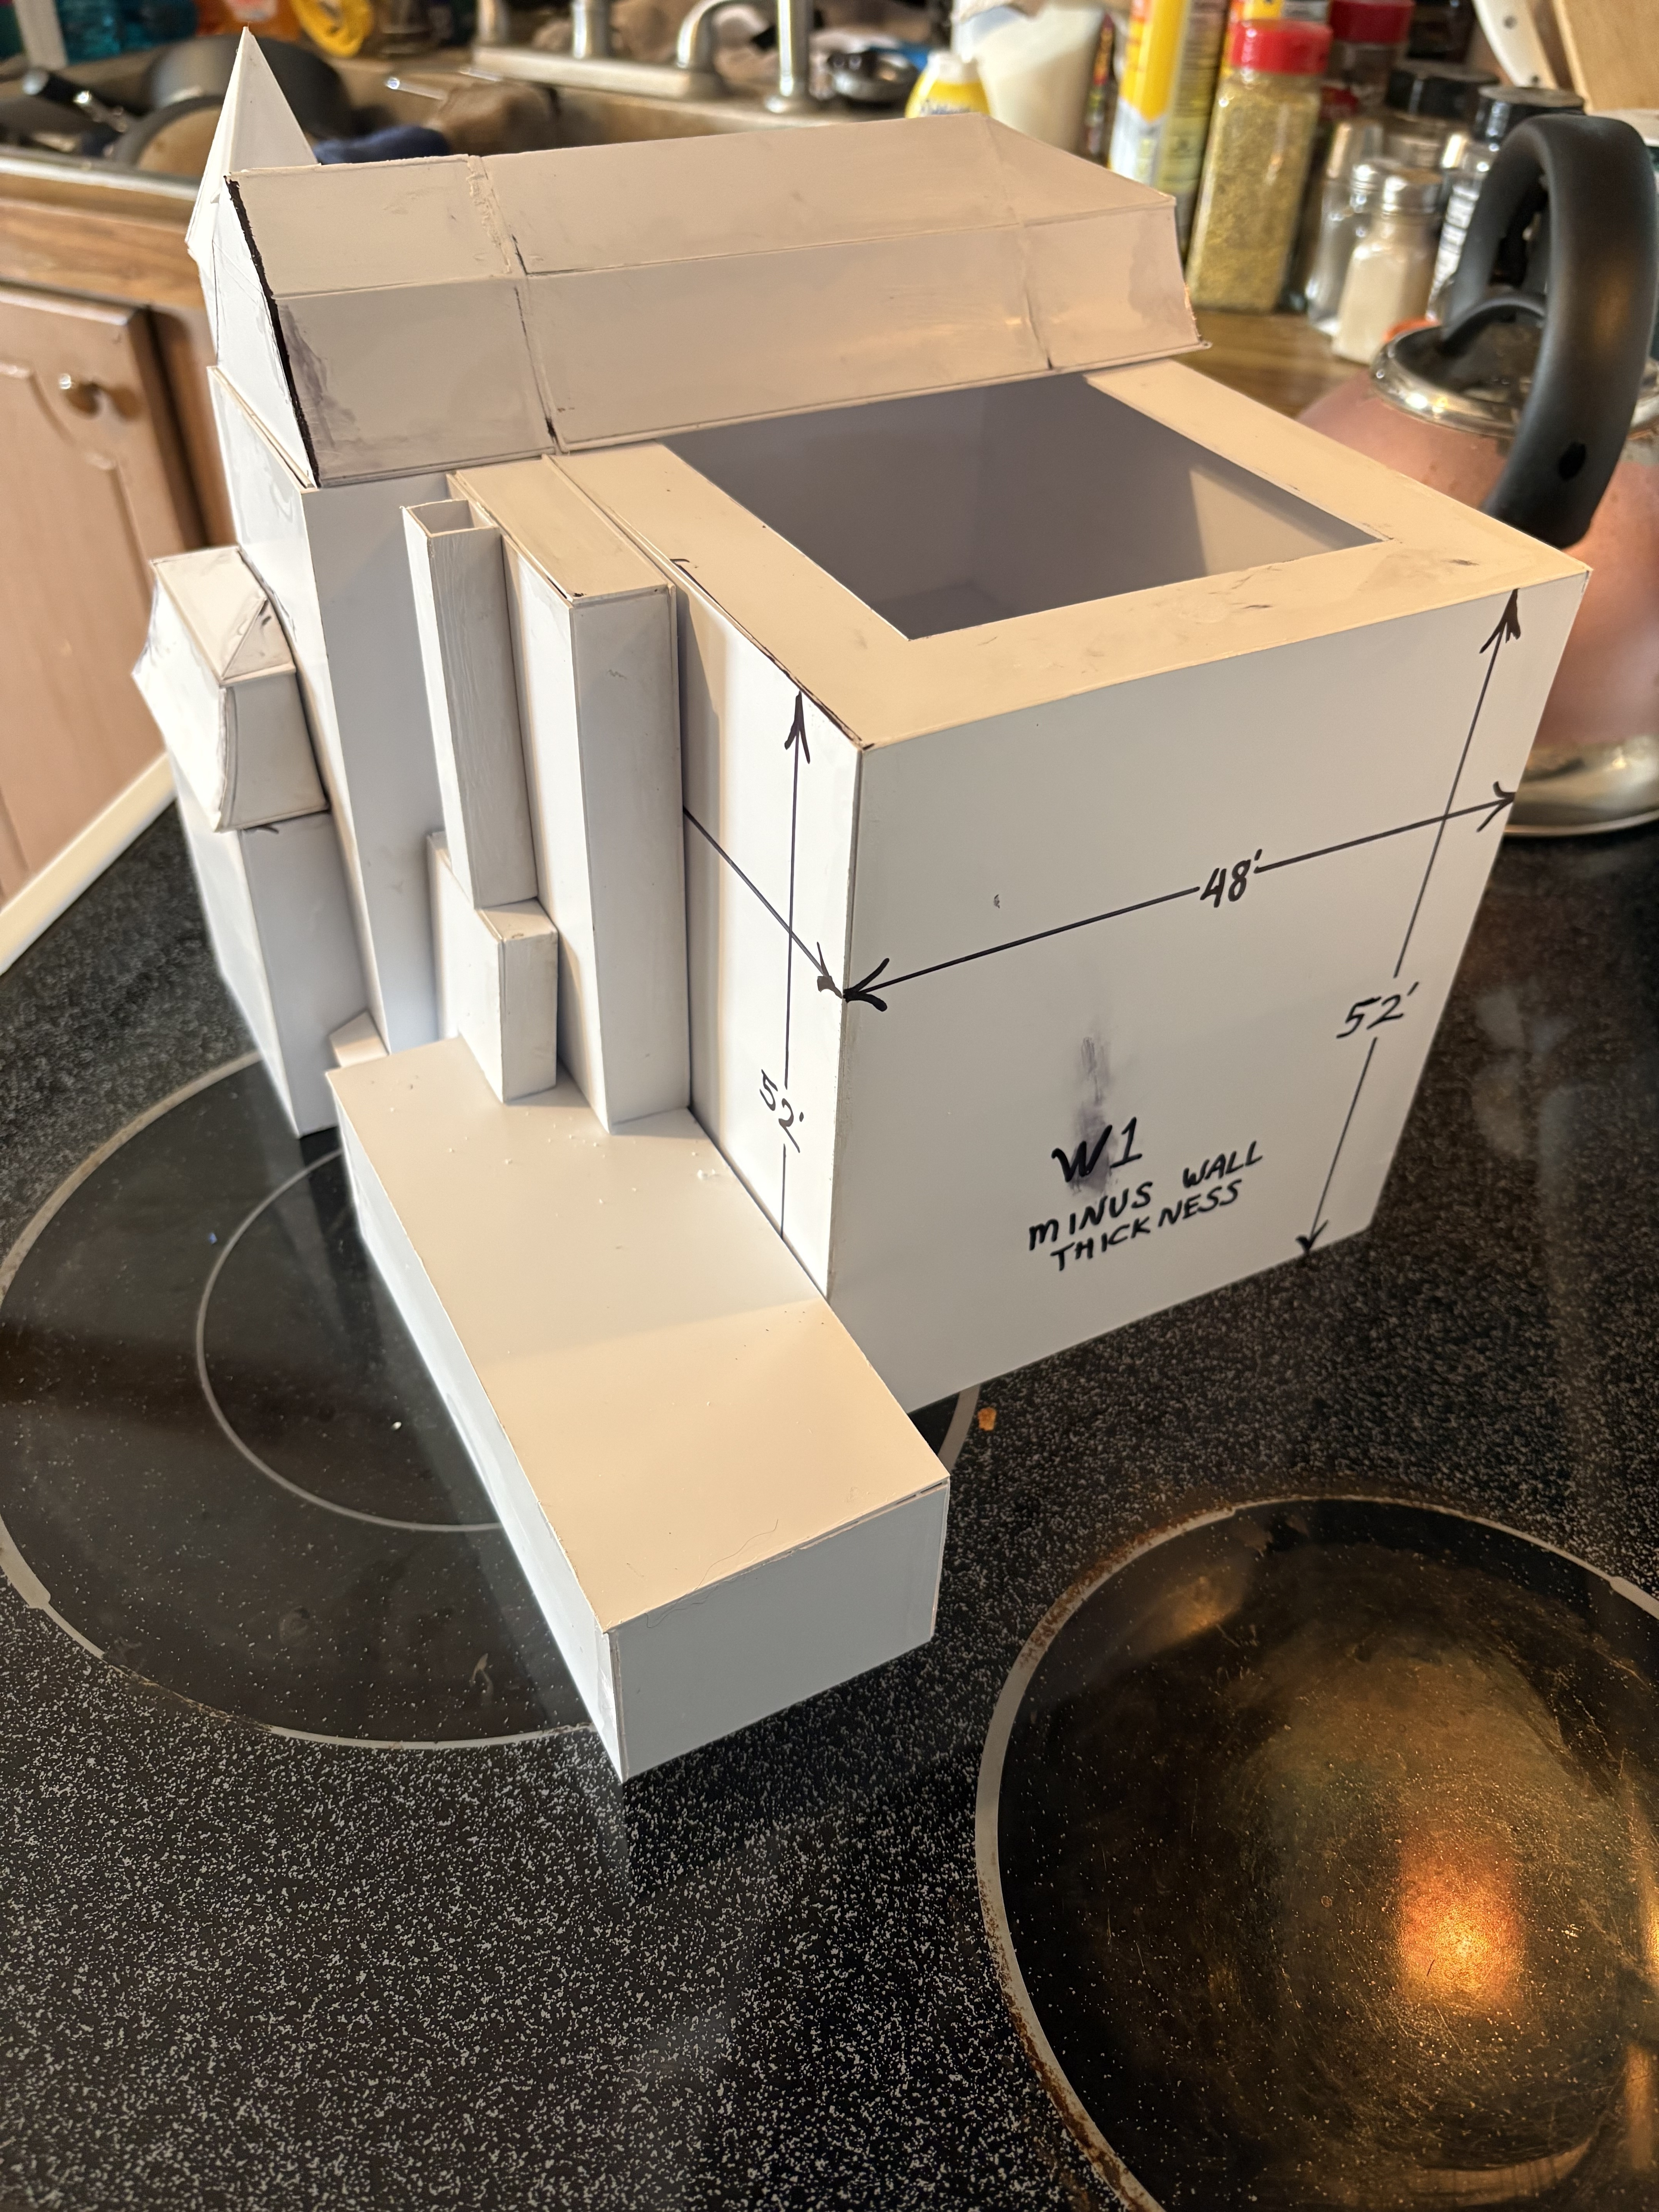
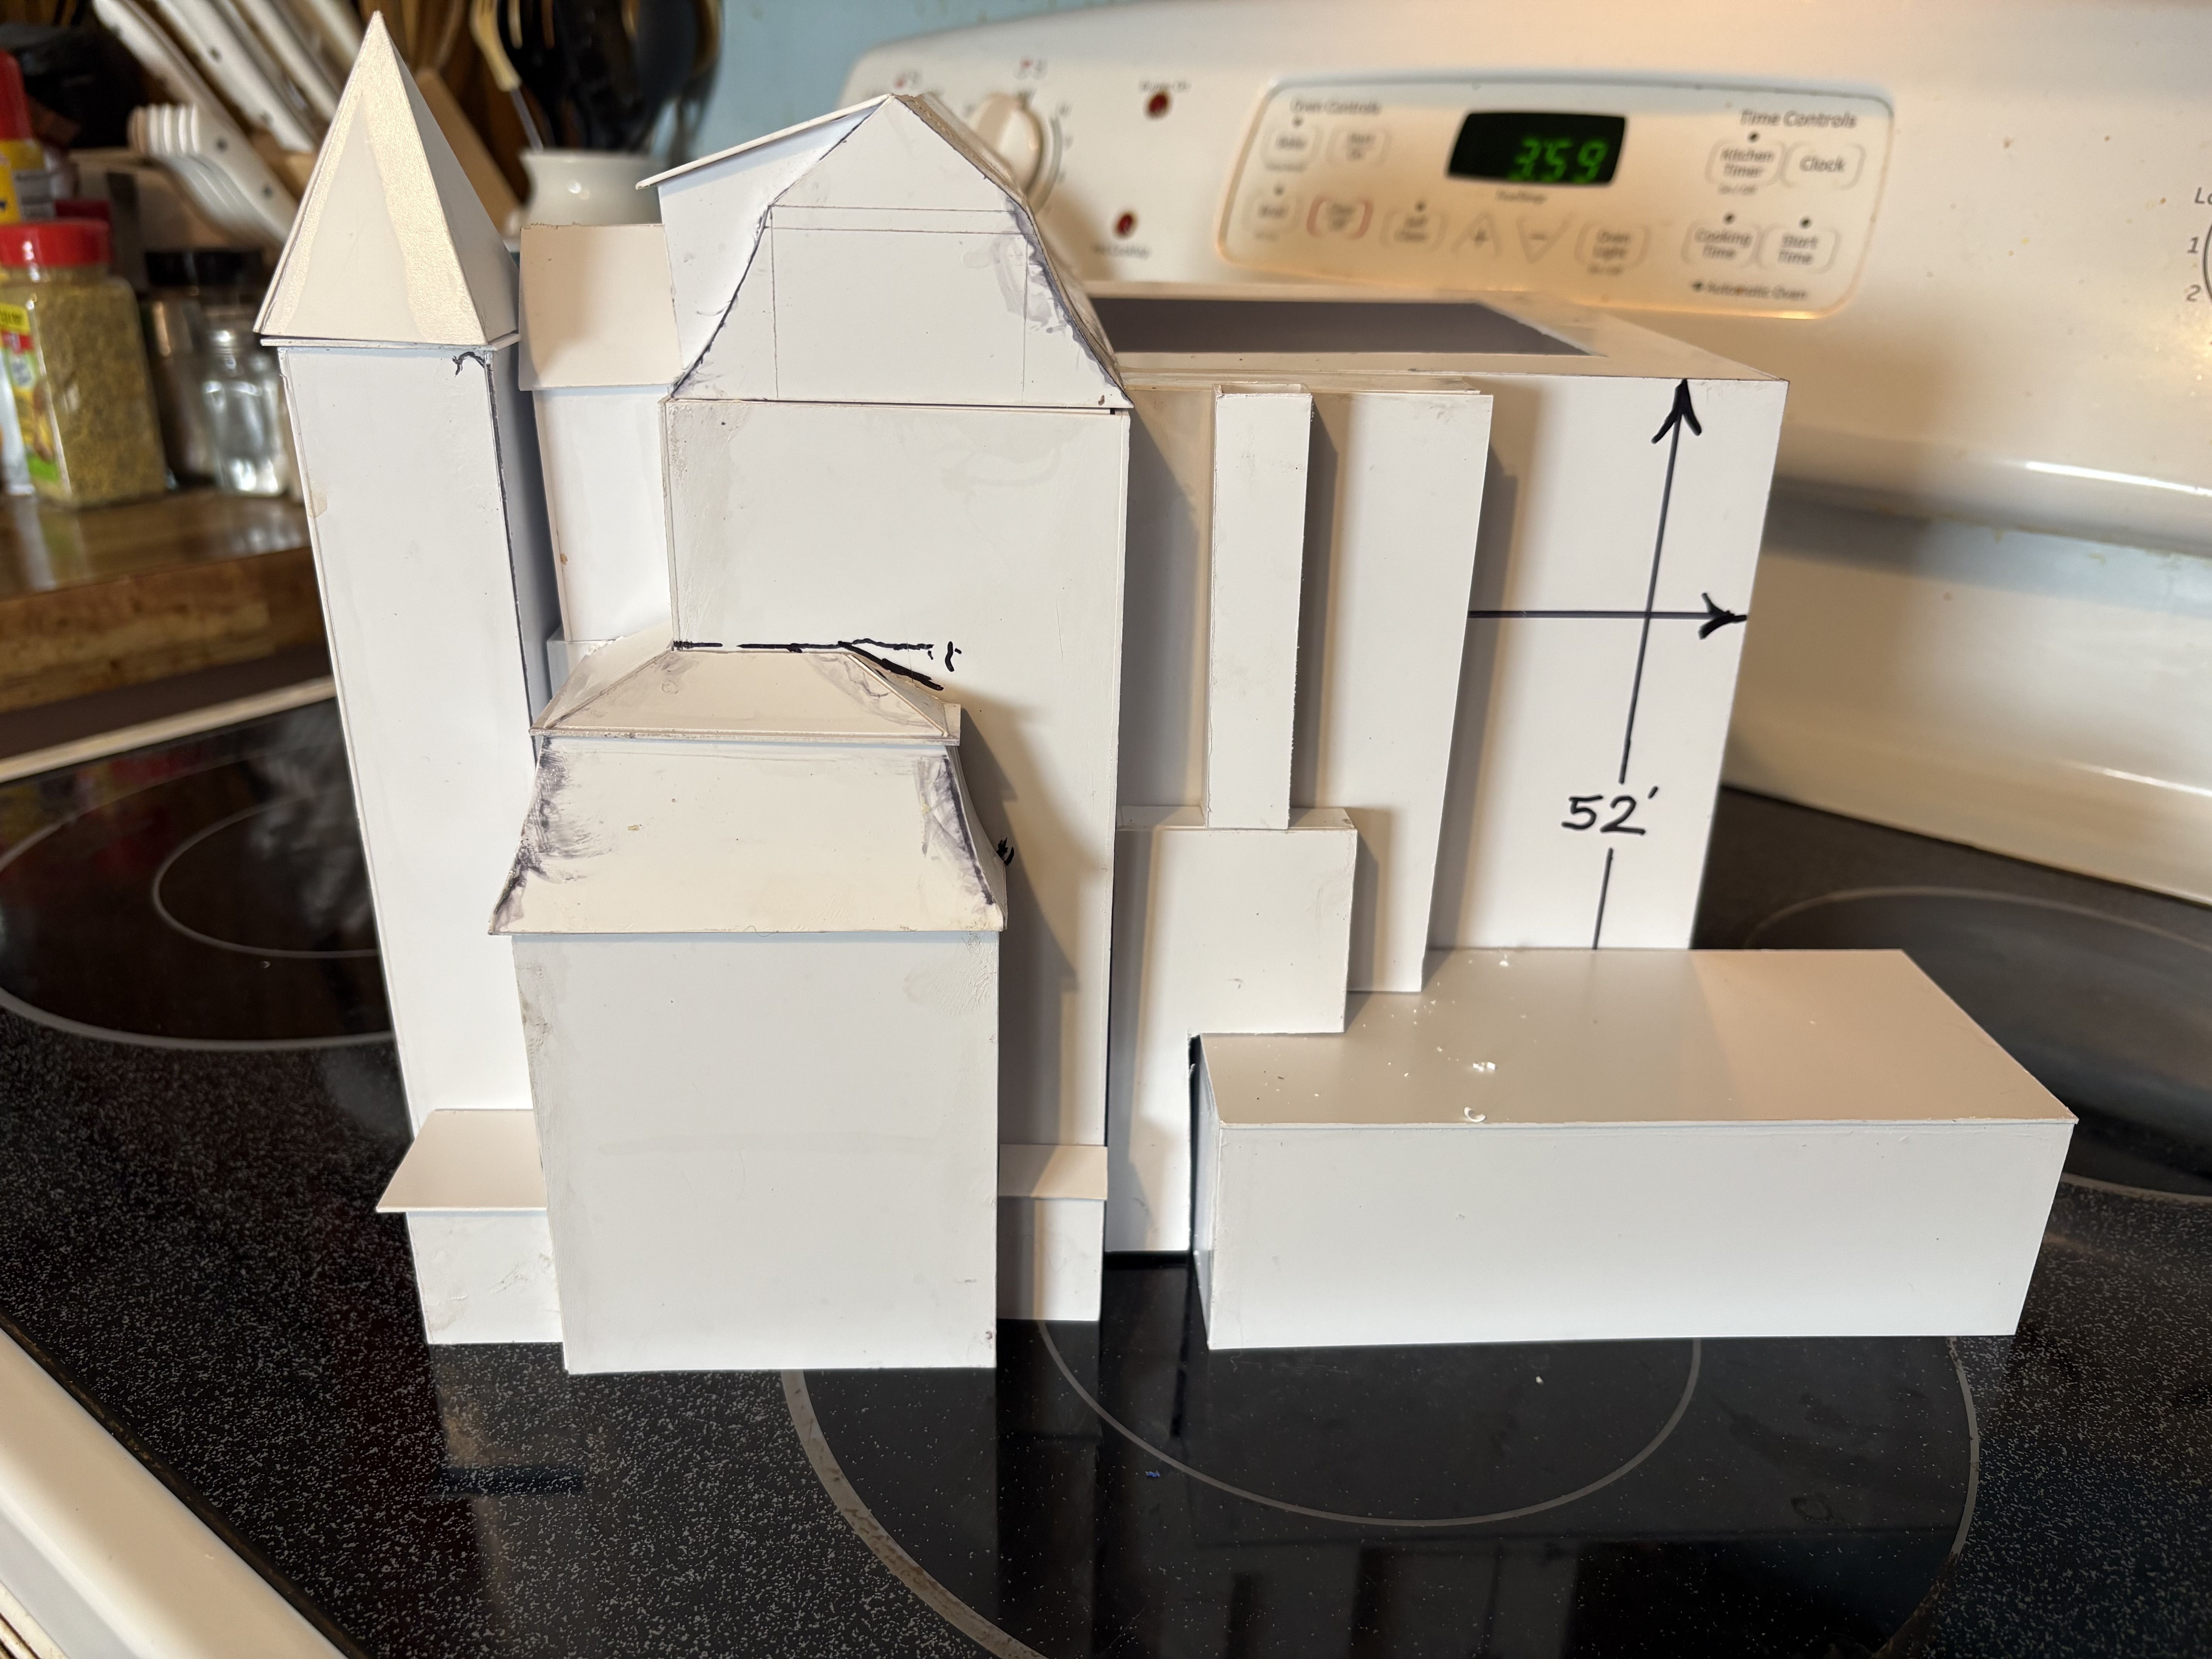
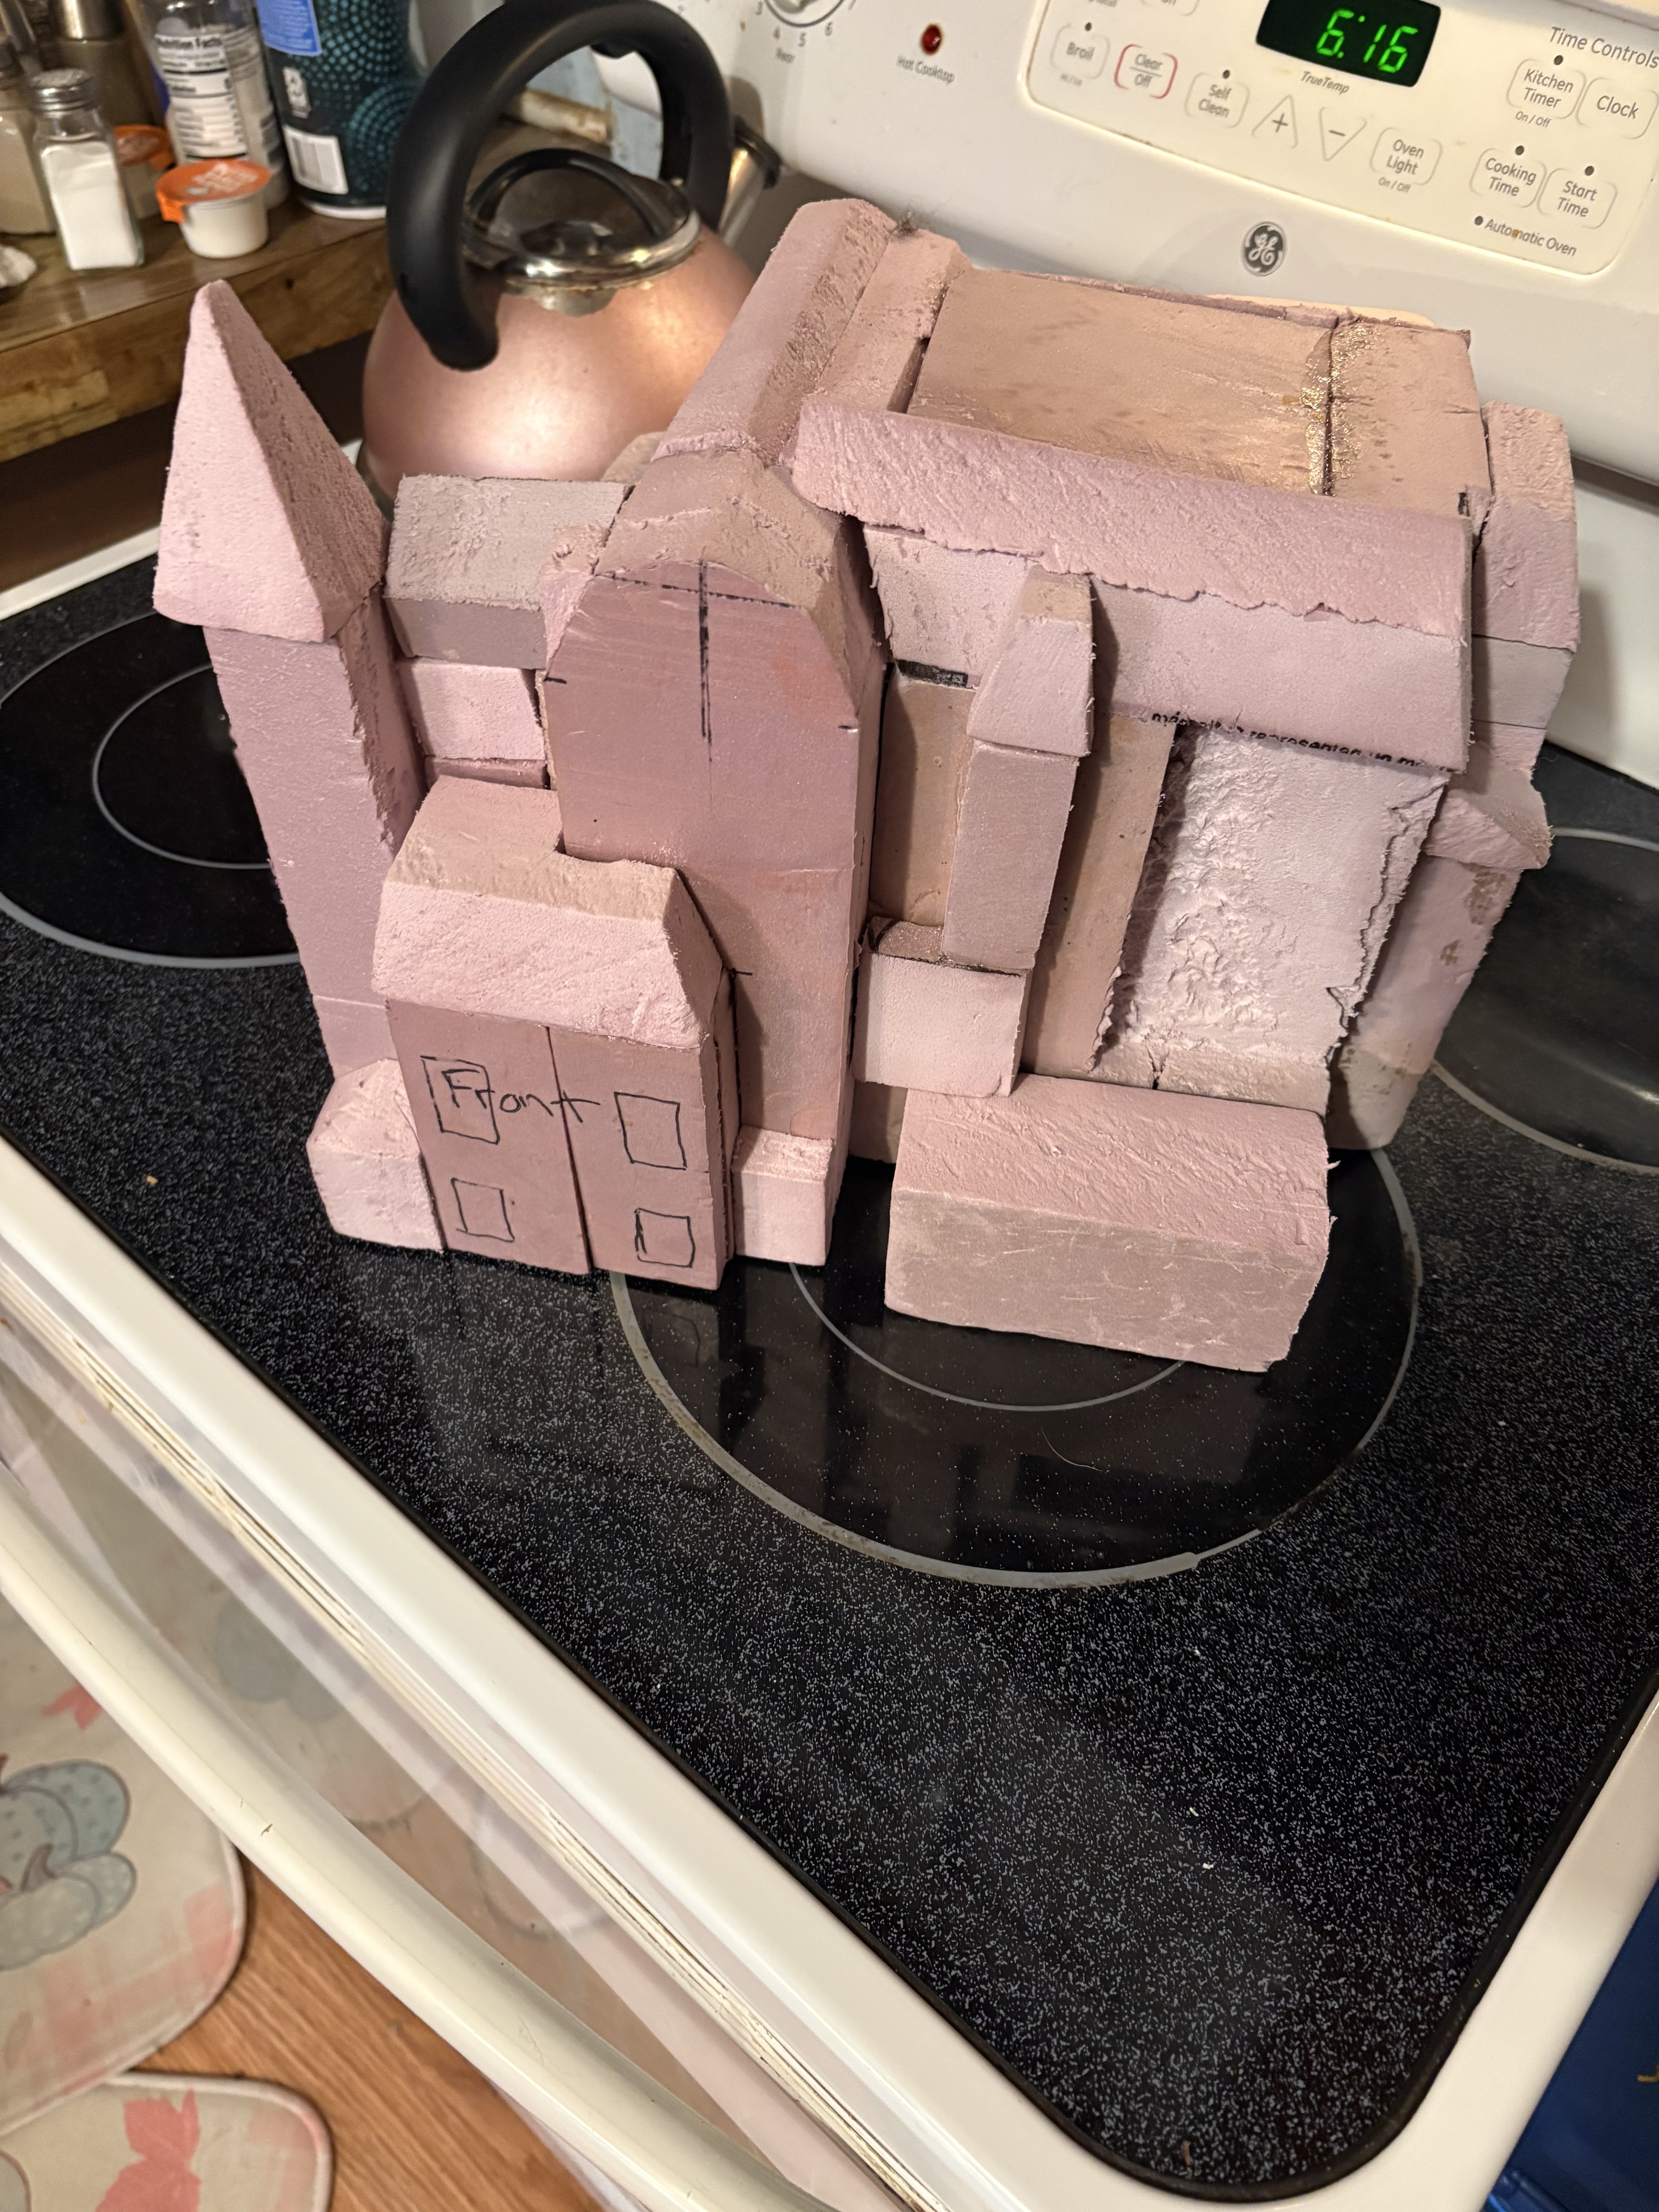
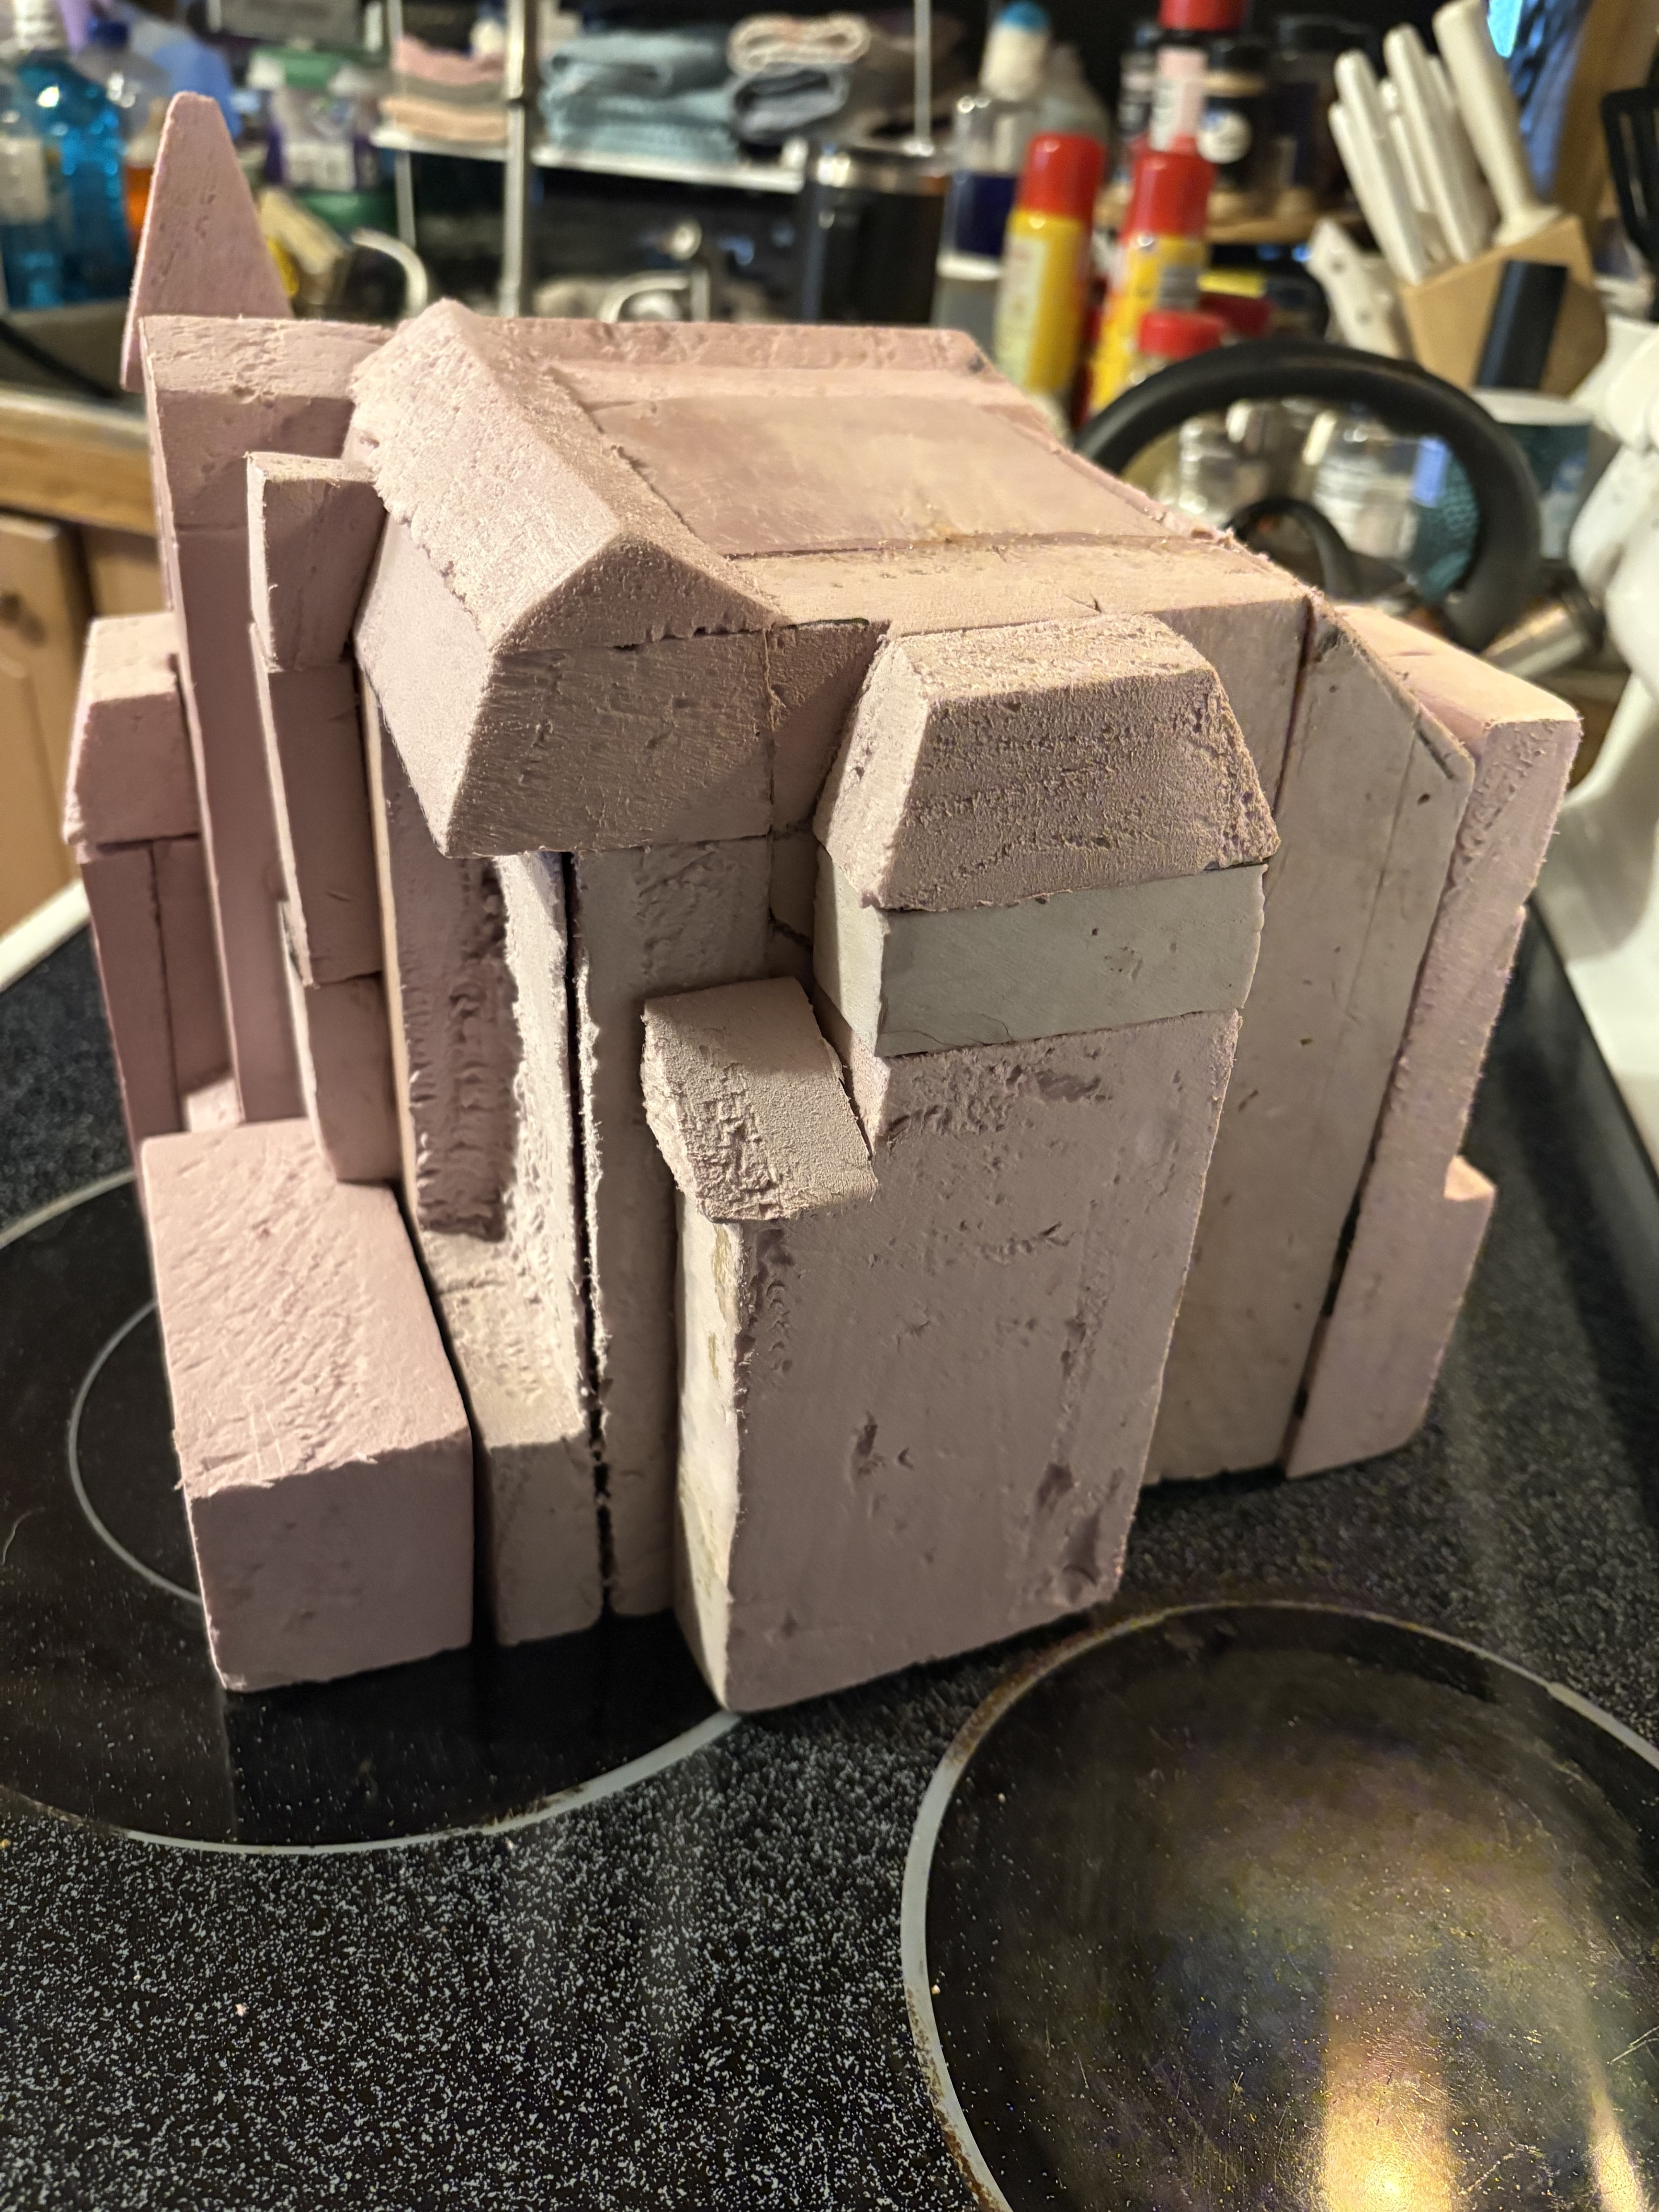
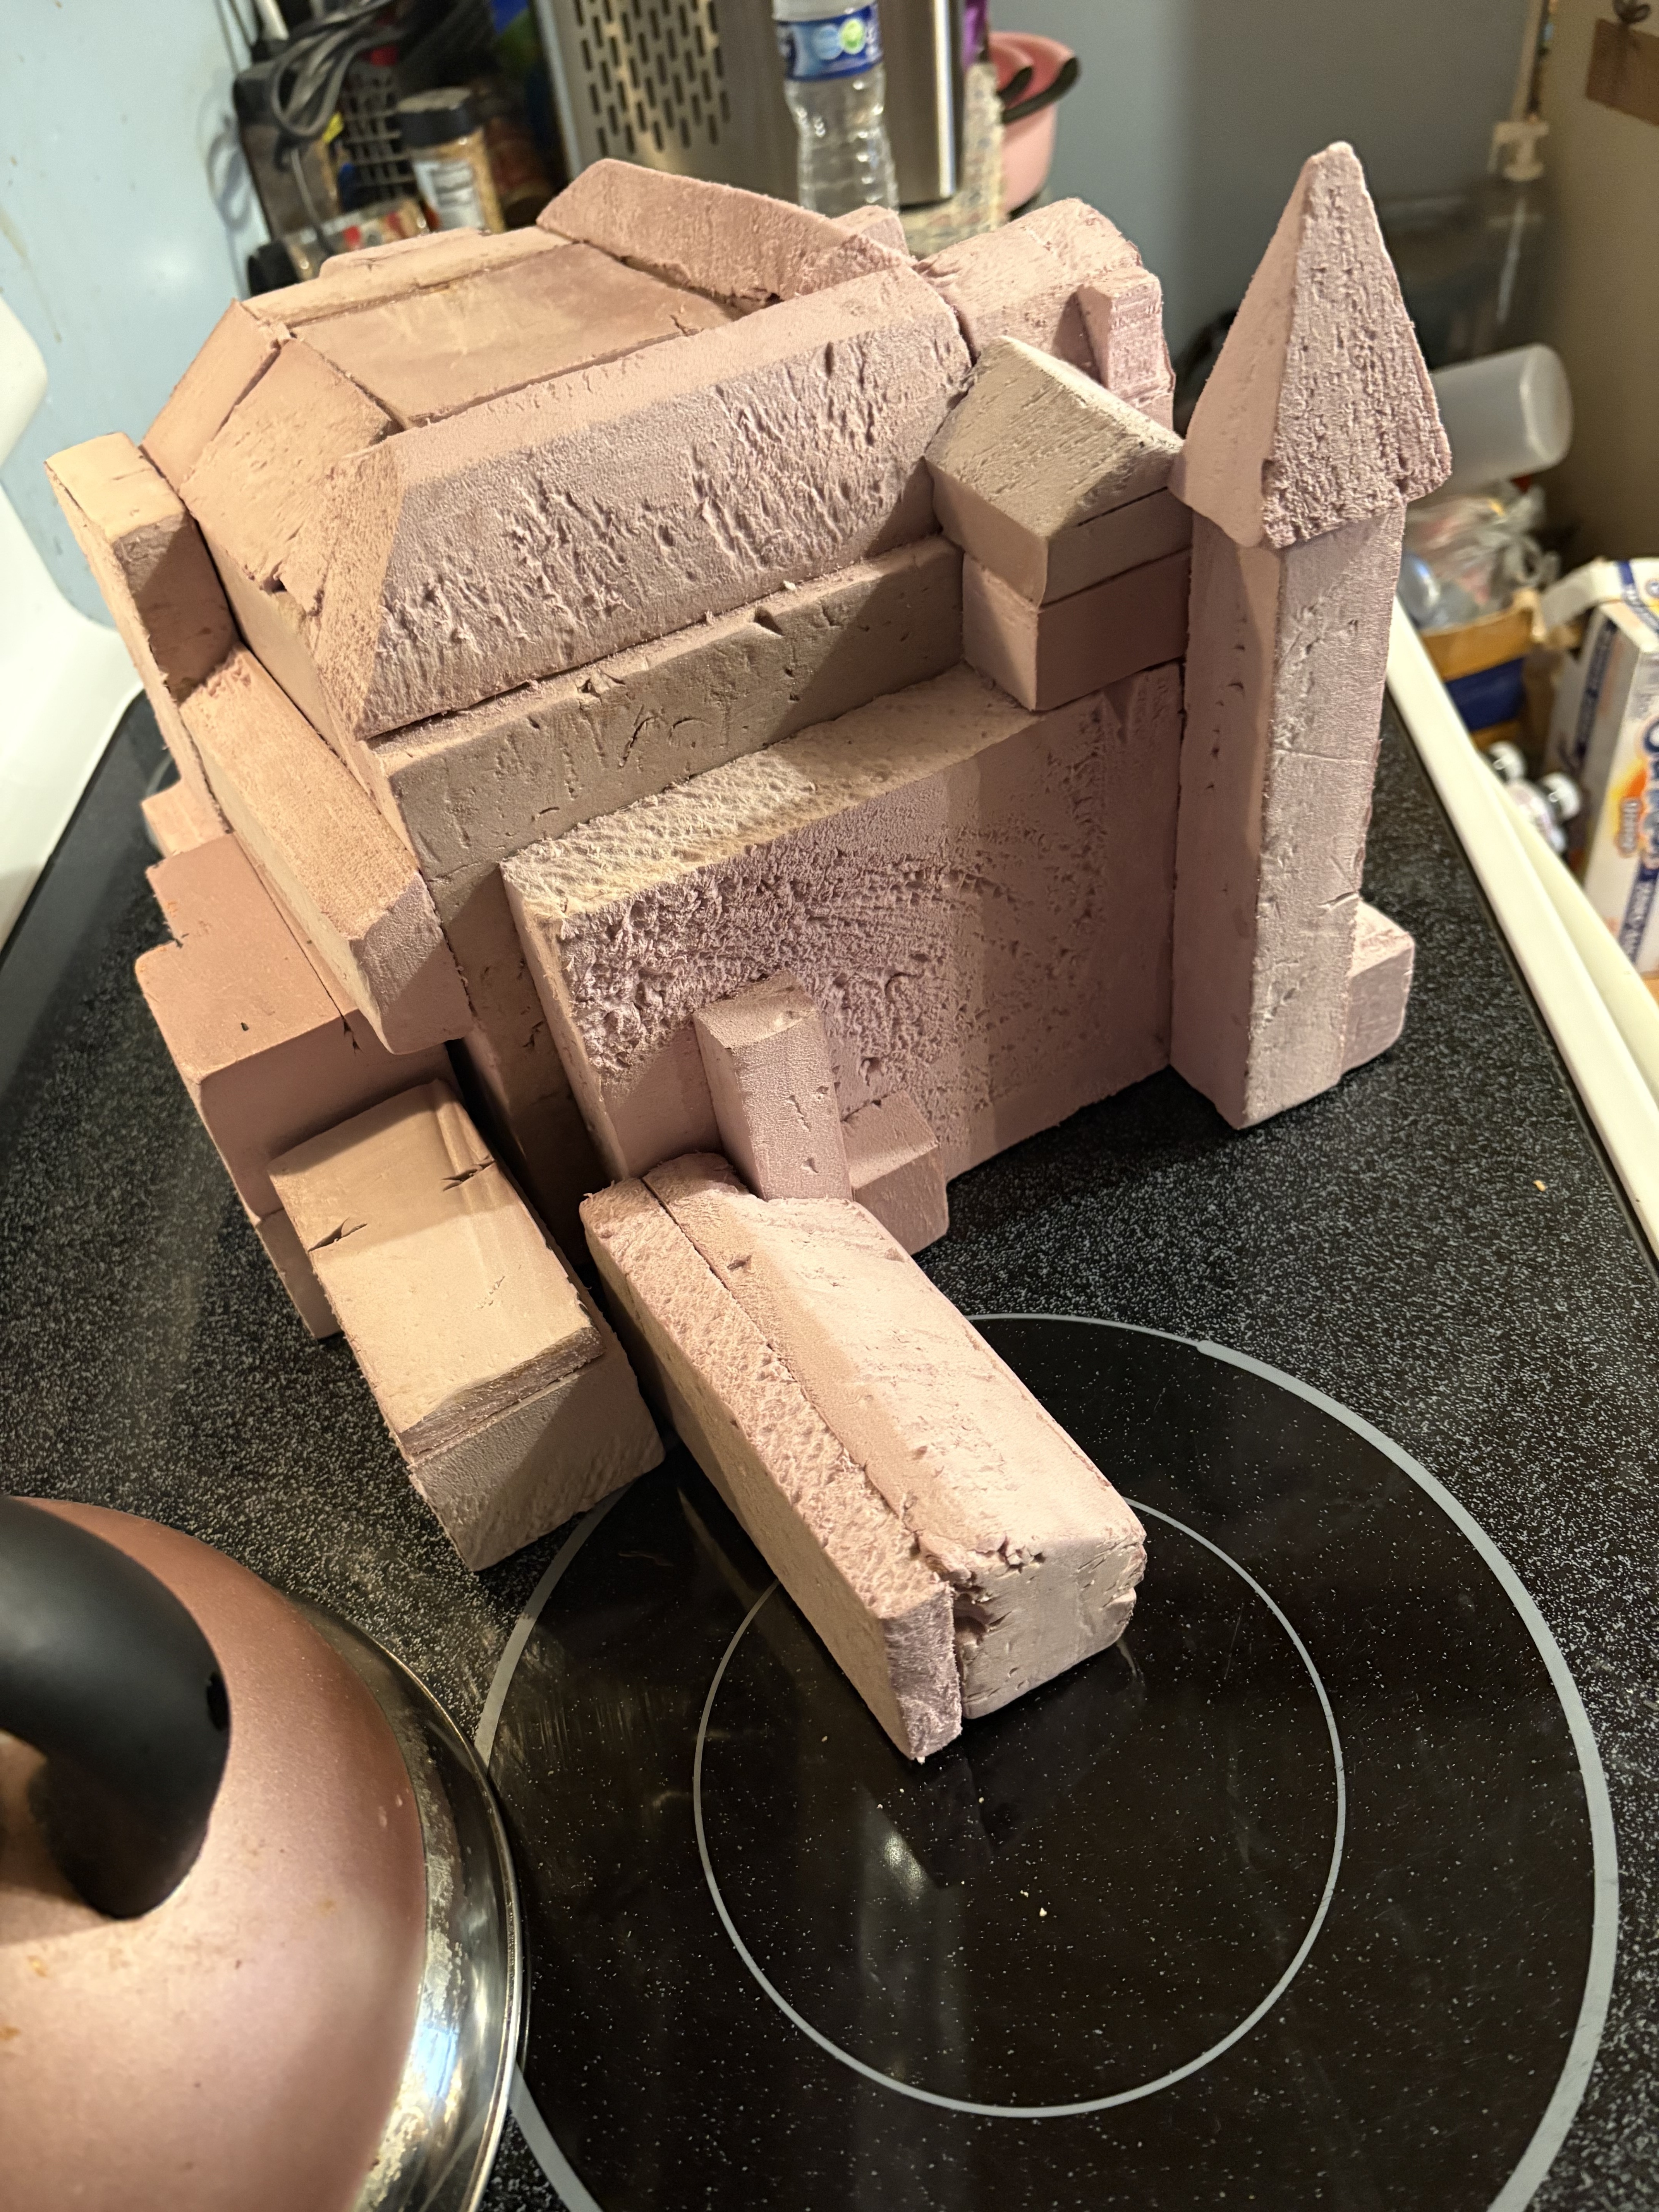
Tom. A little update on the progress. First is the pink foam mock up that I crudely slapped together to get an idea of how it would lay out from my sketch. It’s pretty much been heavily modified from what it started out as and is no longer needed. Currently there are 37 separate pieces and the building has become quite massive and complicated. It may be too much but I will see how it continues to change and evolve. It will all make a lot more sense with doors and windows and siding which I might start on next week hopefully 🤞 I keep going back and making changes as things evolve. I’m sure that will continue till the end.
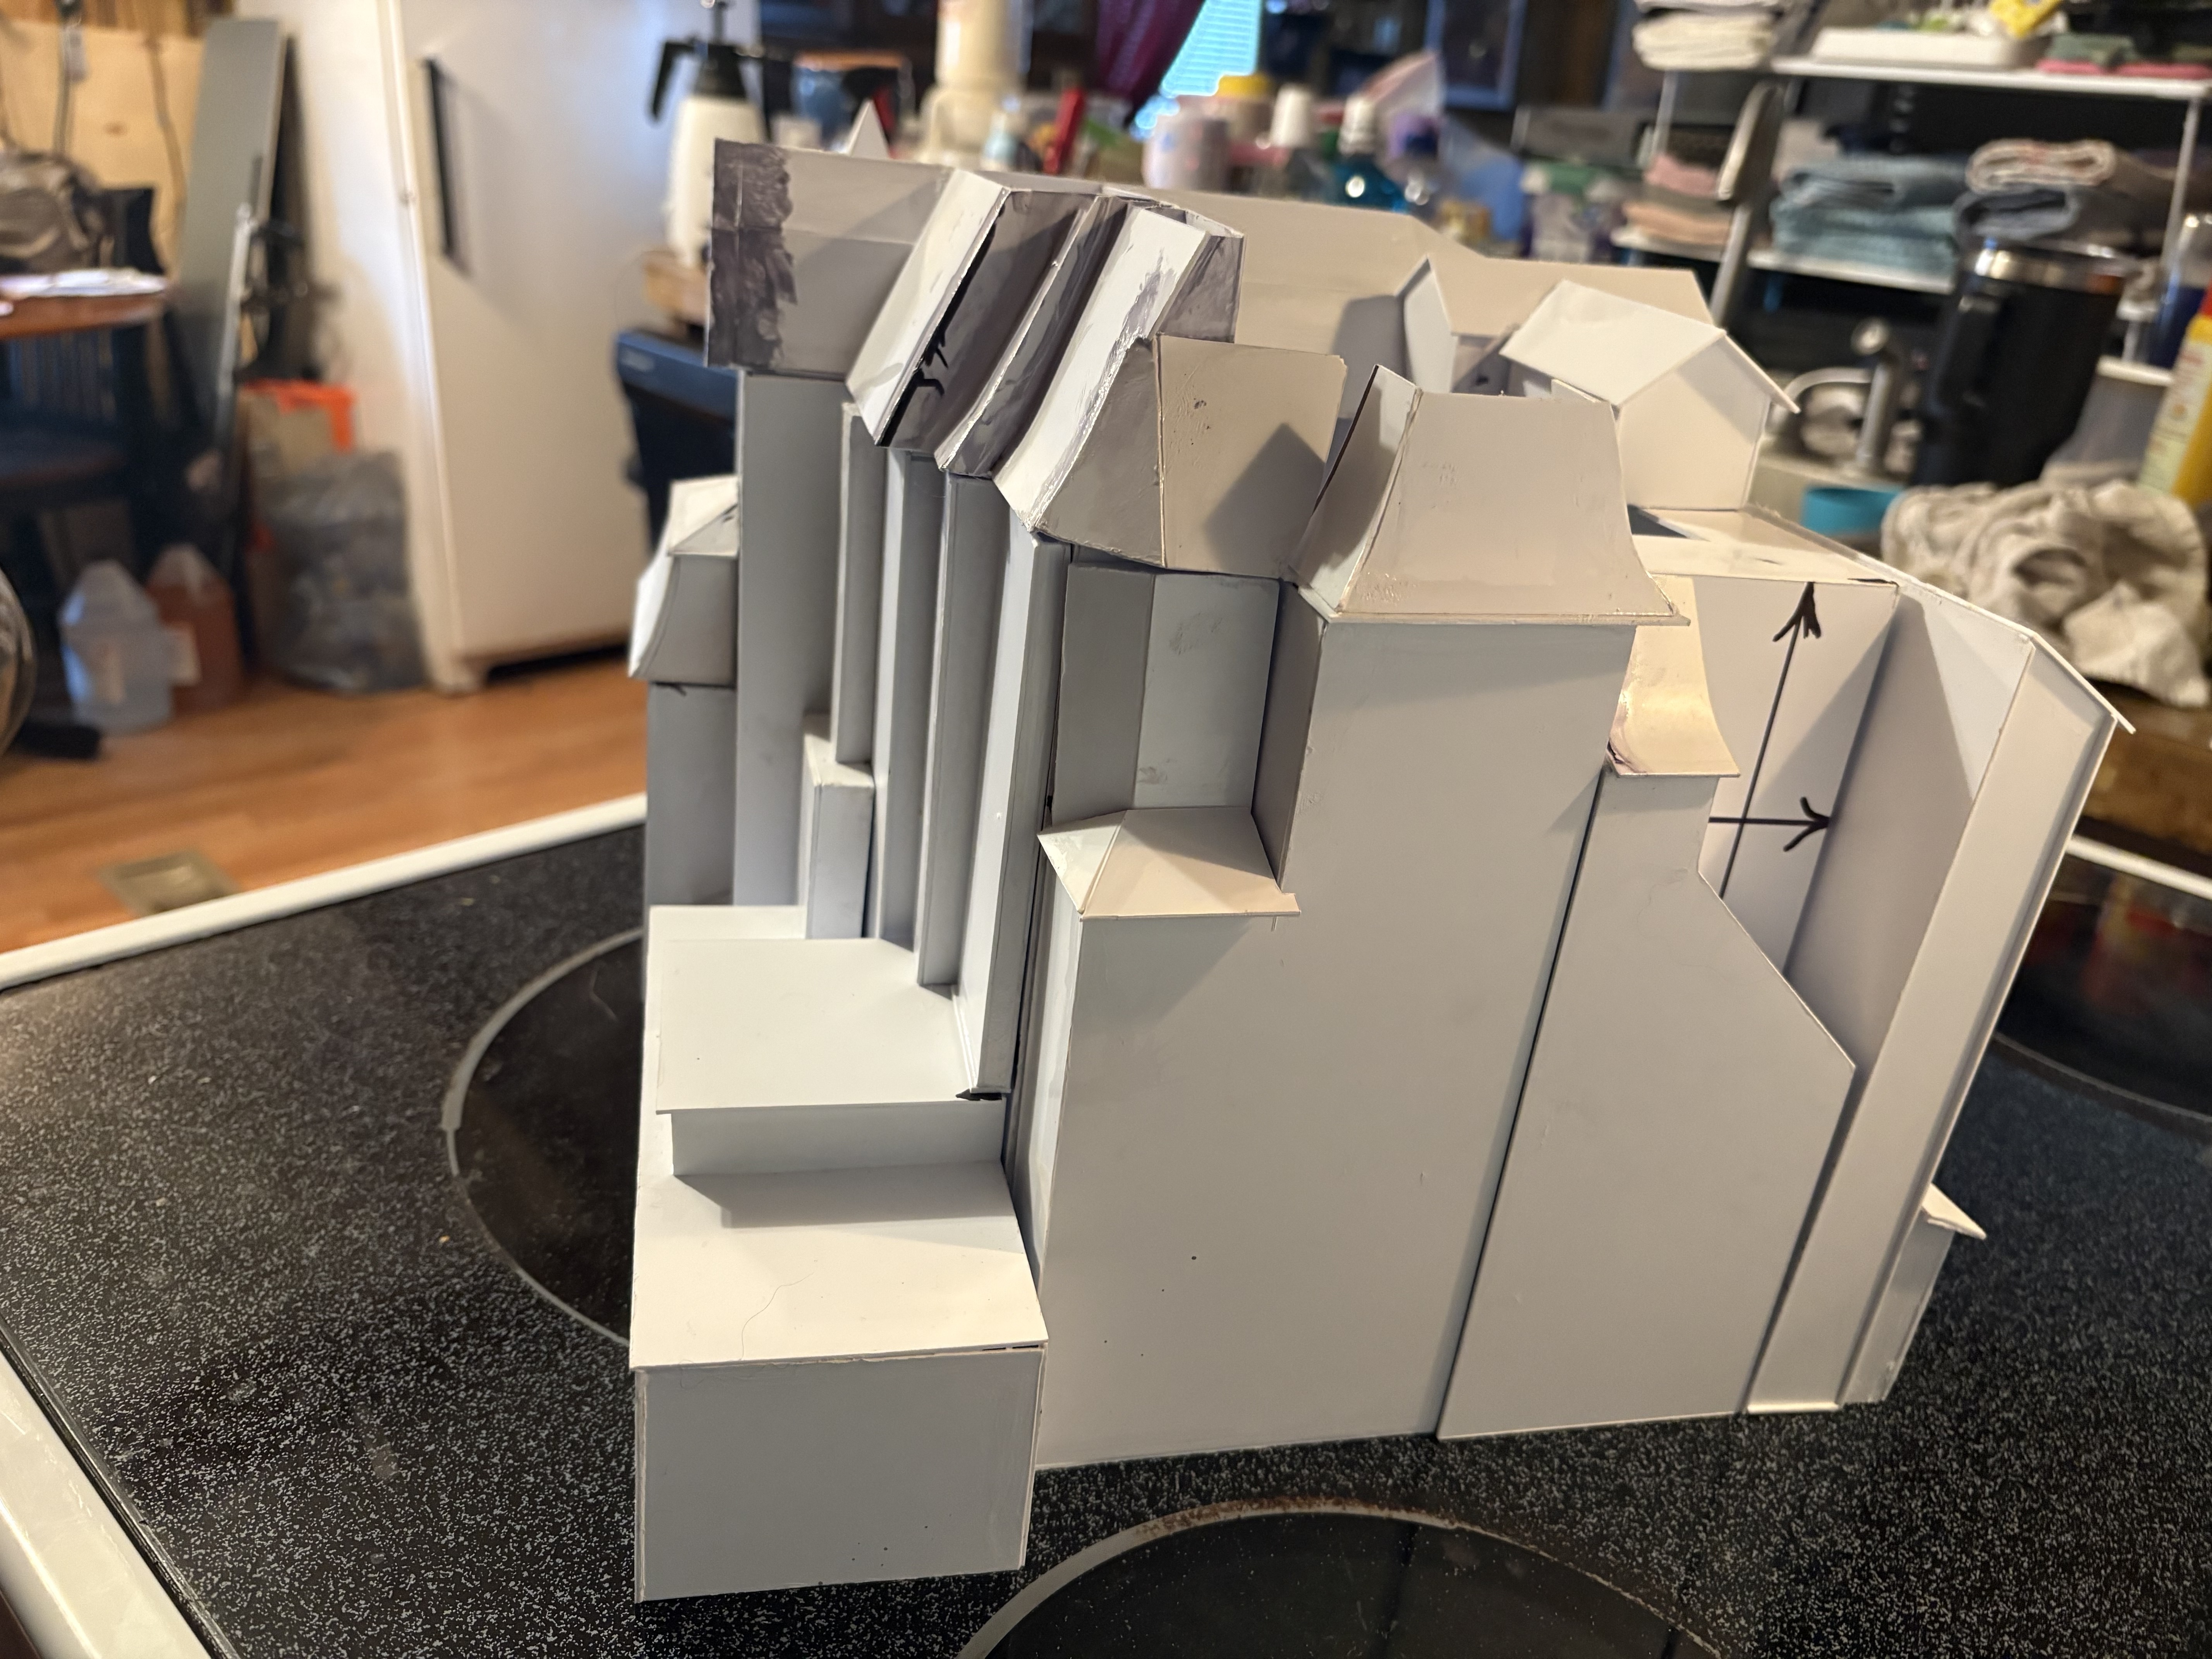
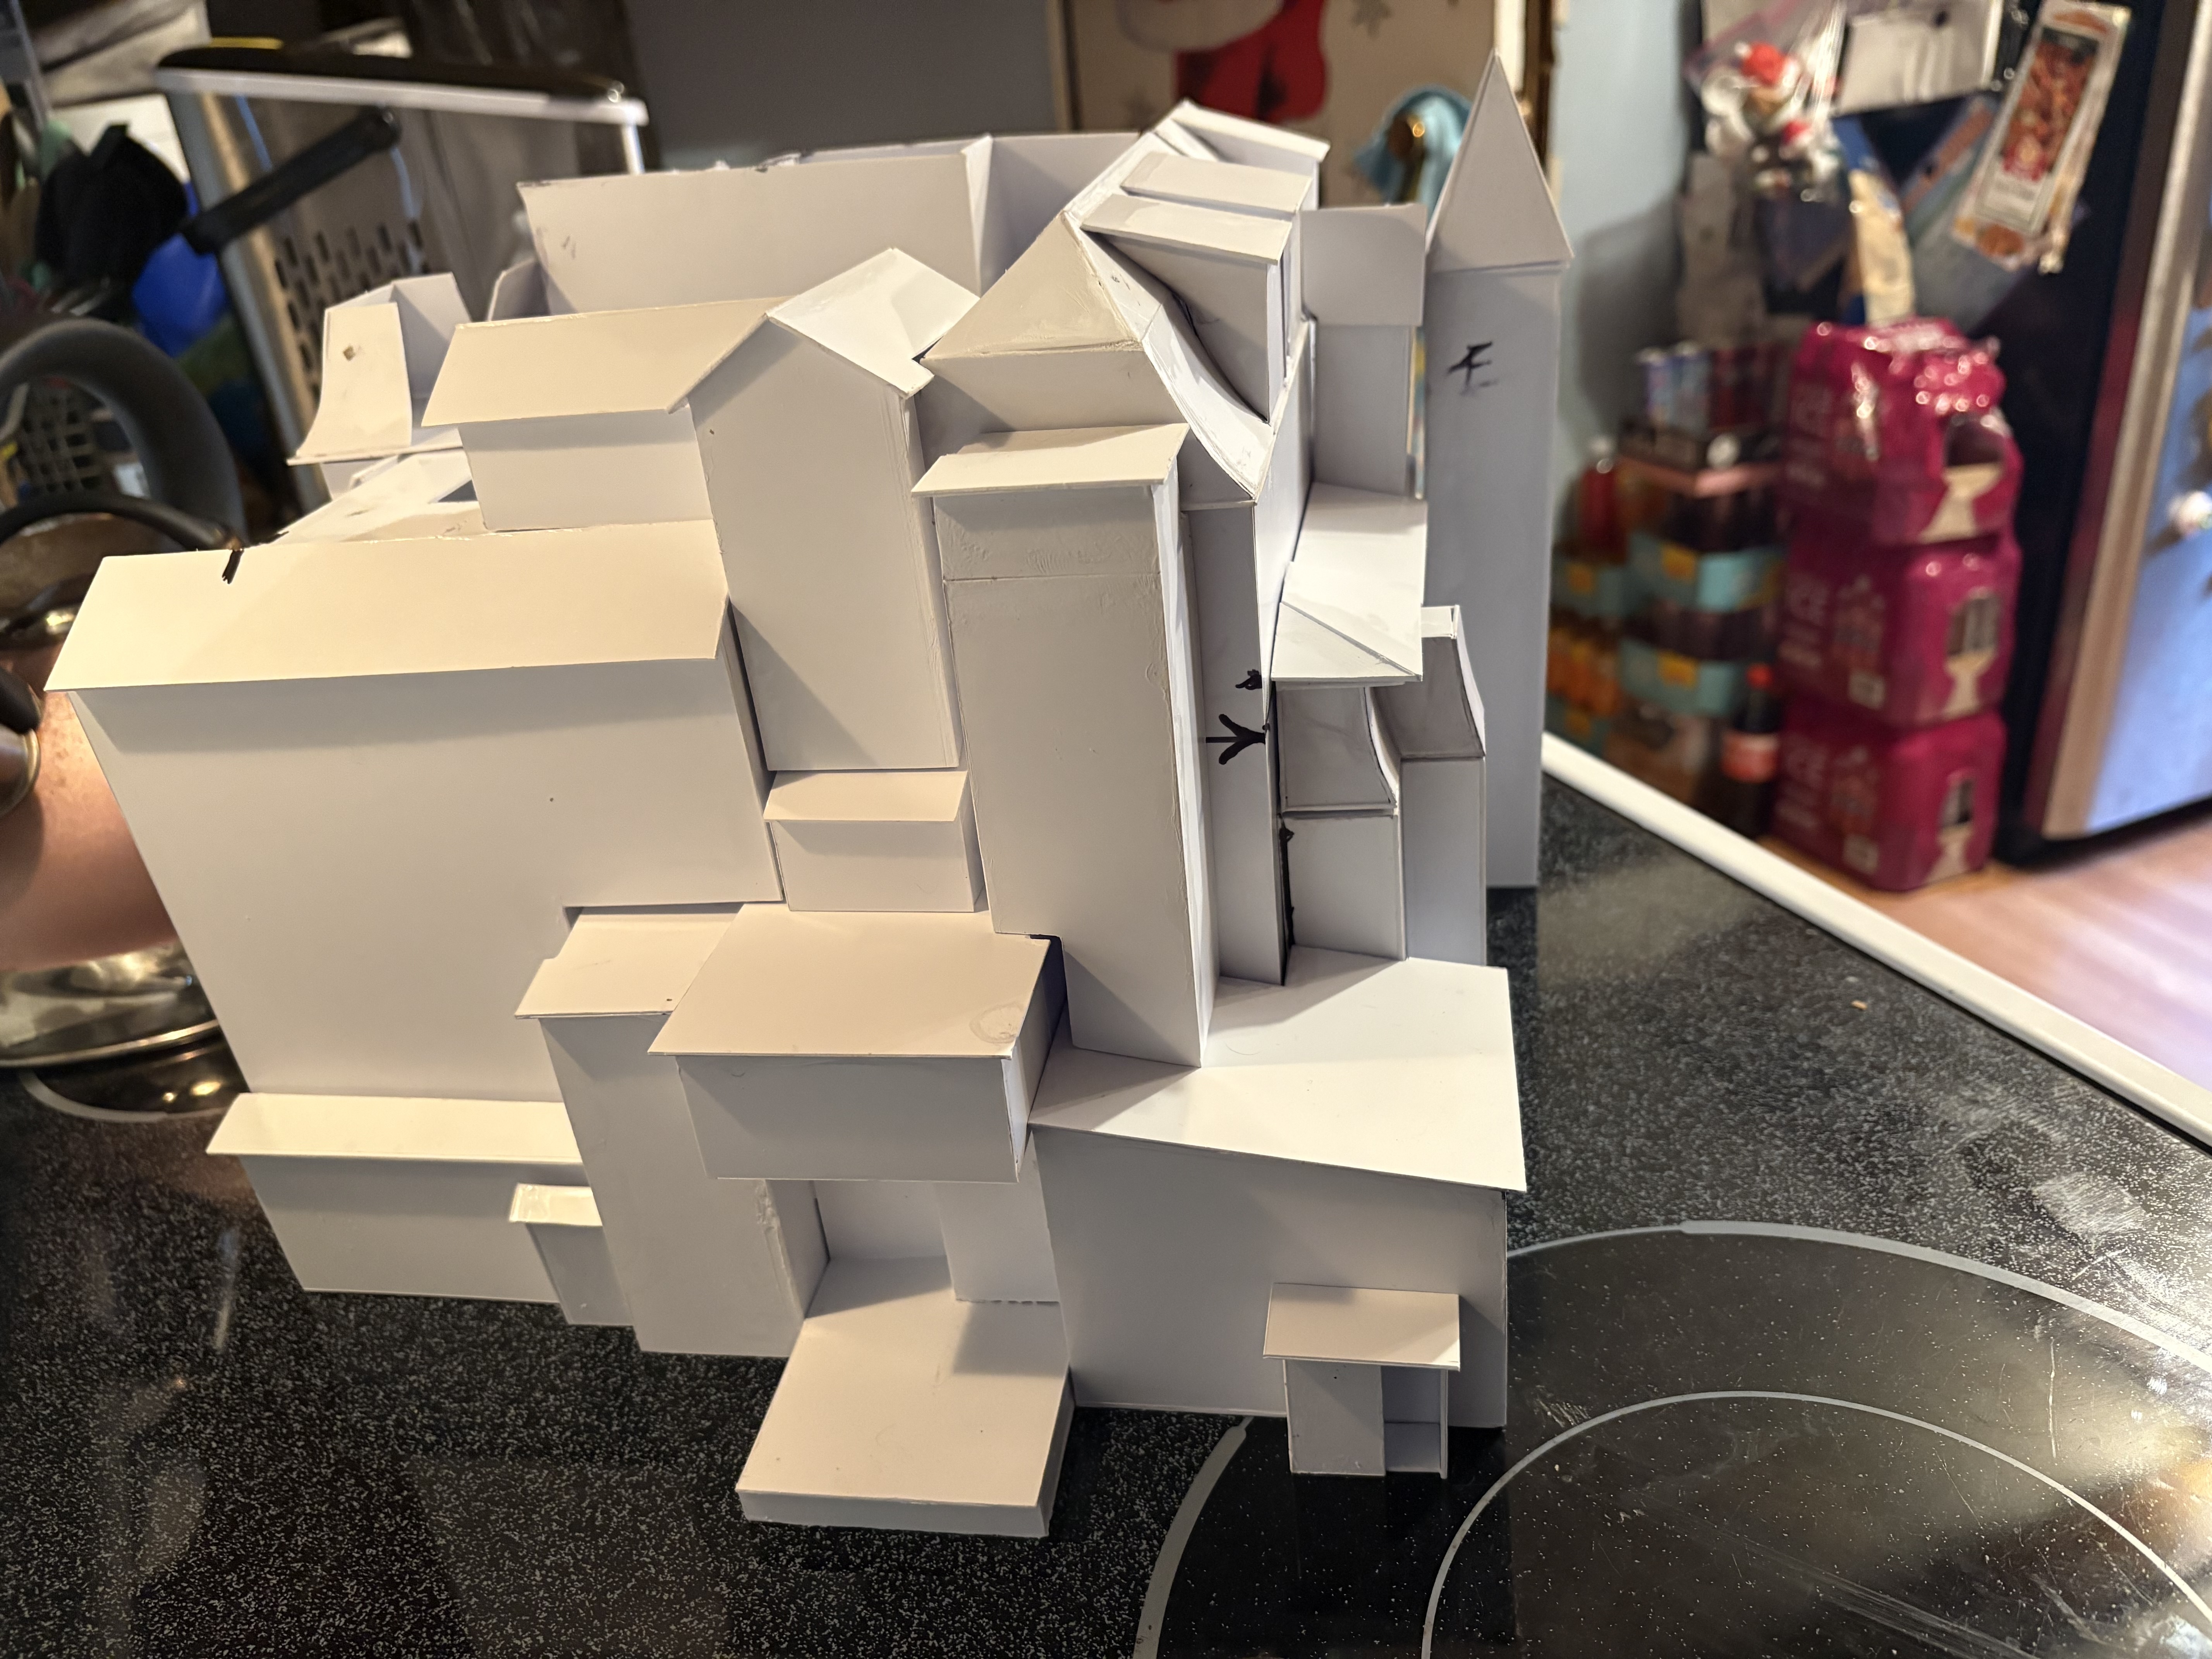
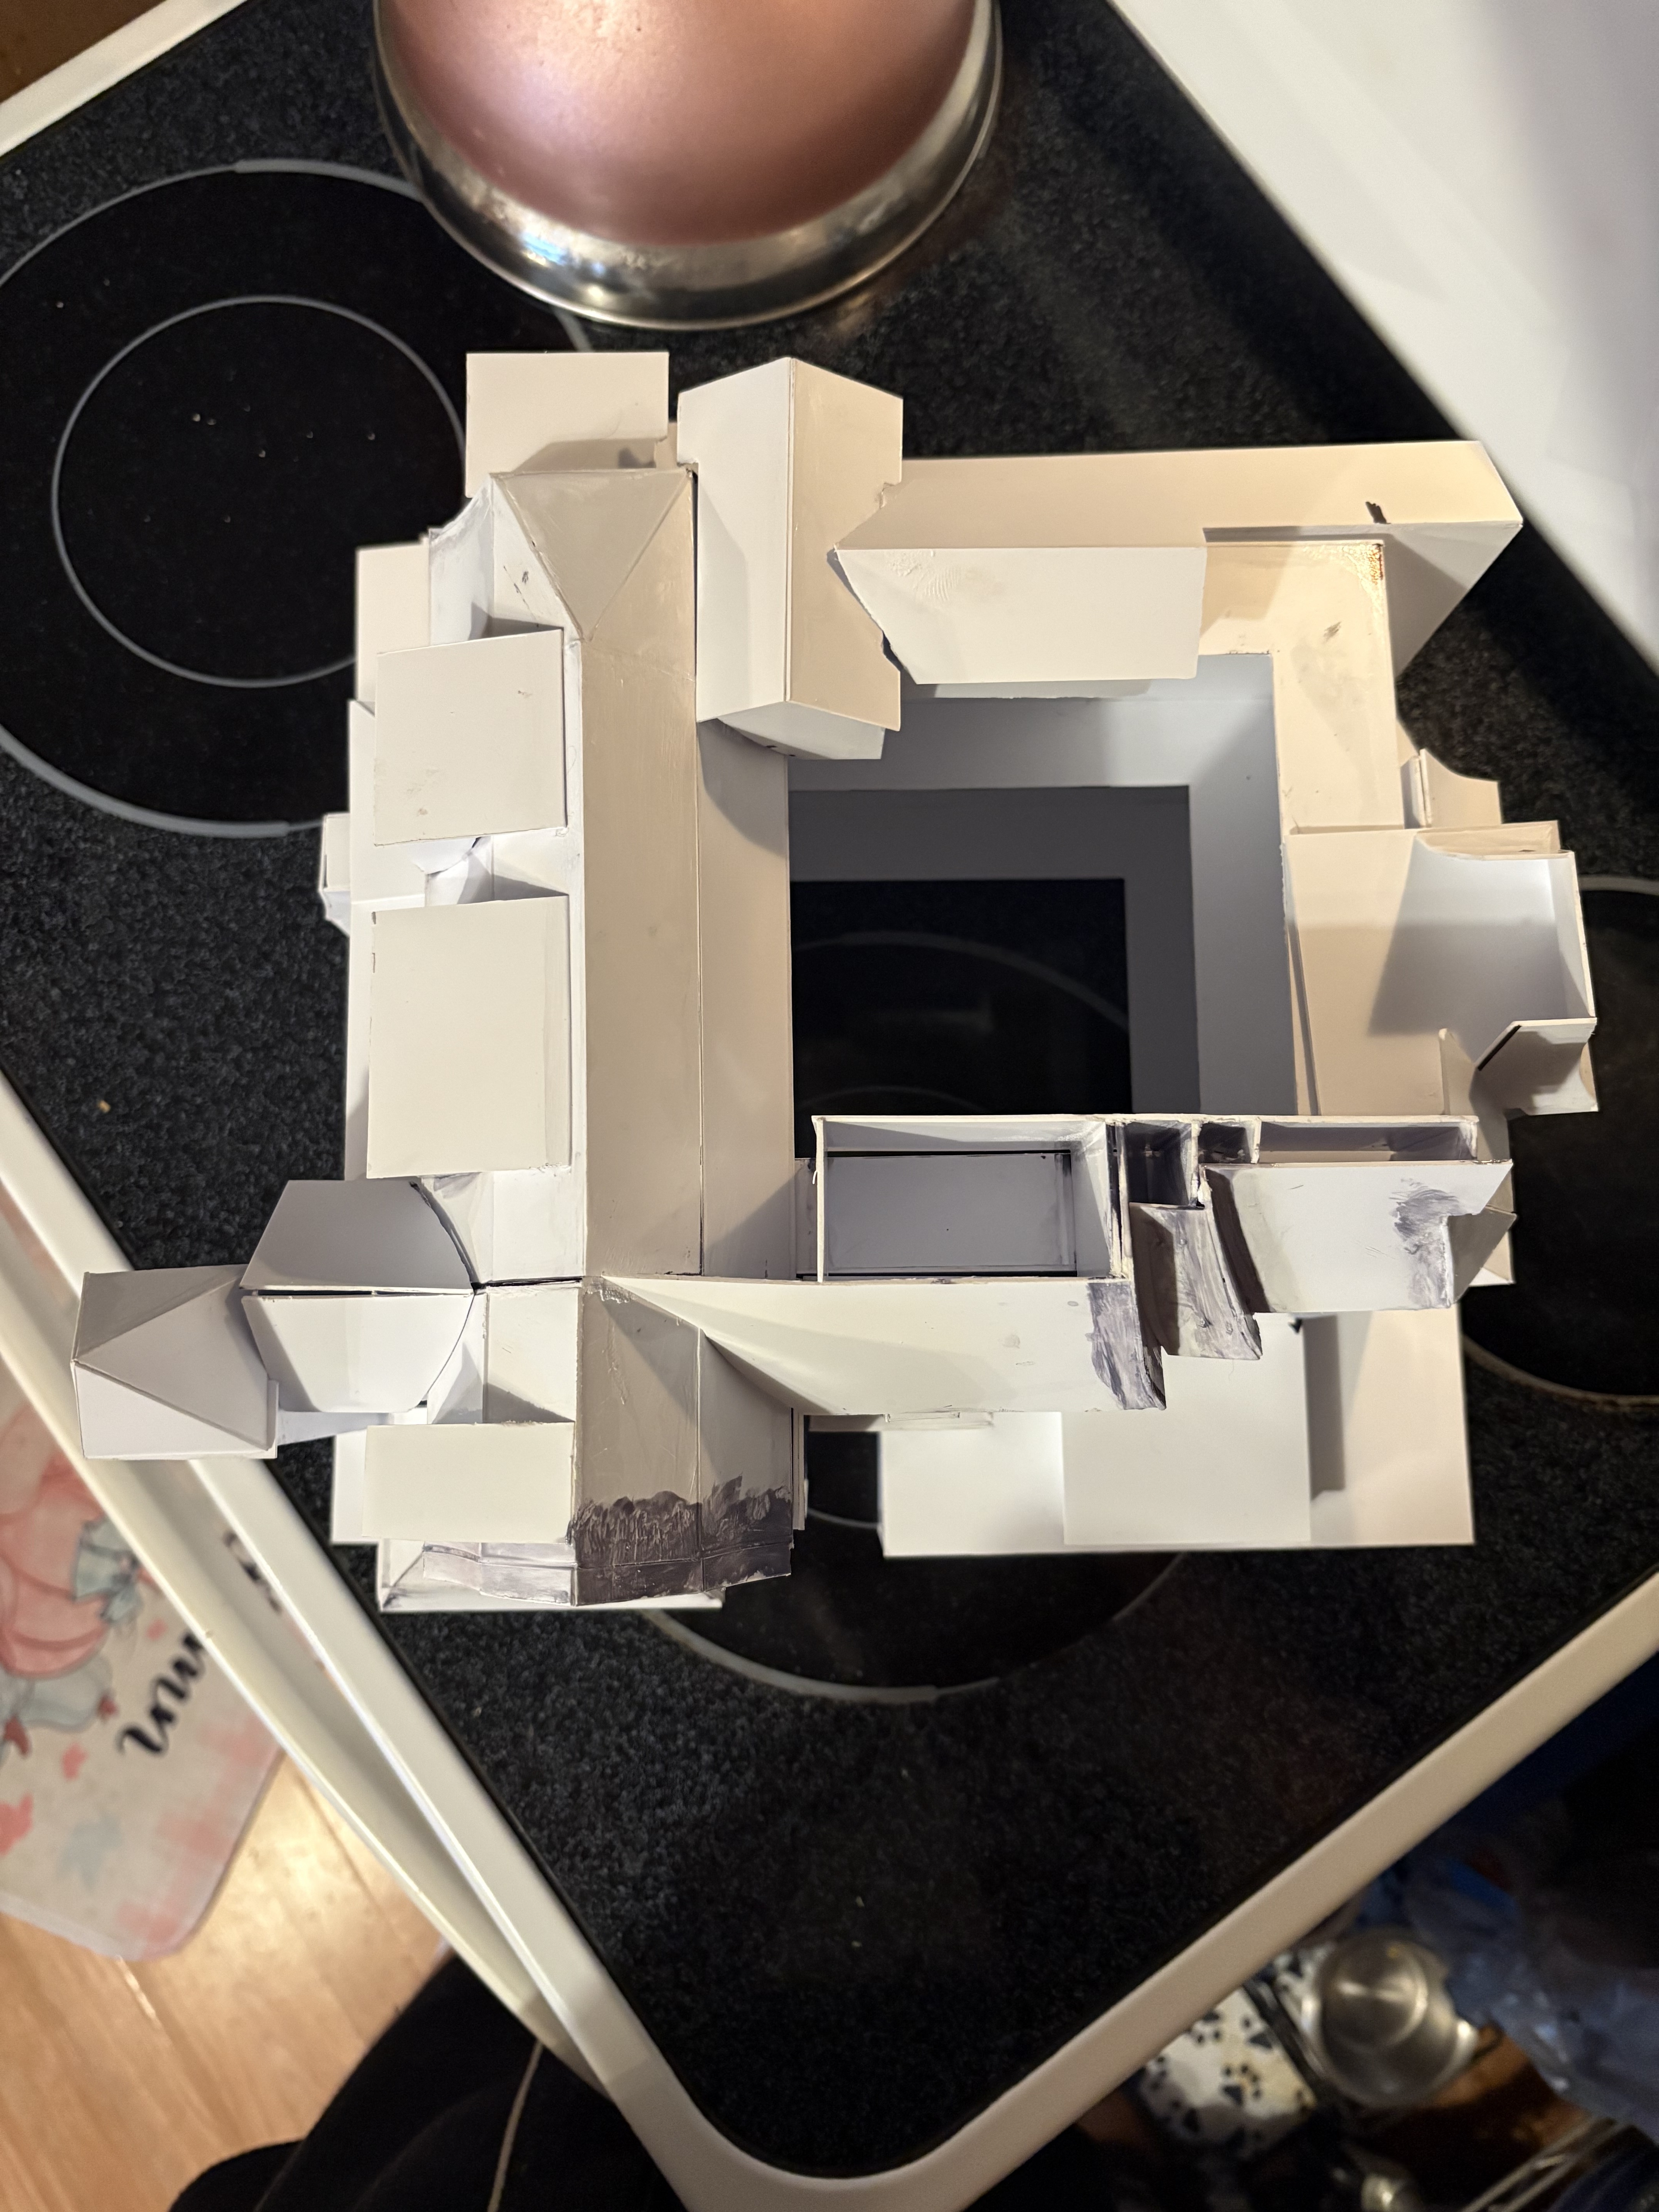
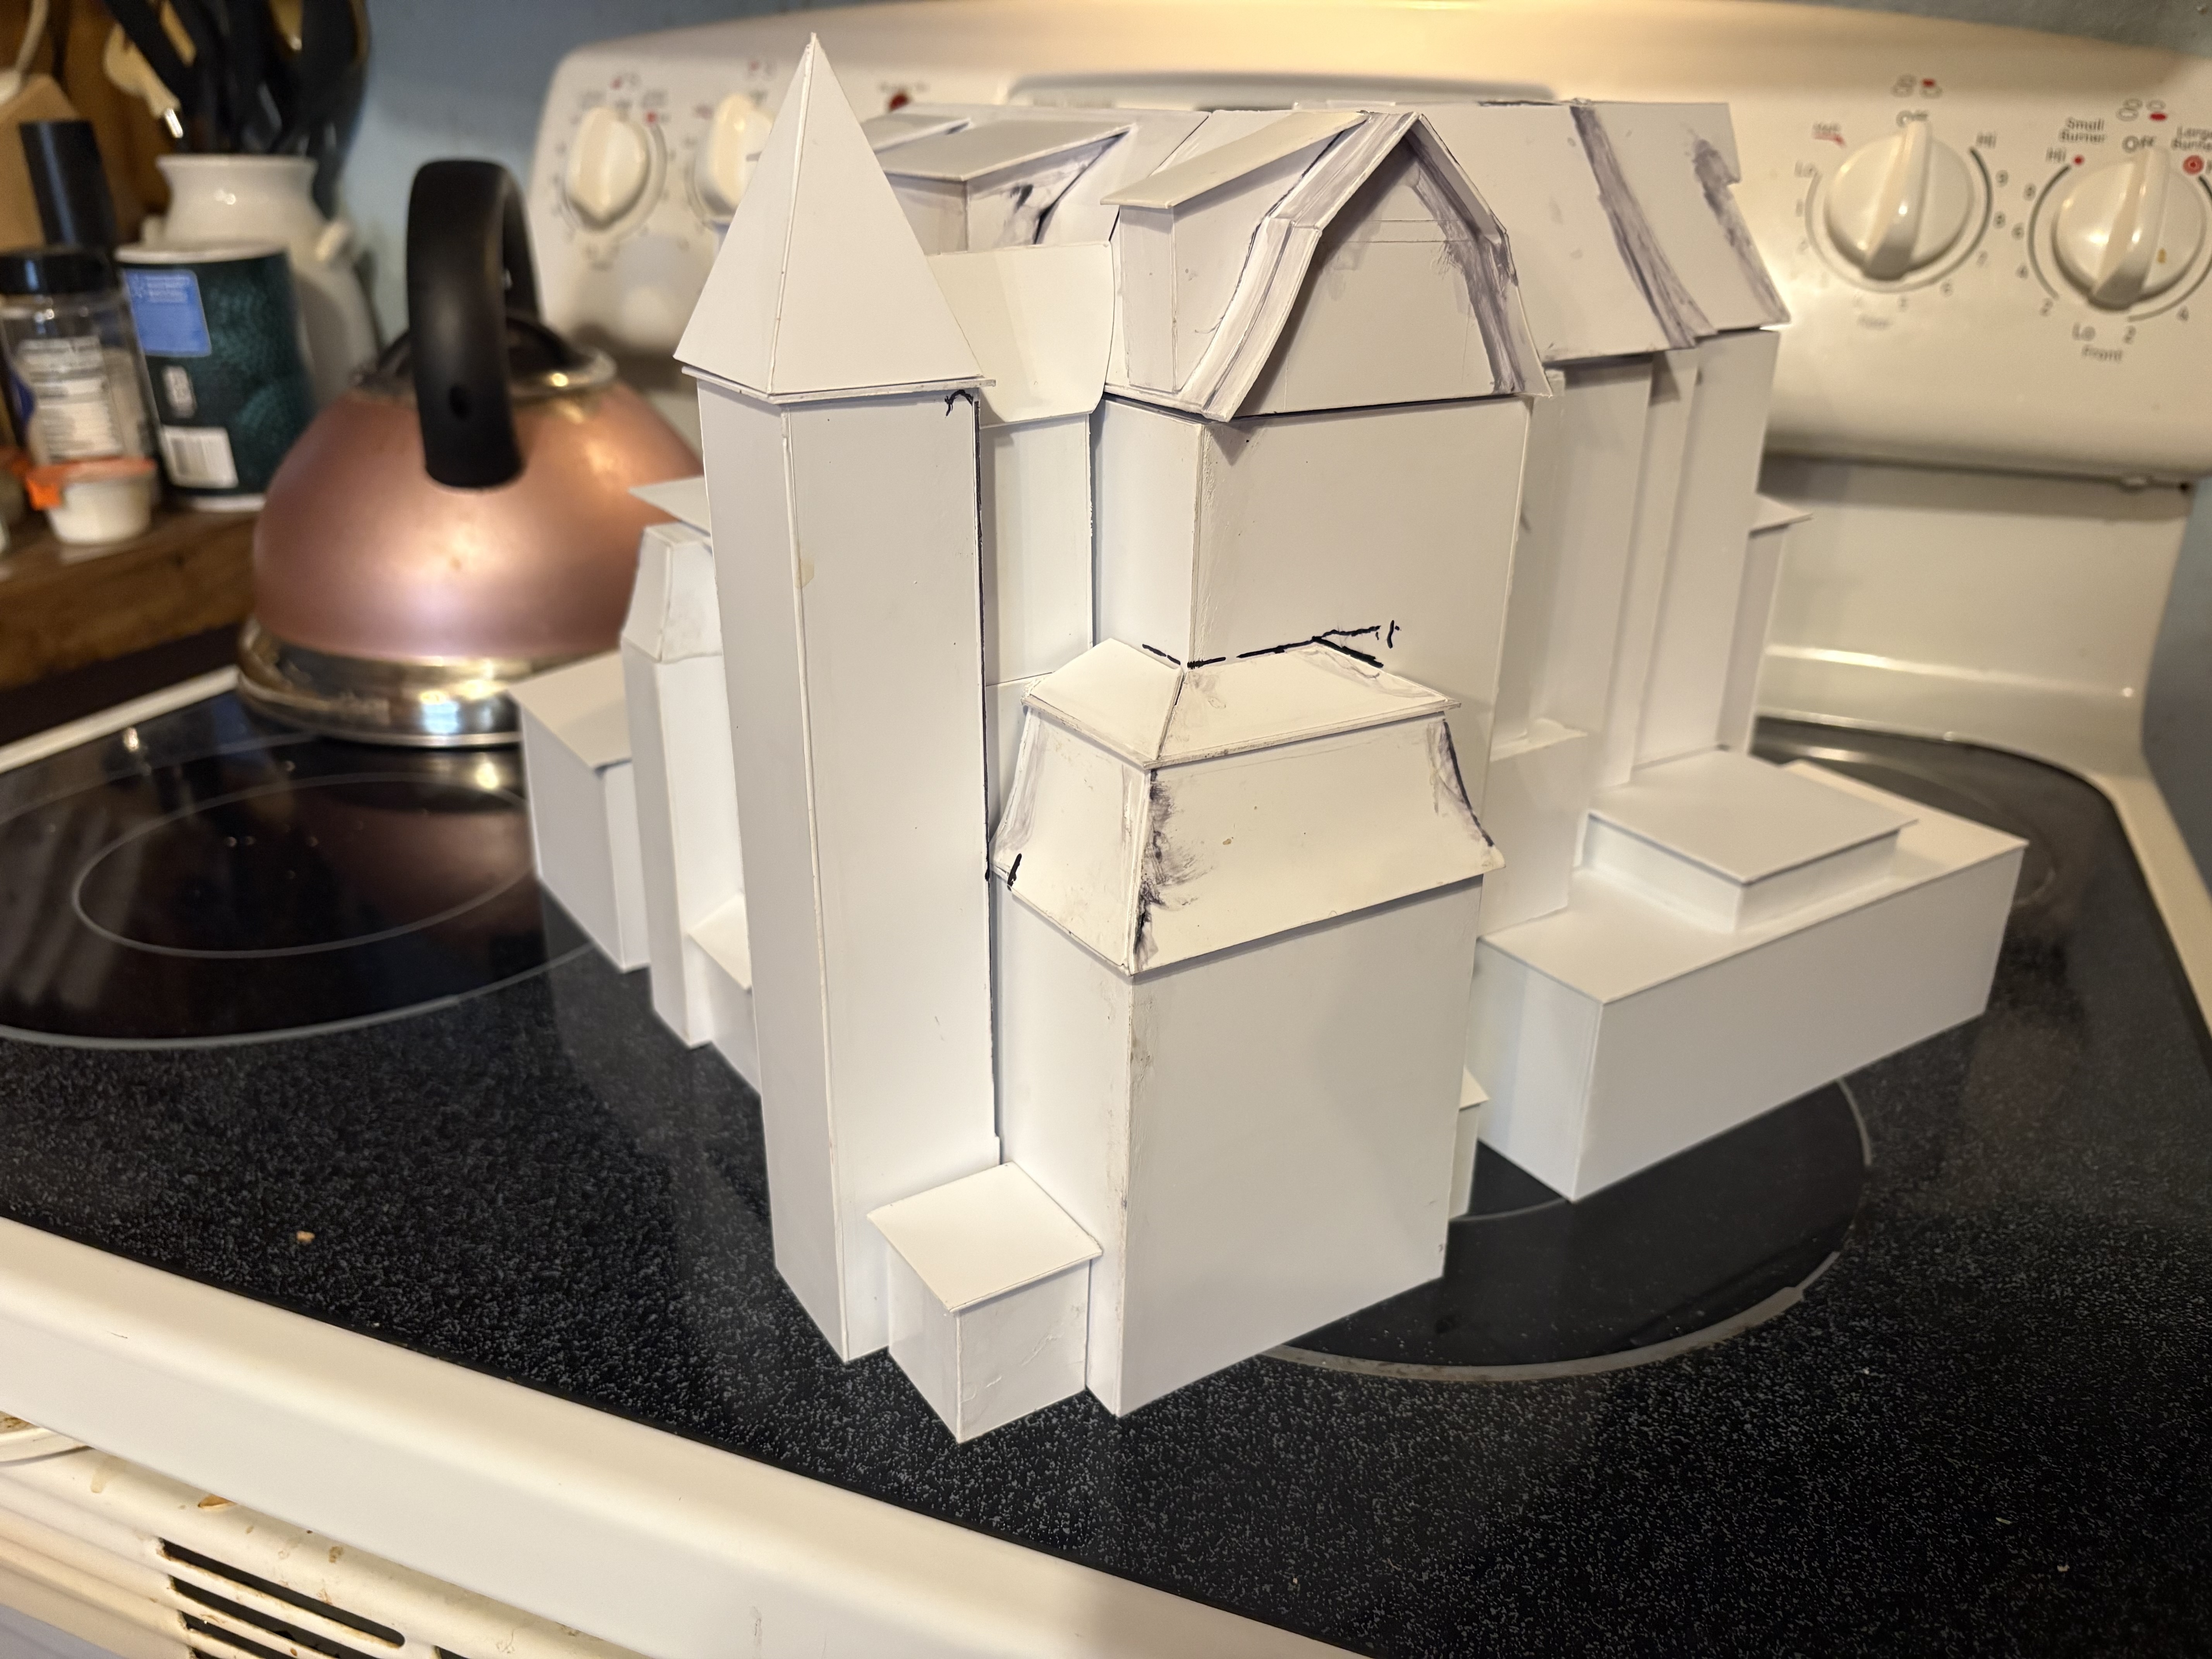
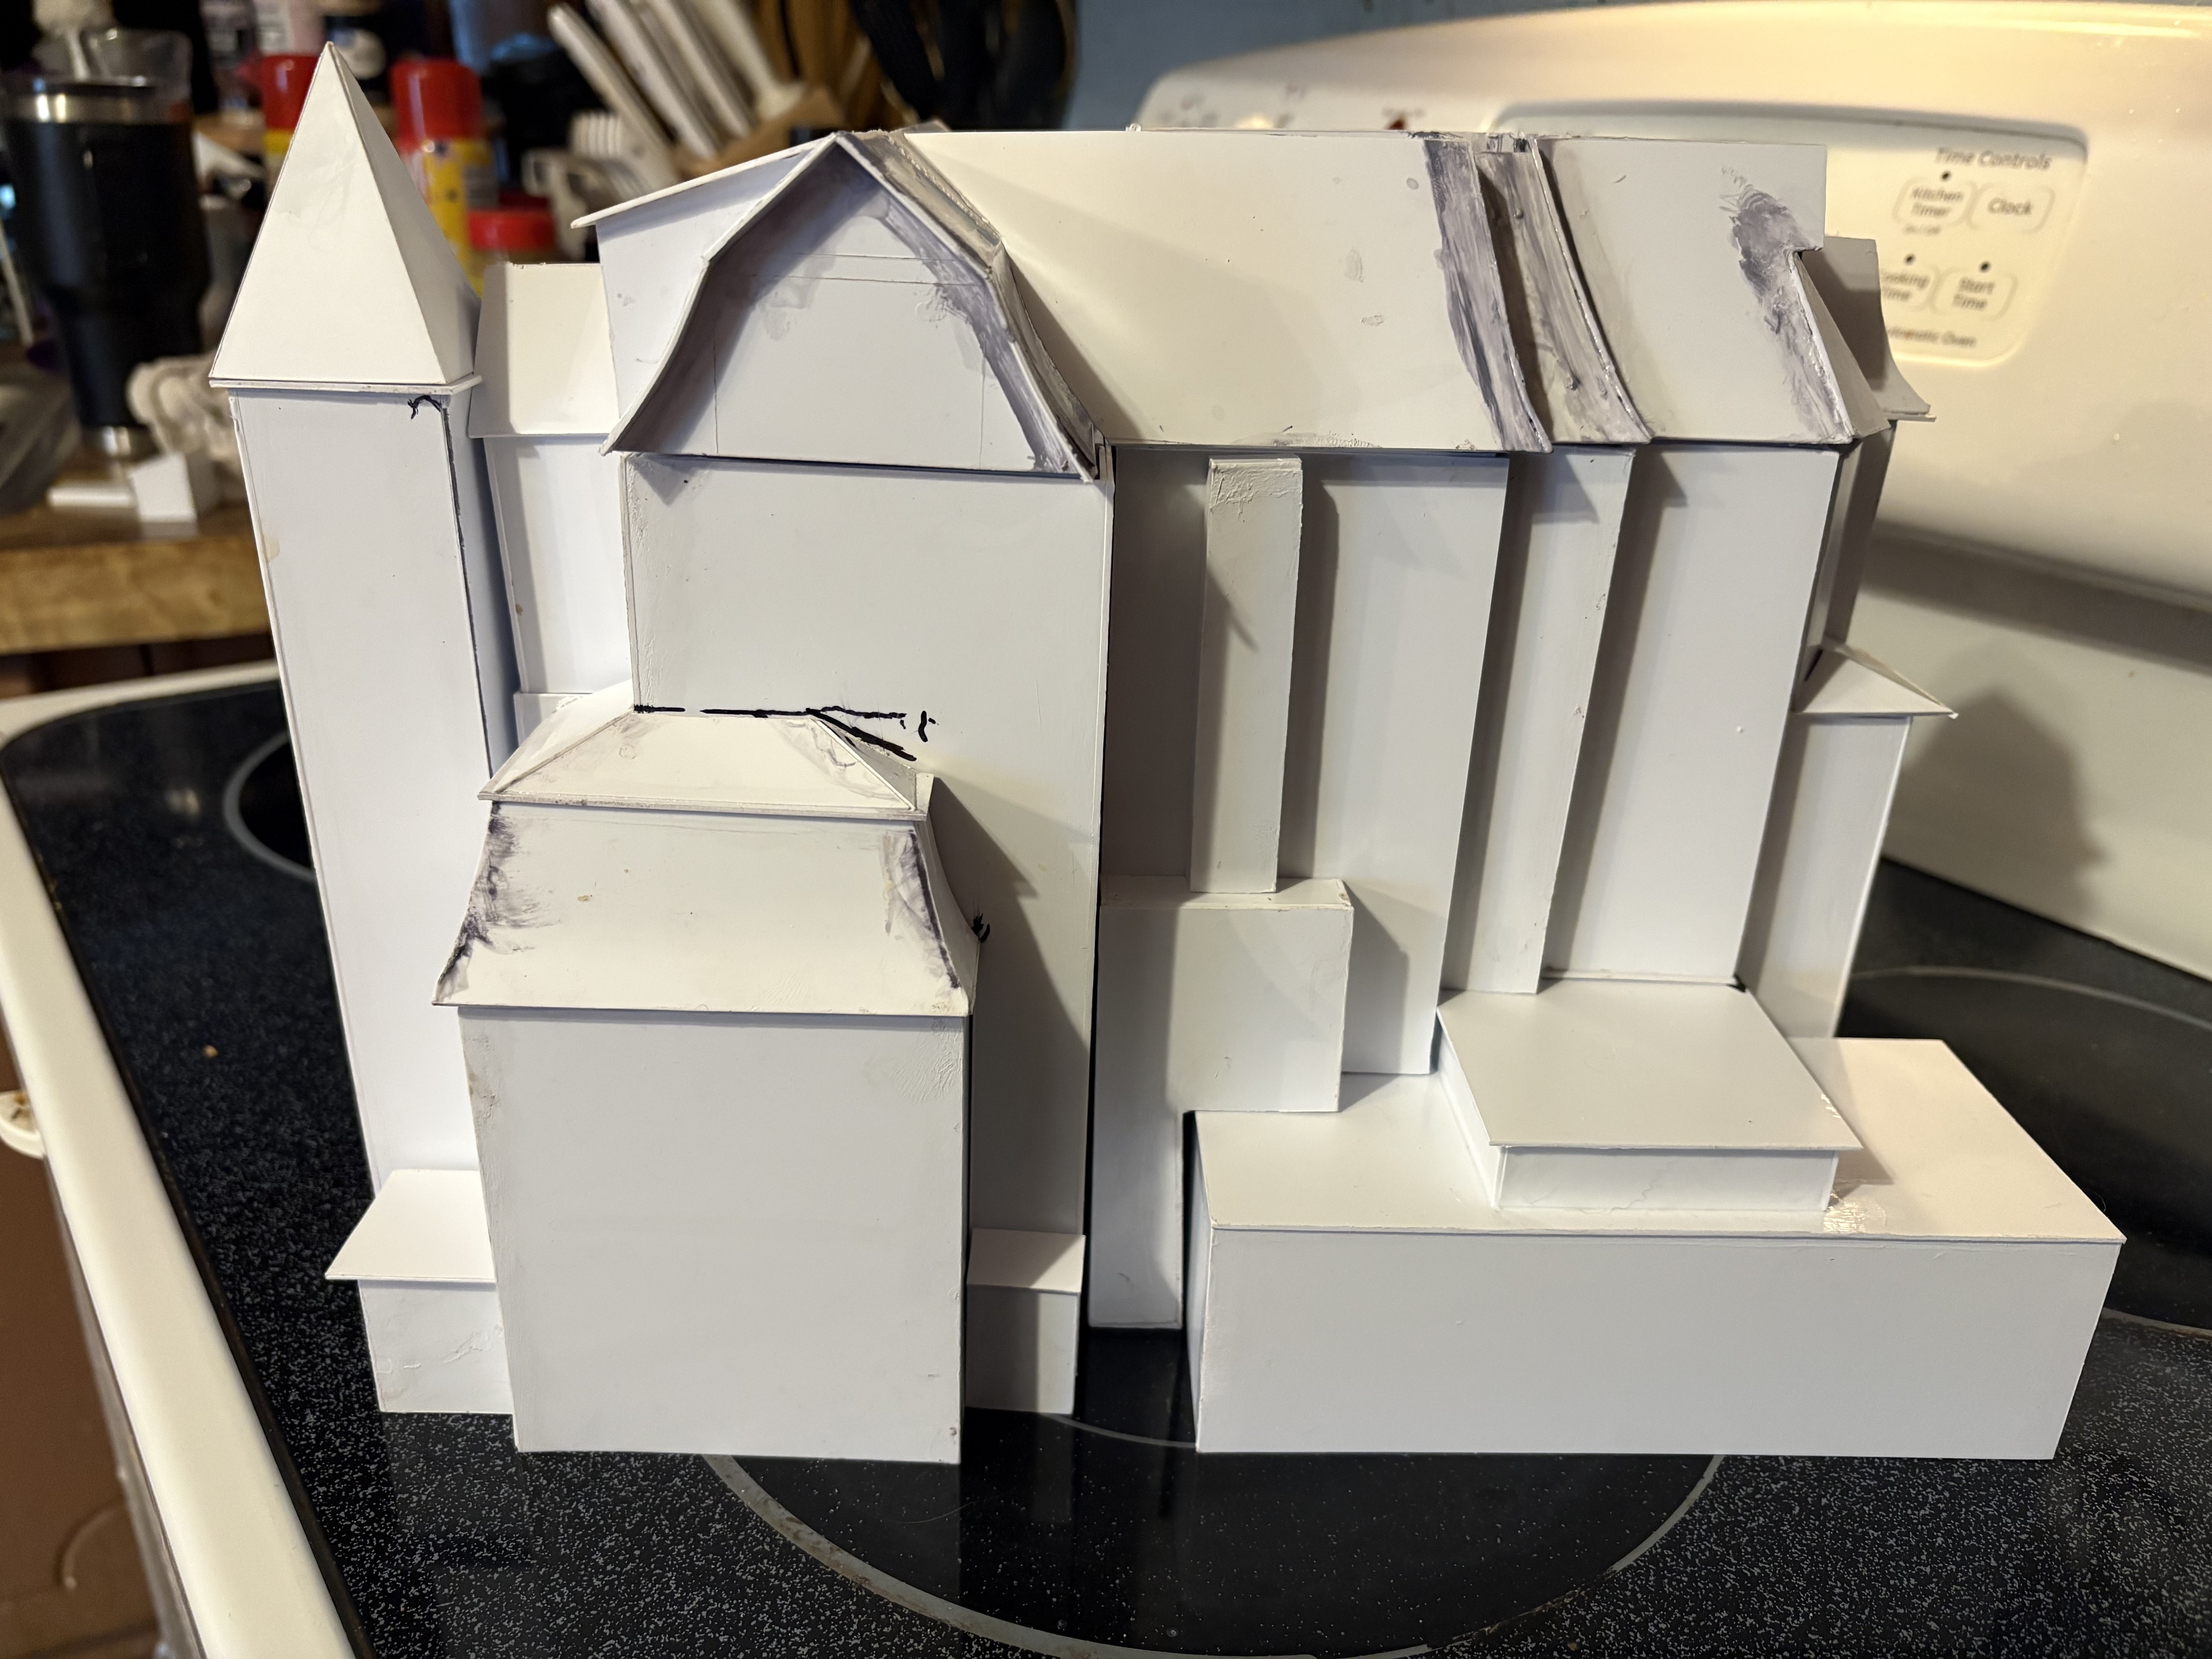
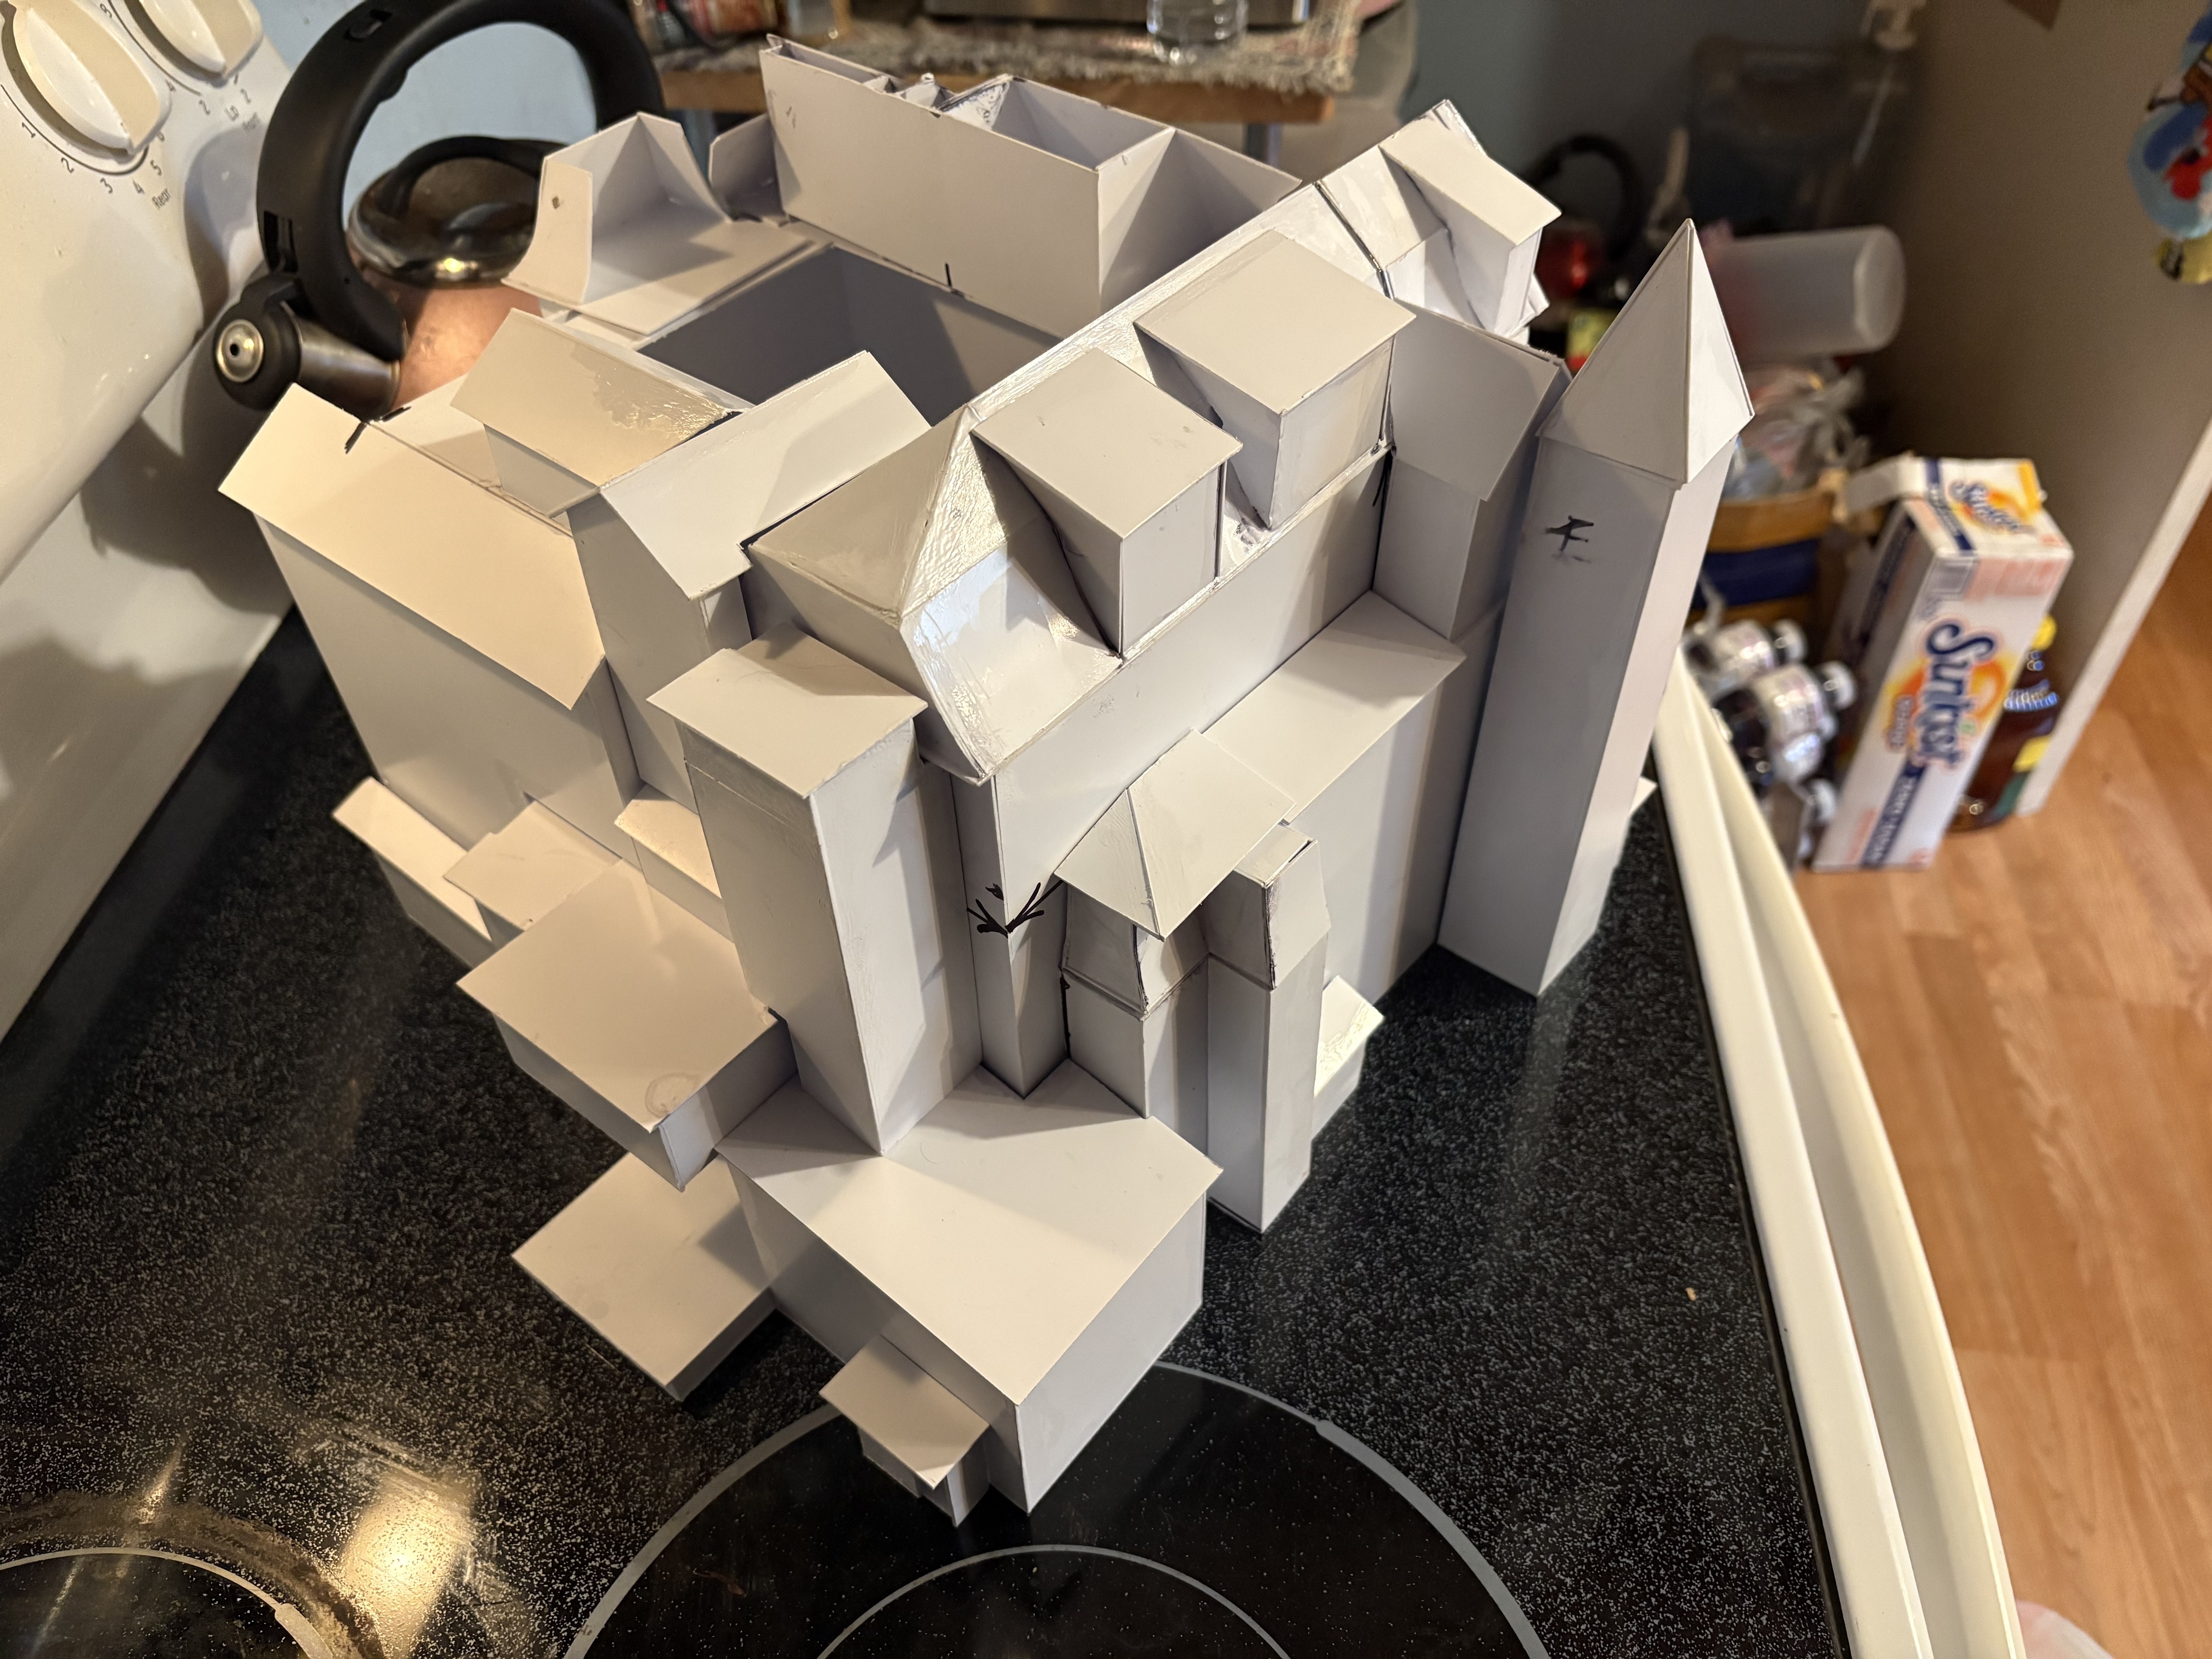
Well as for now, I have completed all the add ons and bump outs for the structure. I will next cover it with siding and some brick and shingles all printed on glossy photo paper. Then dull it down with a matte finish to kill the shine and the decorate it with windows door and signs that are also printed on paper. I may add chimneys and vents but that seems more like putting actual parts on a mock up. At the end of it all, this is just a mock up. Next update will start to look like something more like a structure instead of a frosted white cake 🎂 until next time 😁
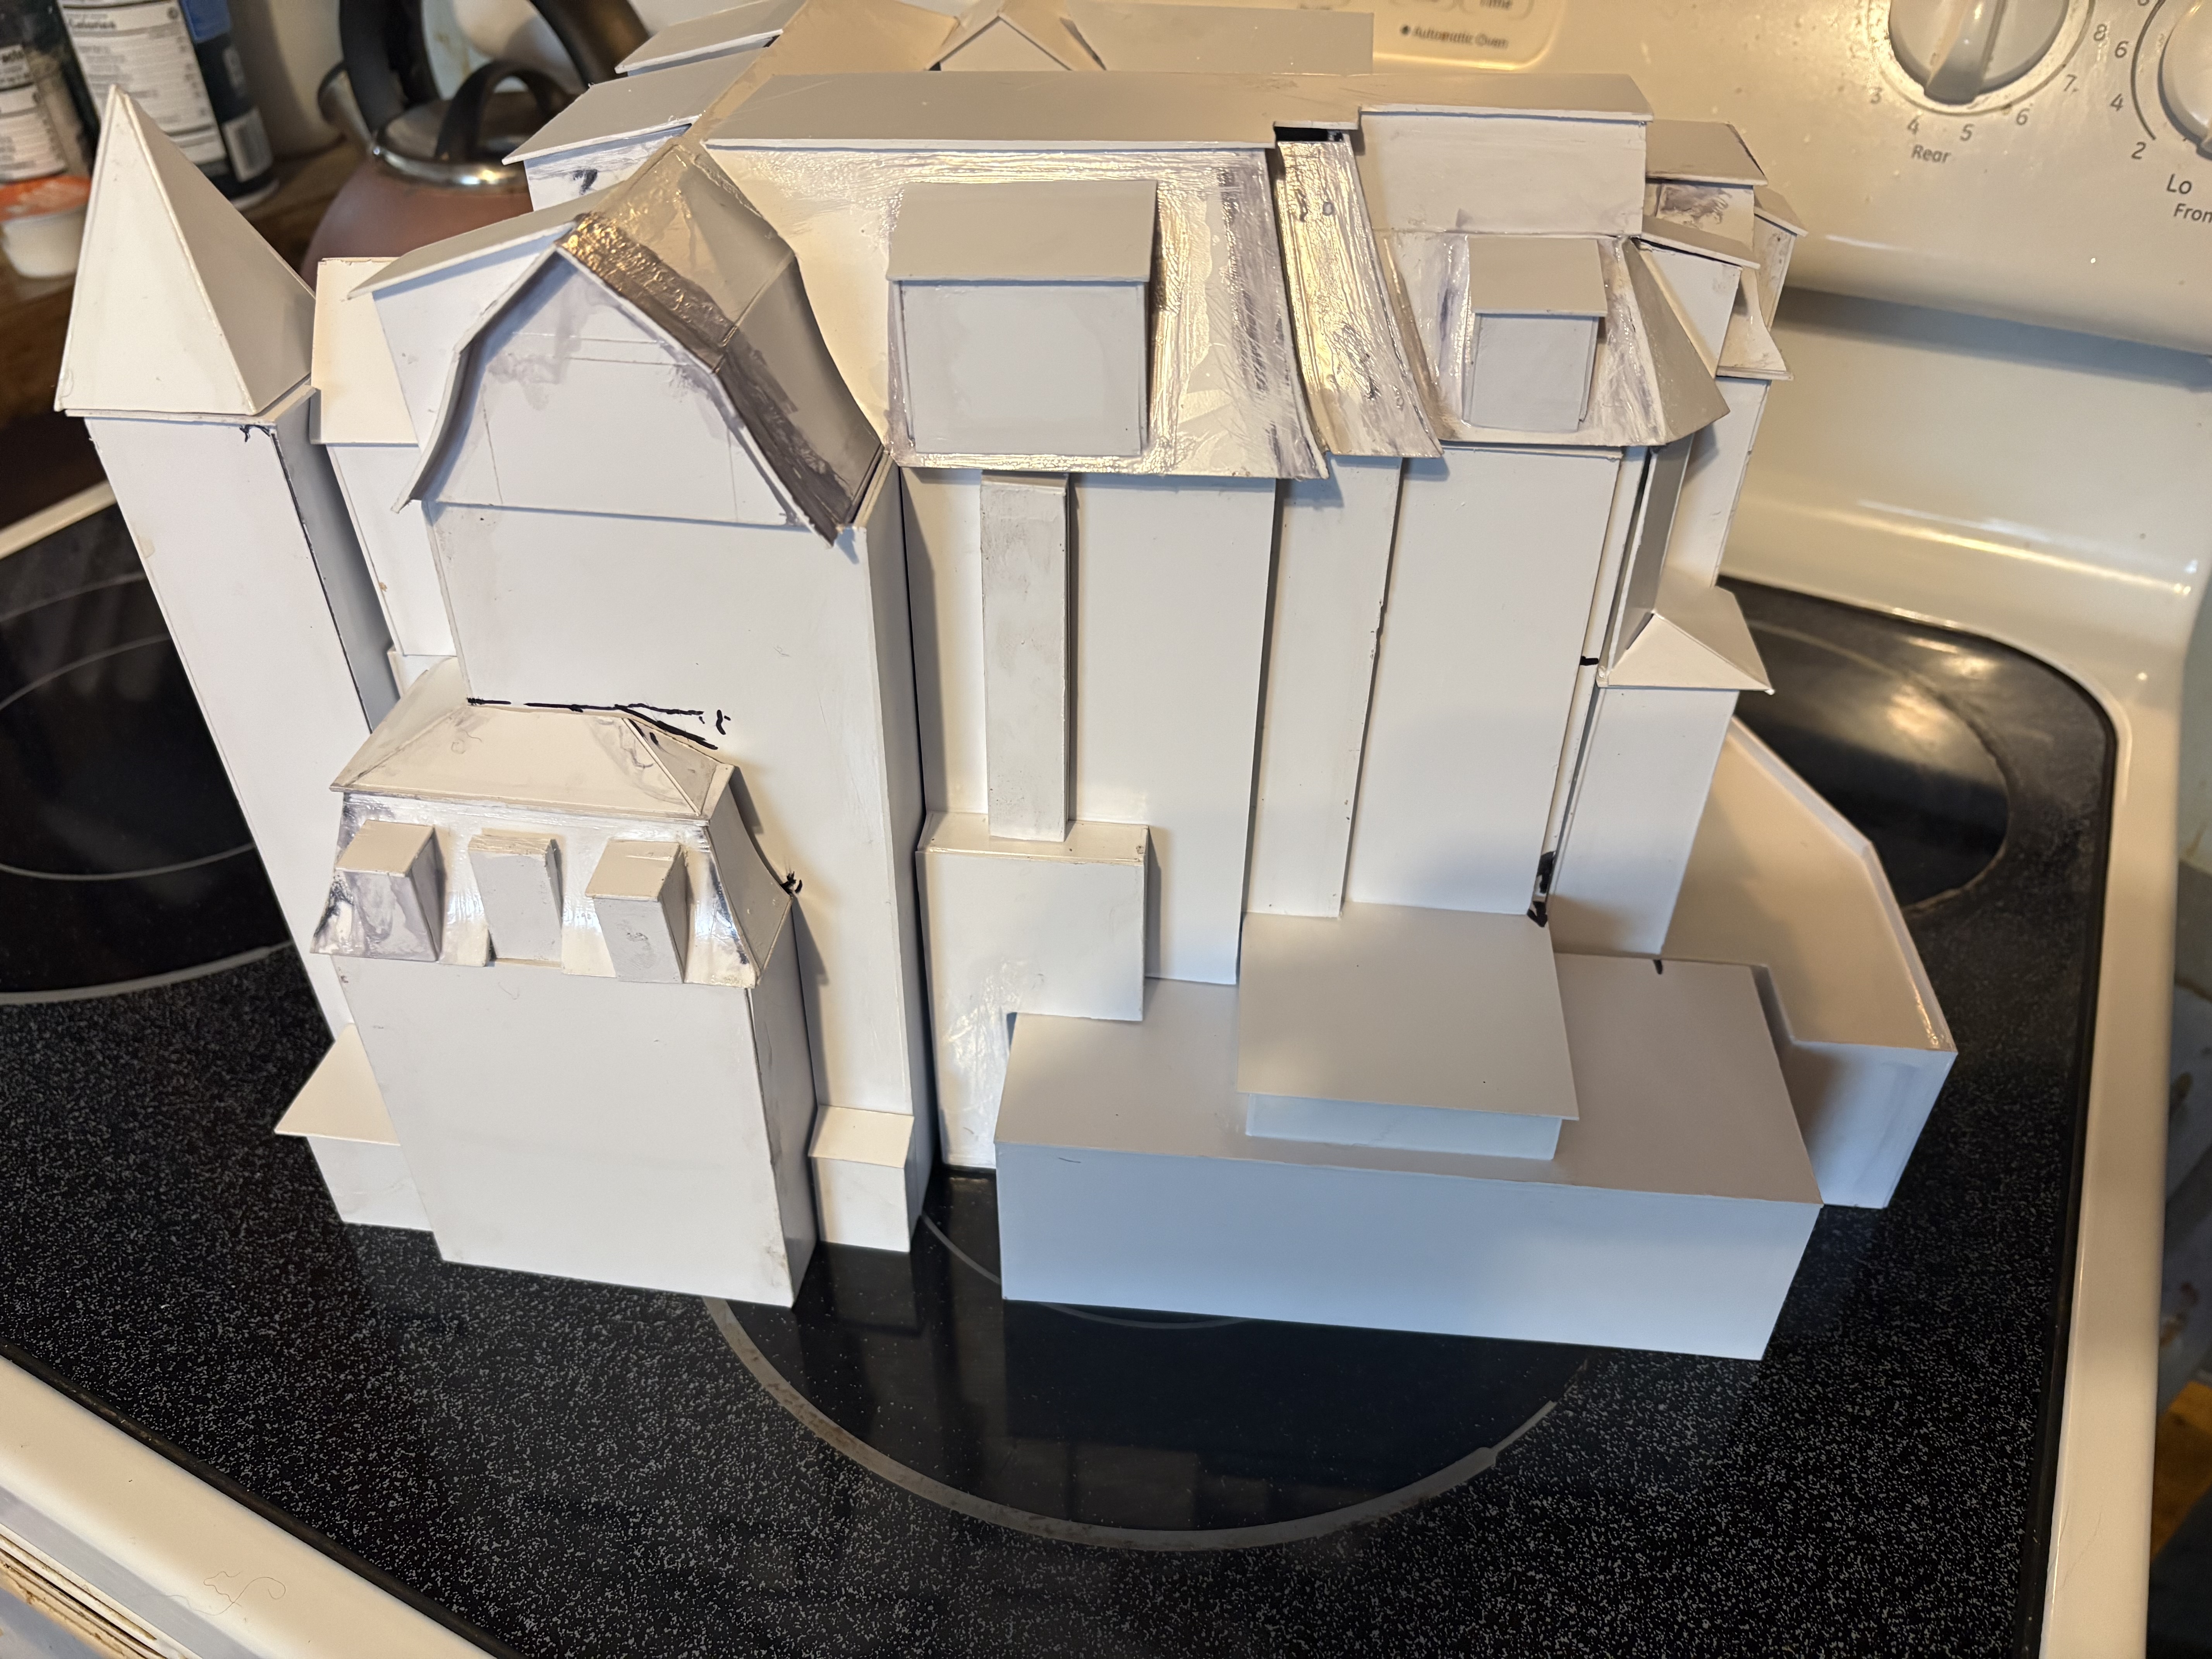
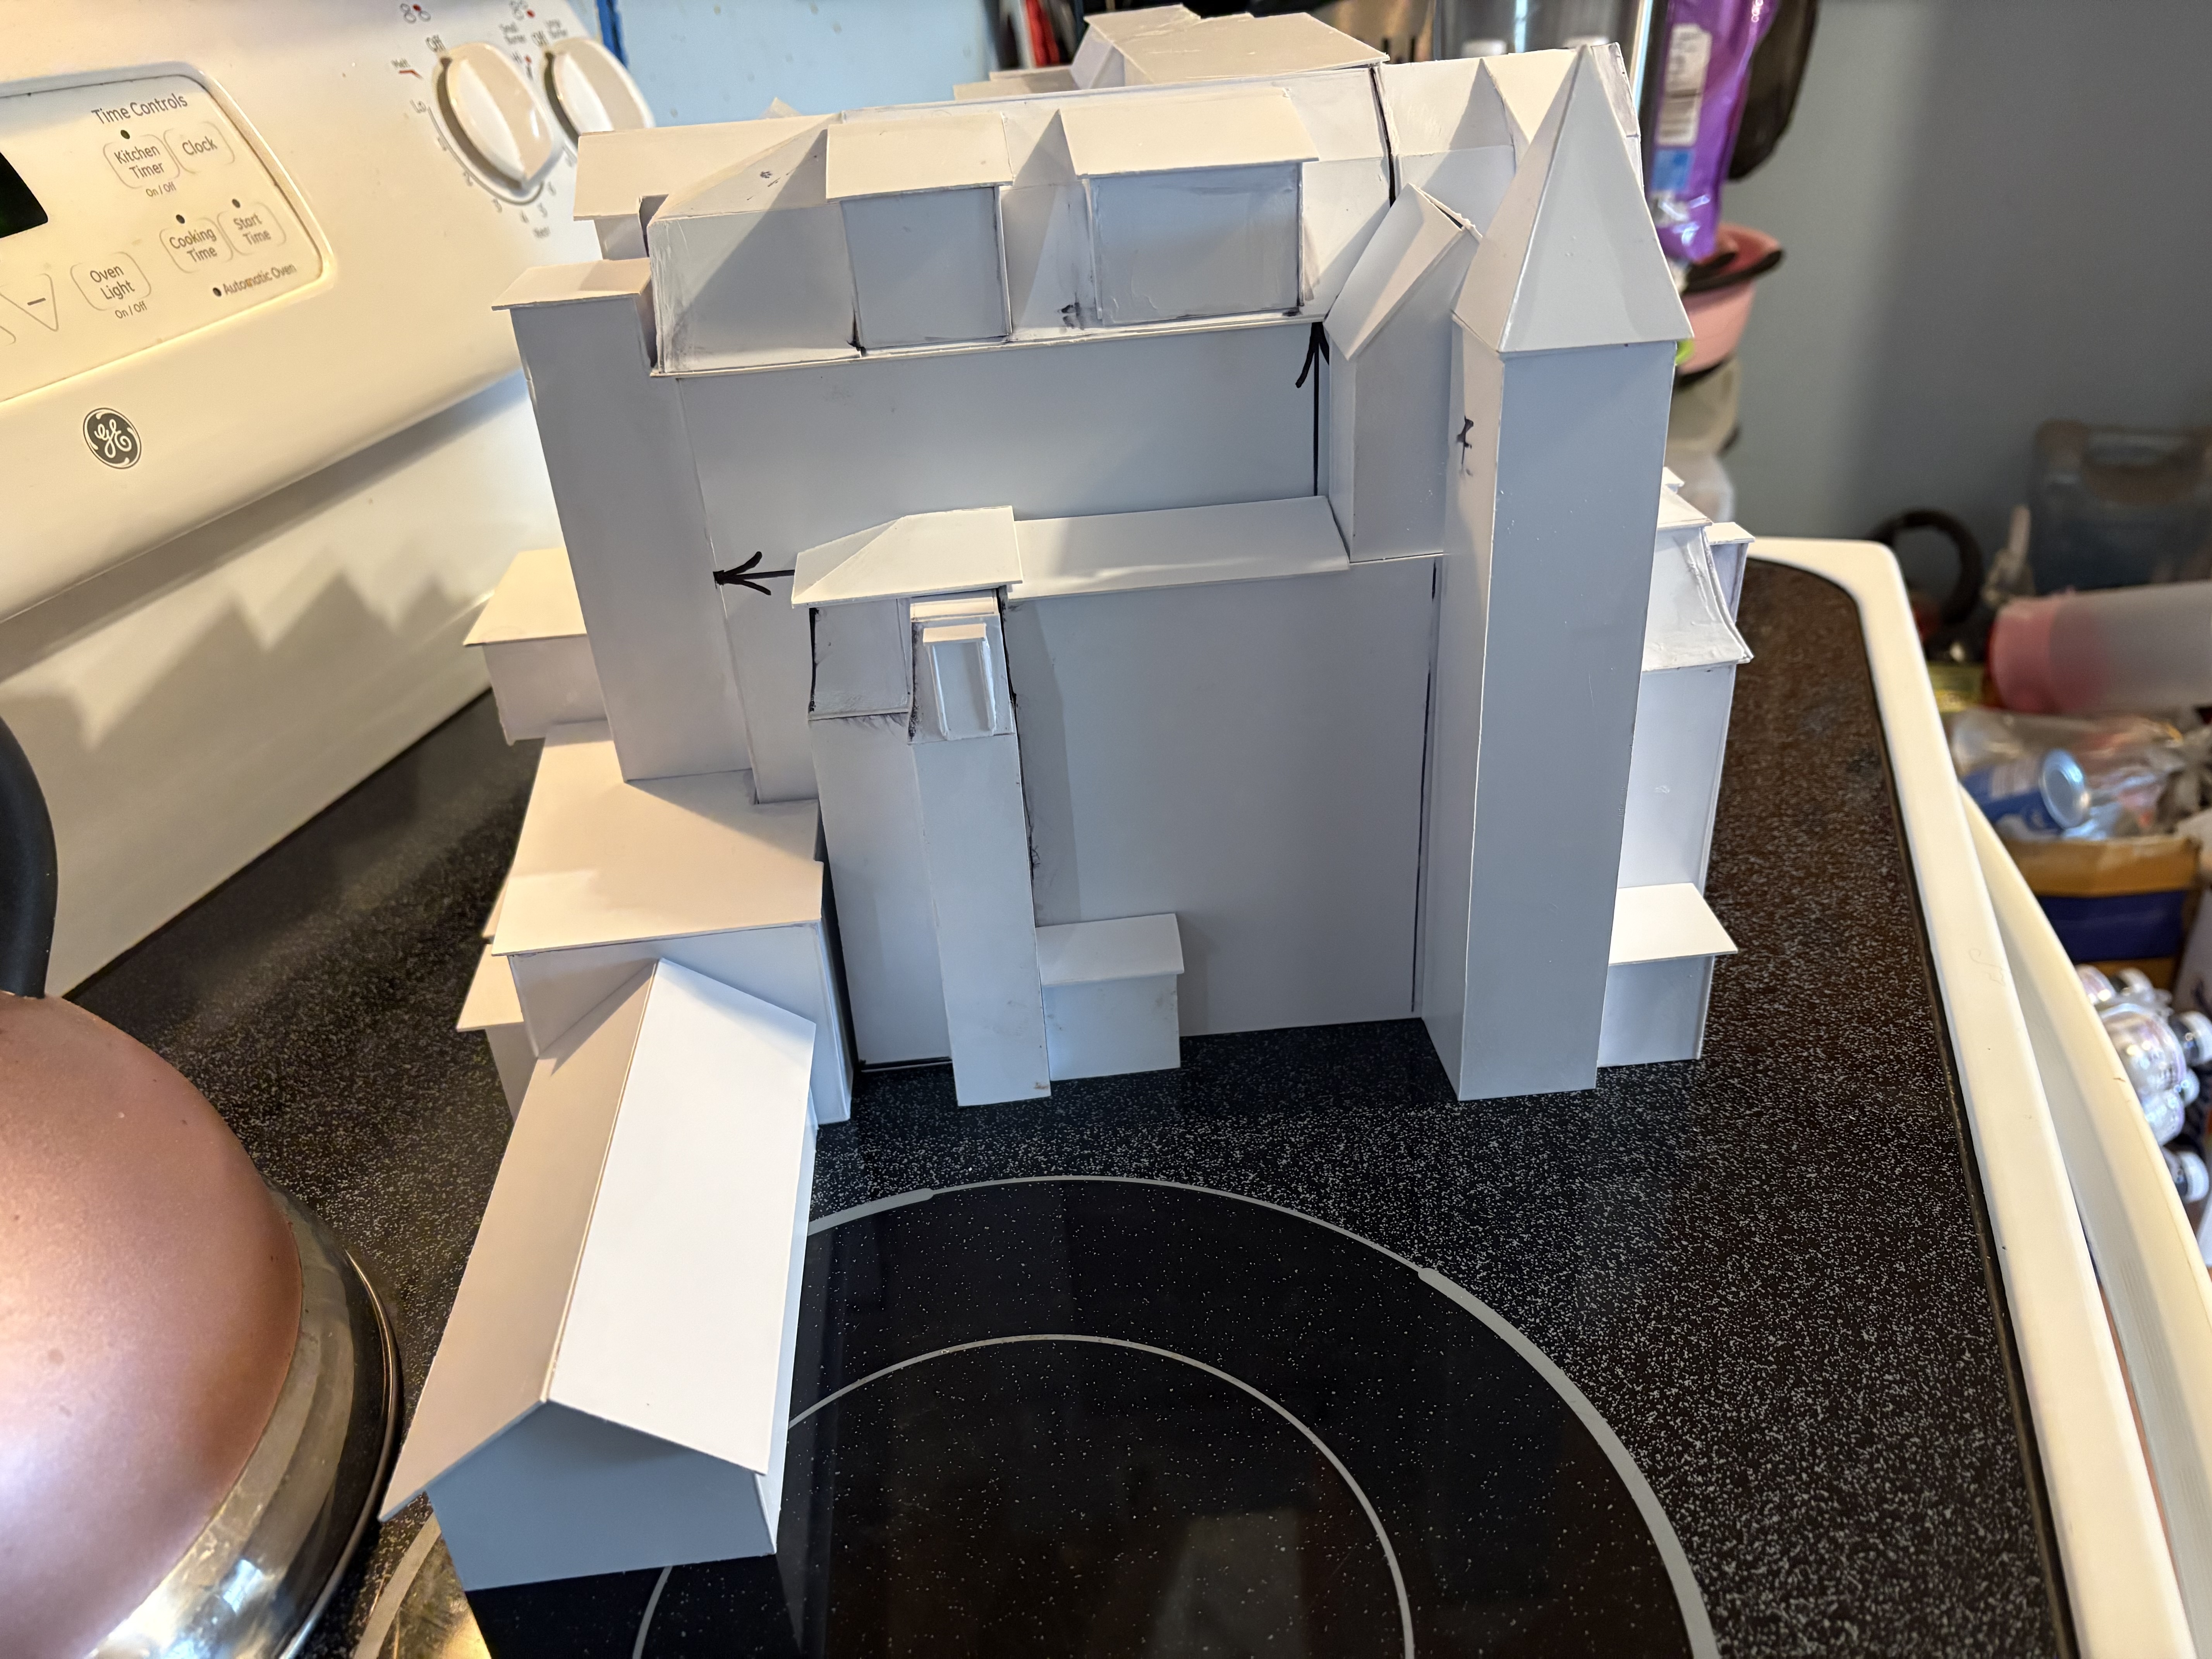
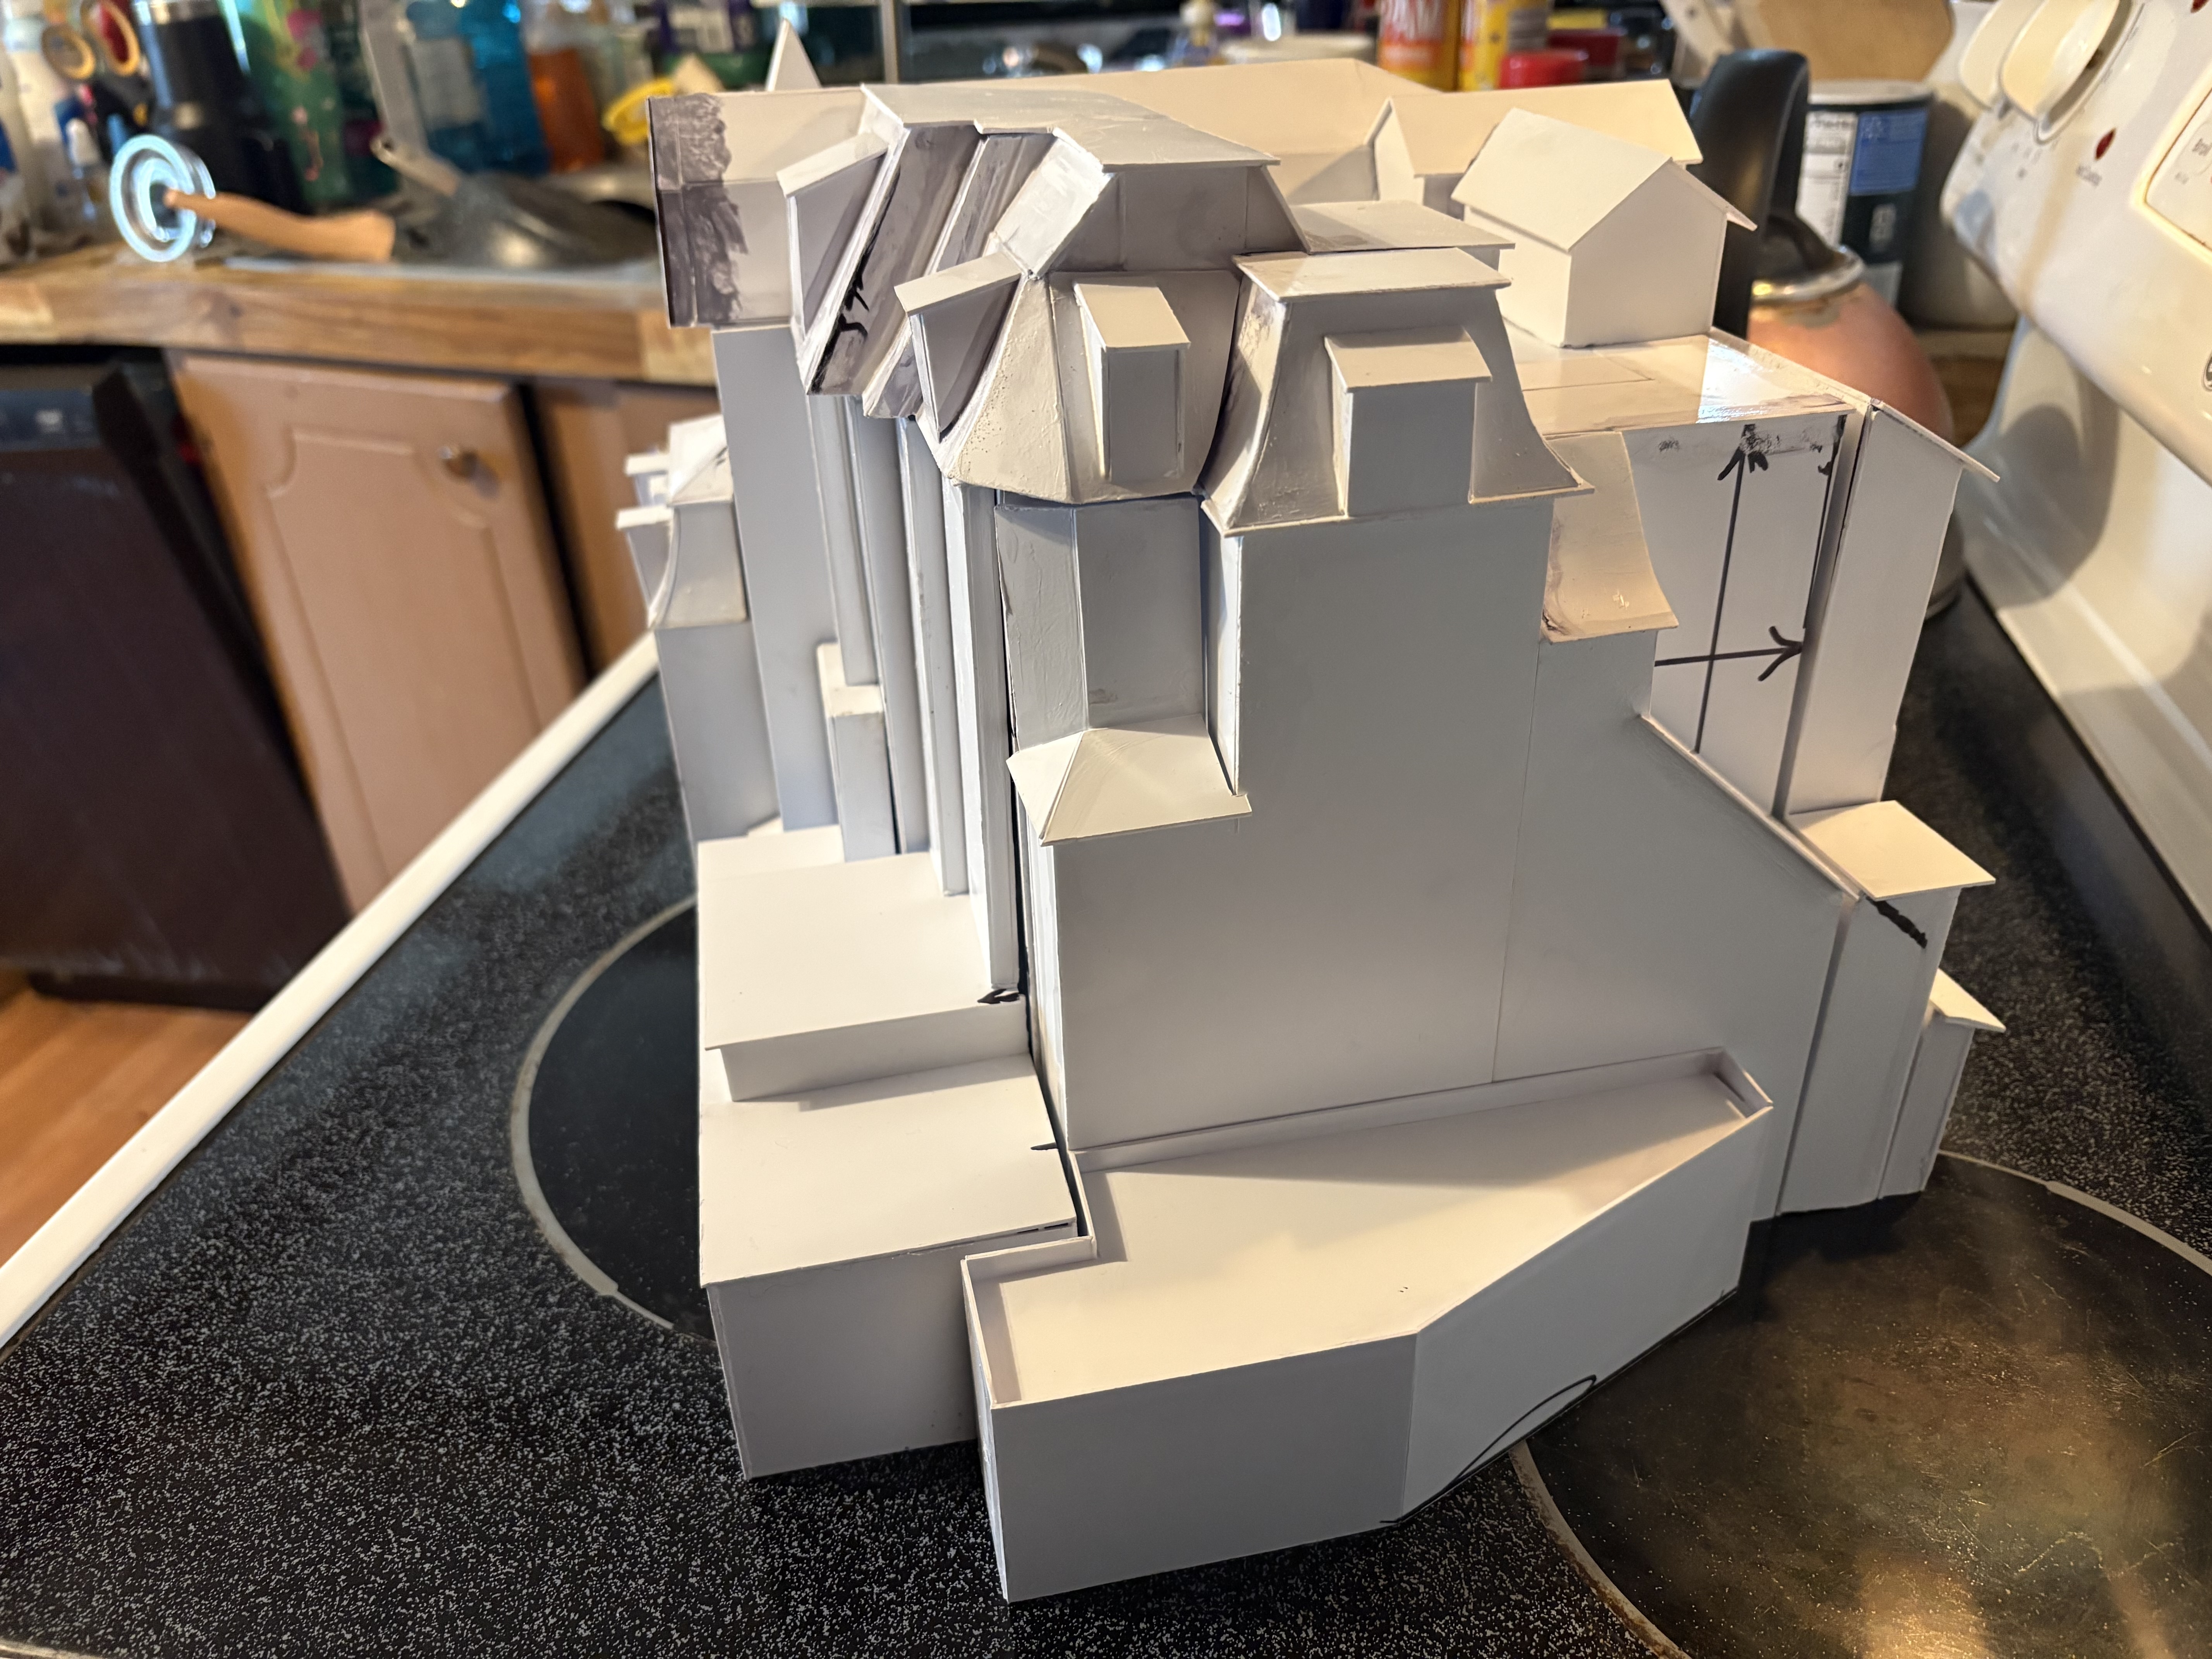
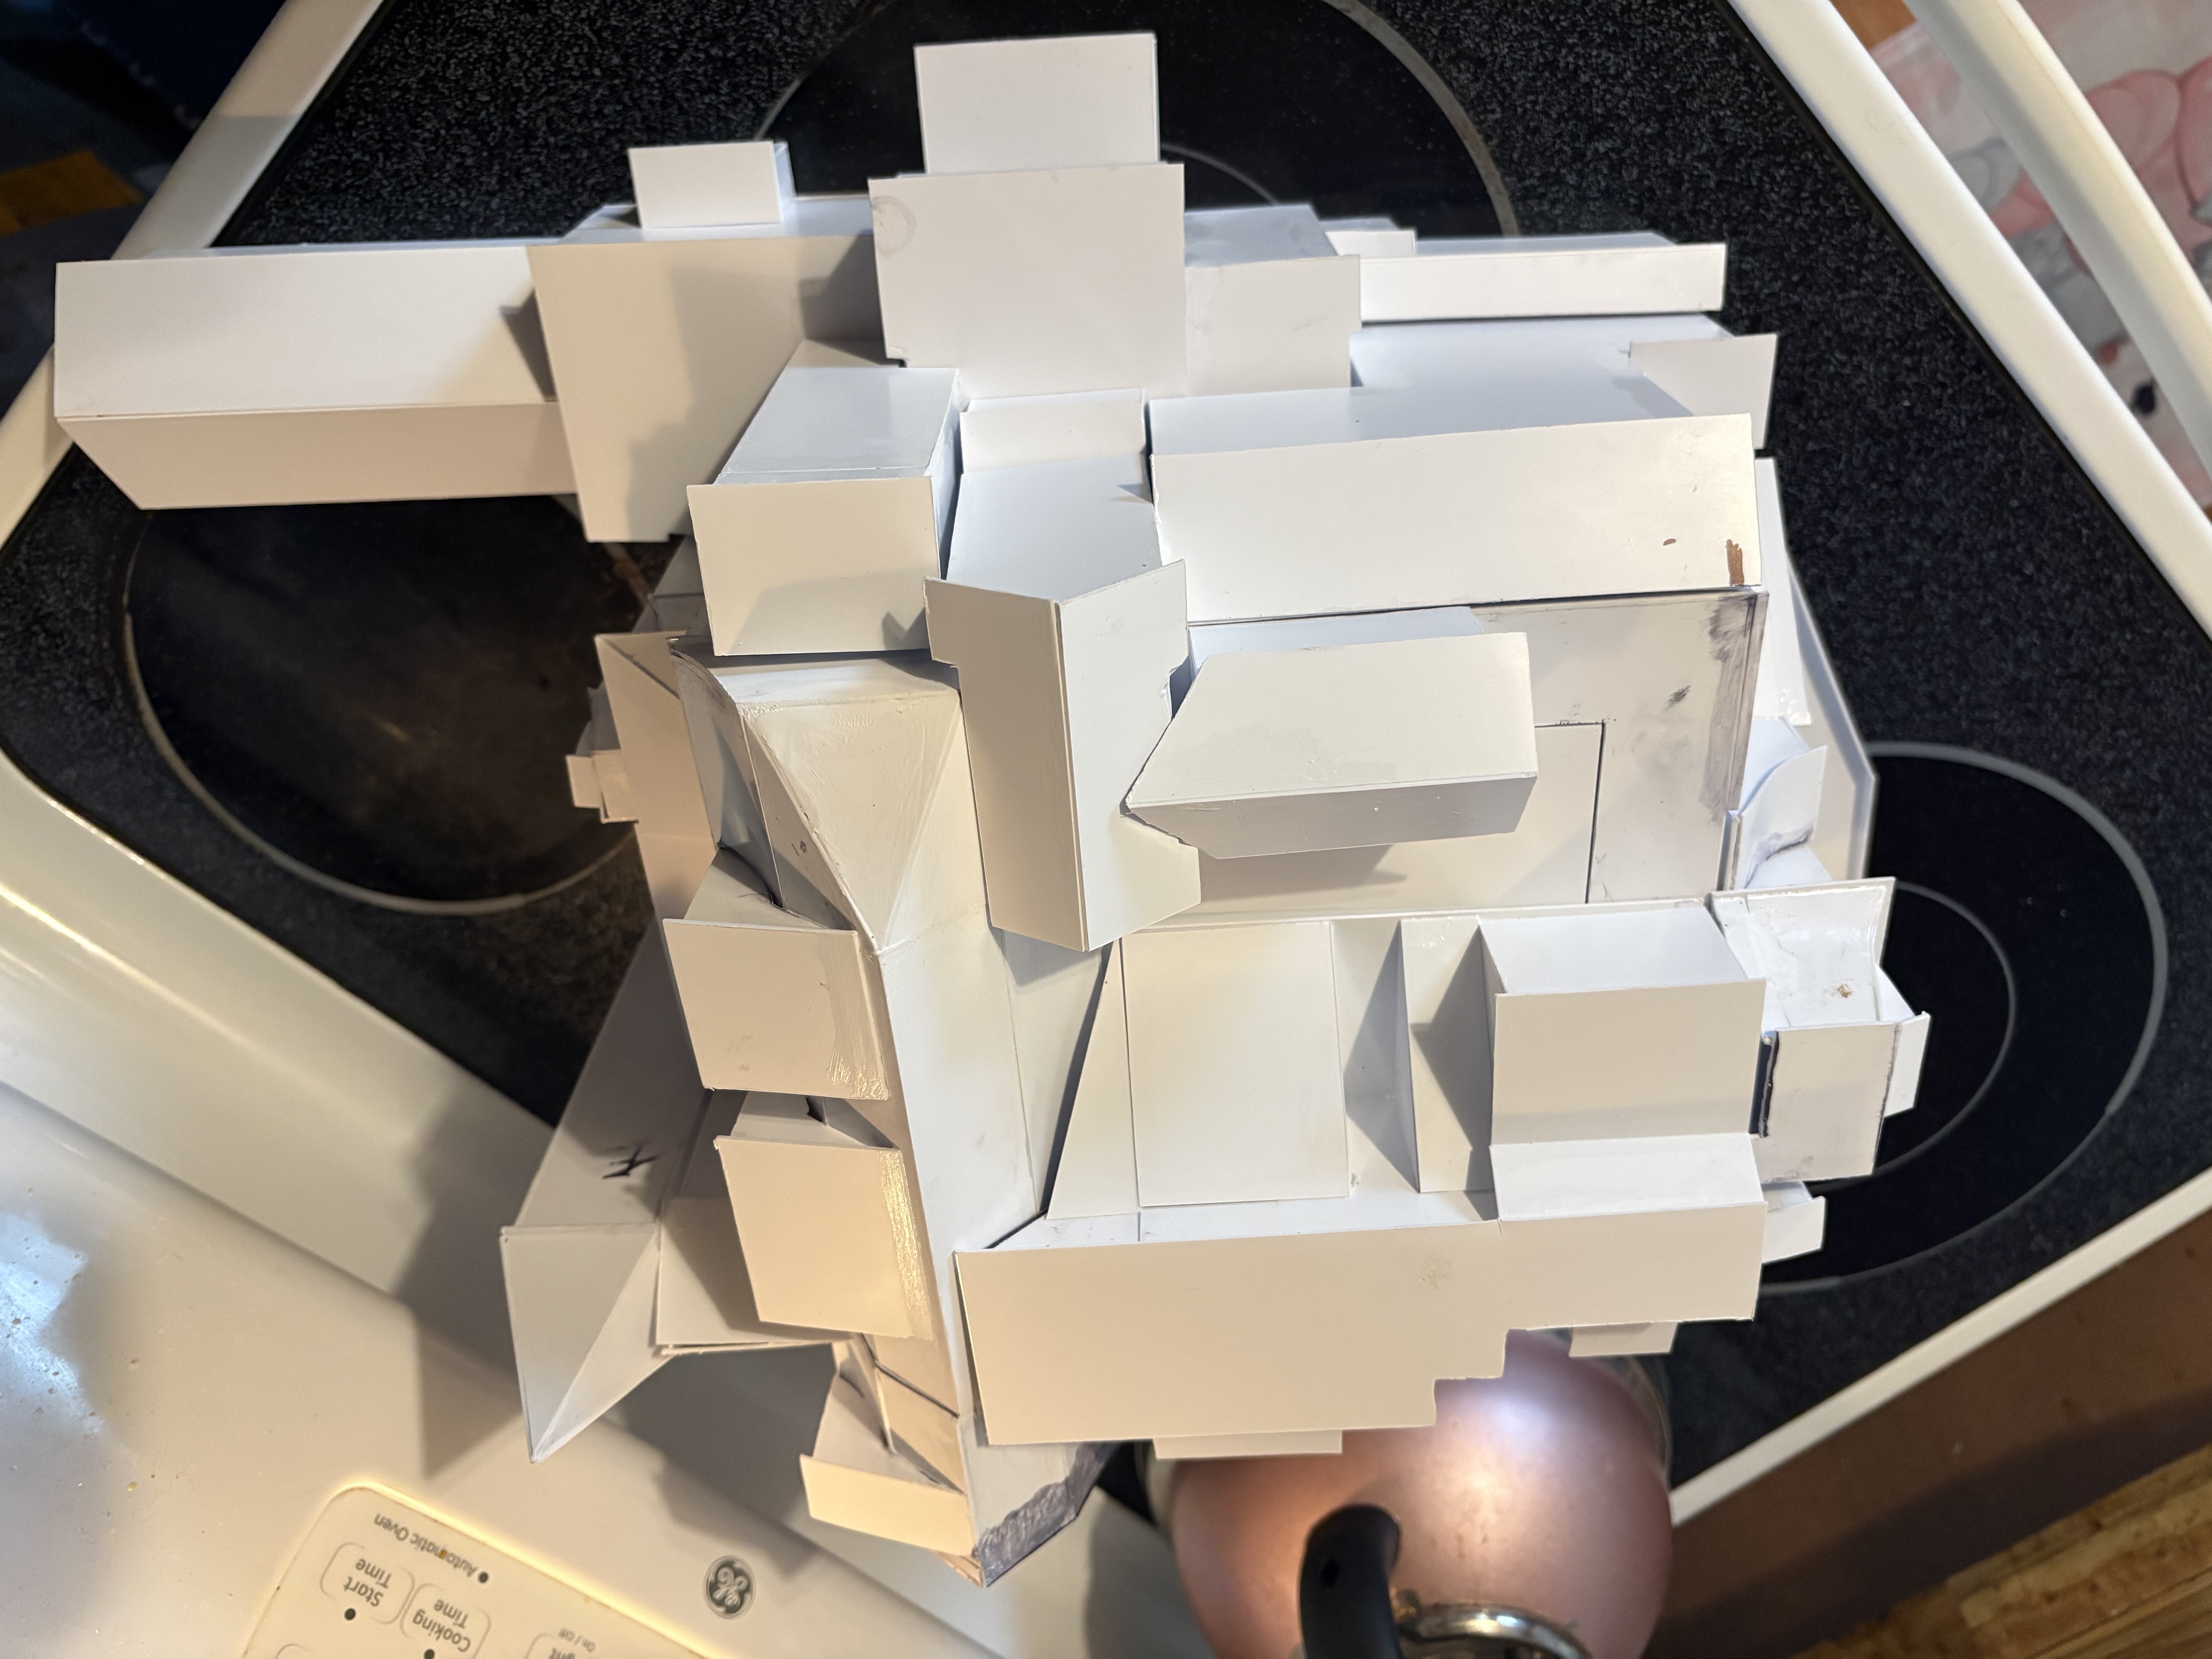
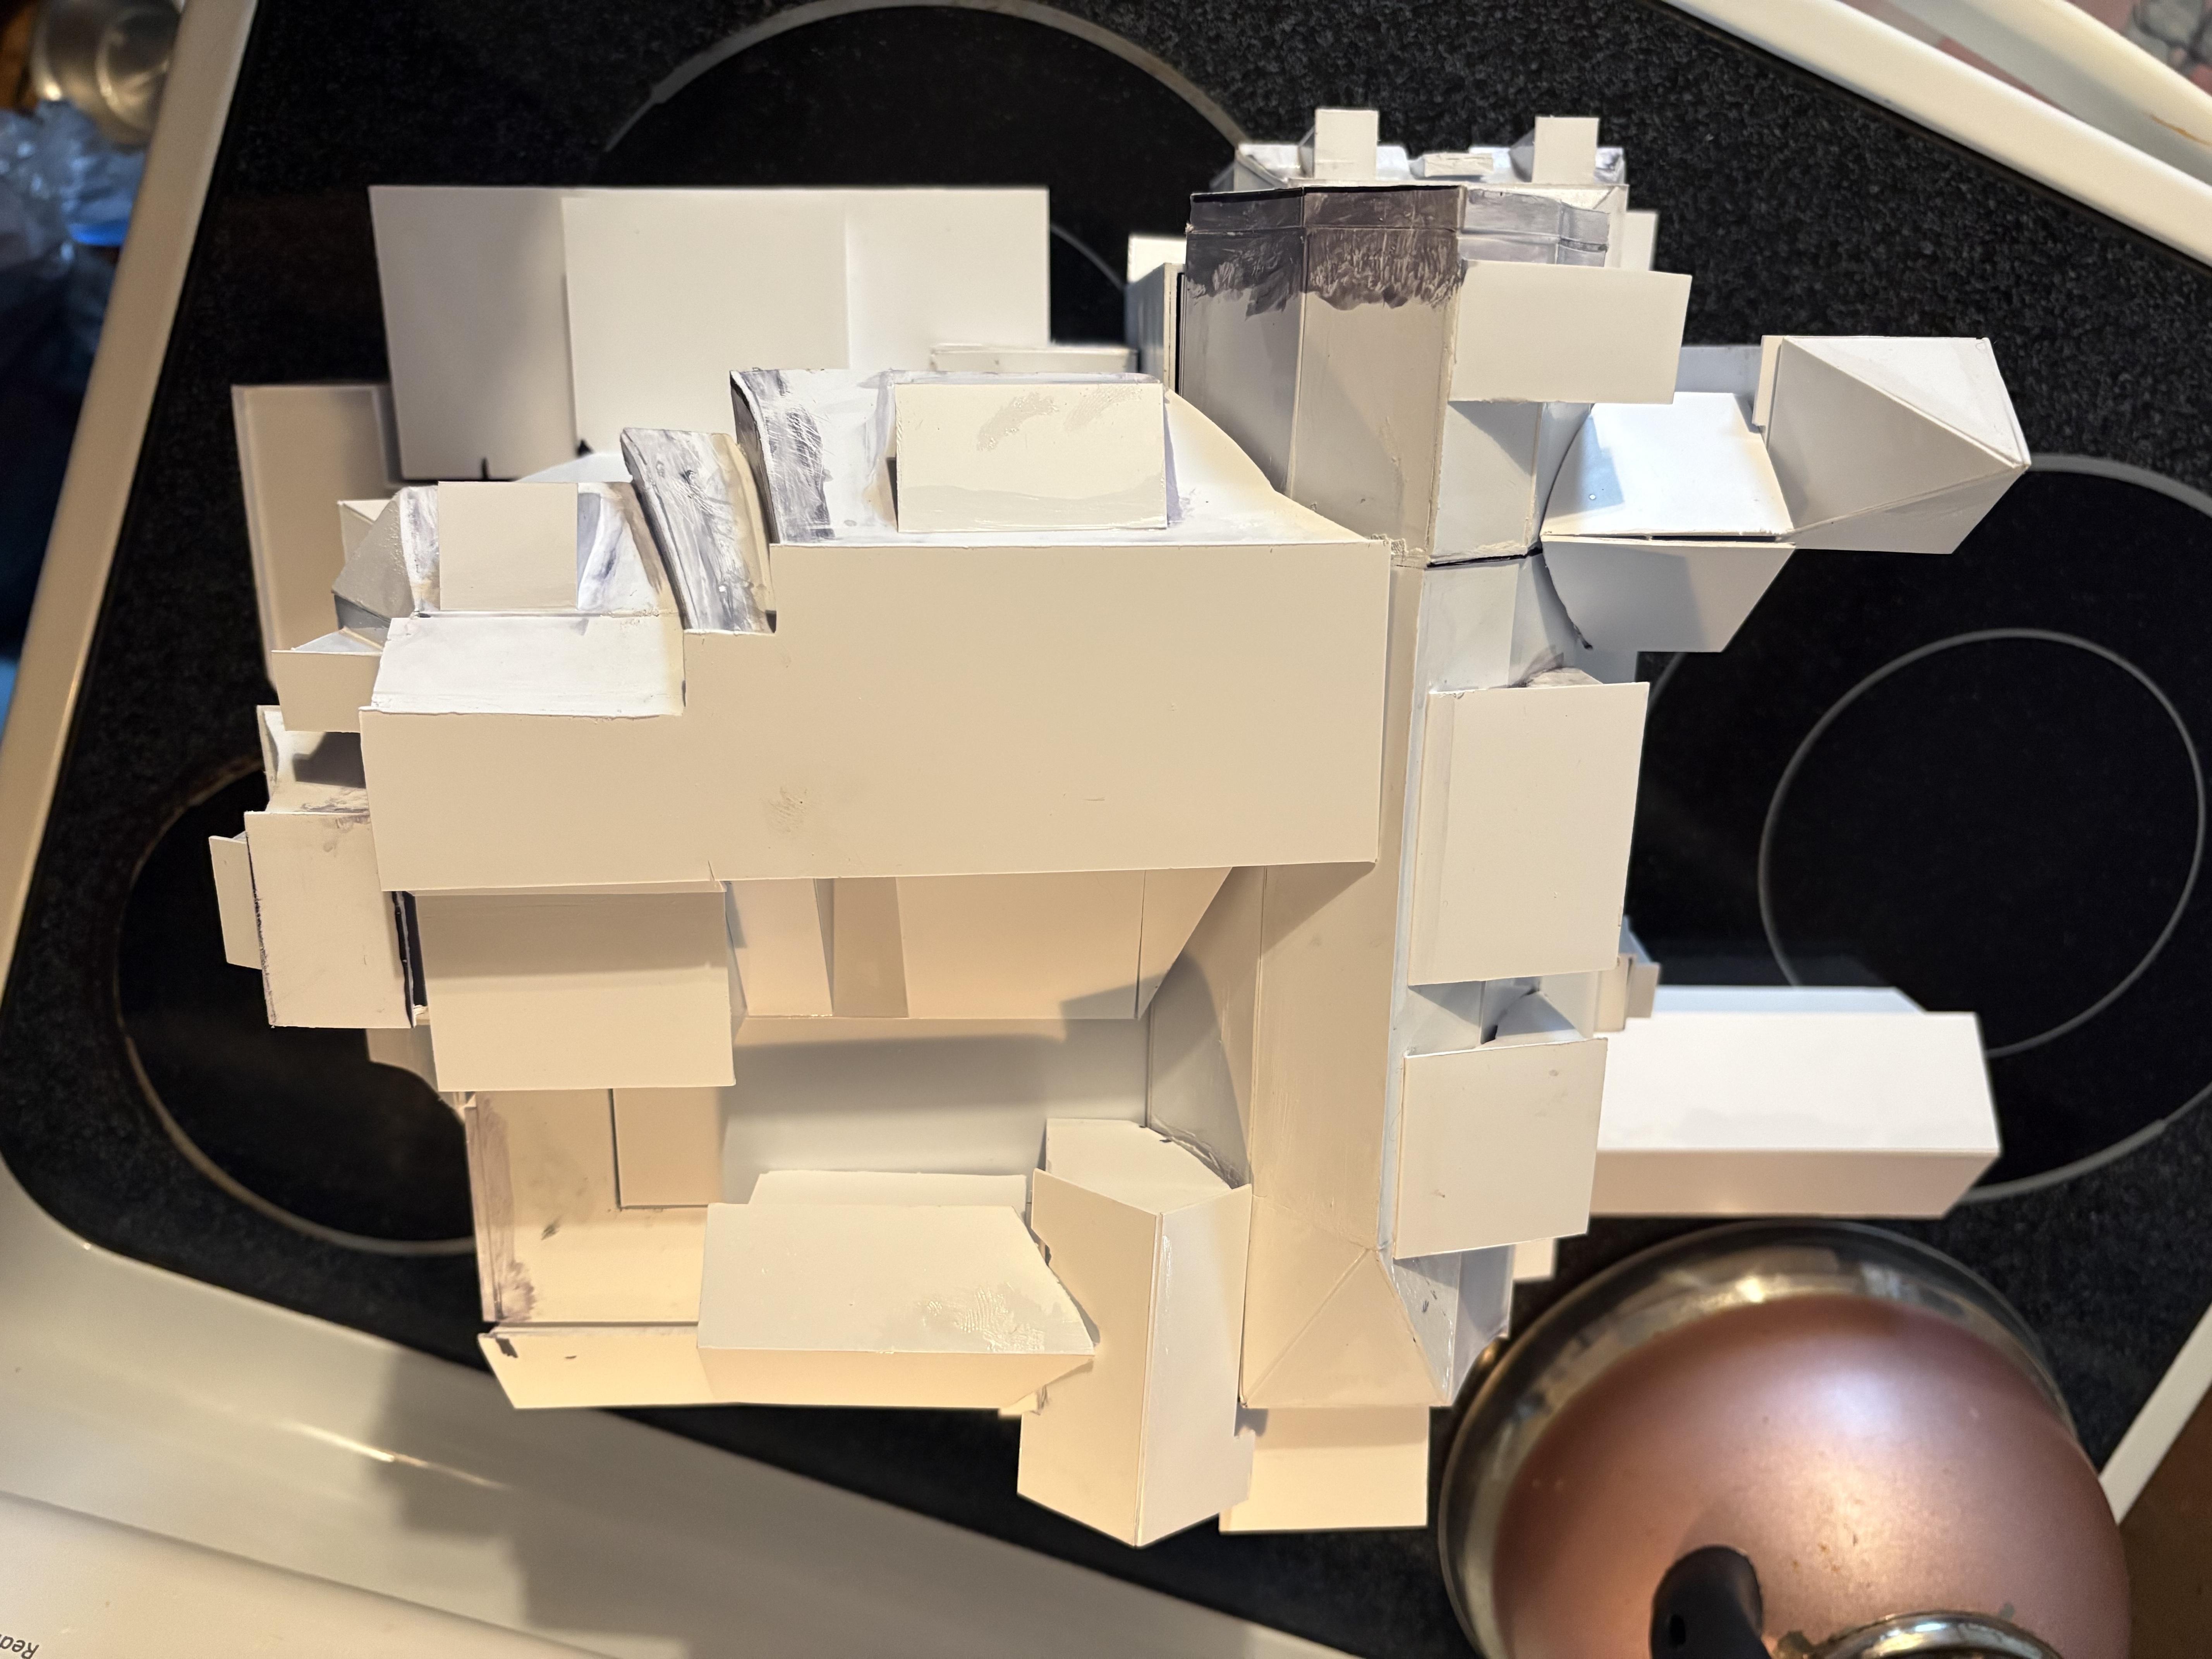
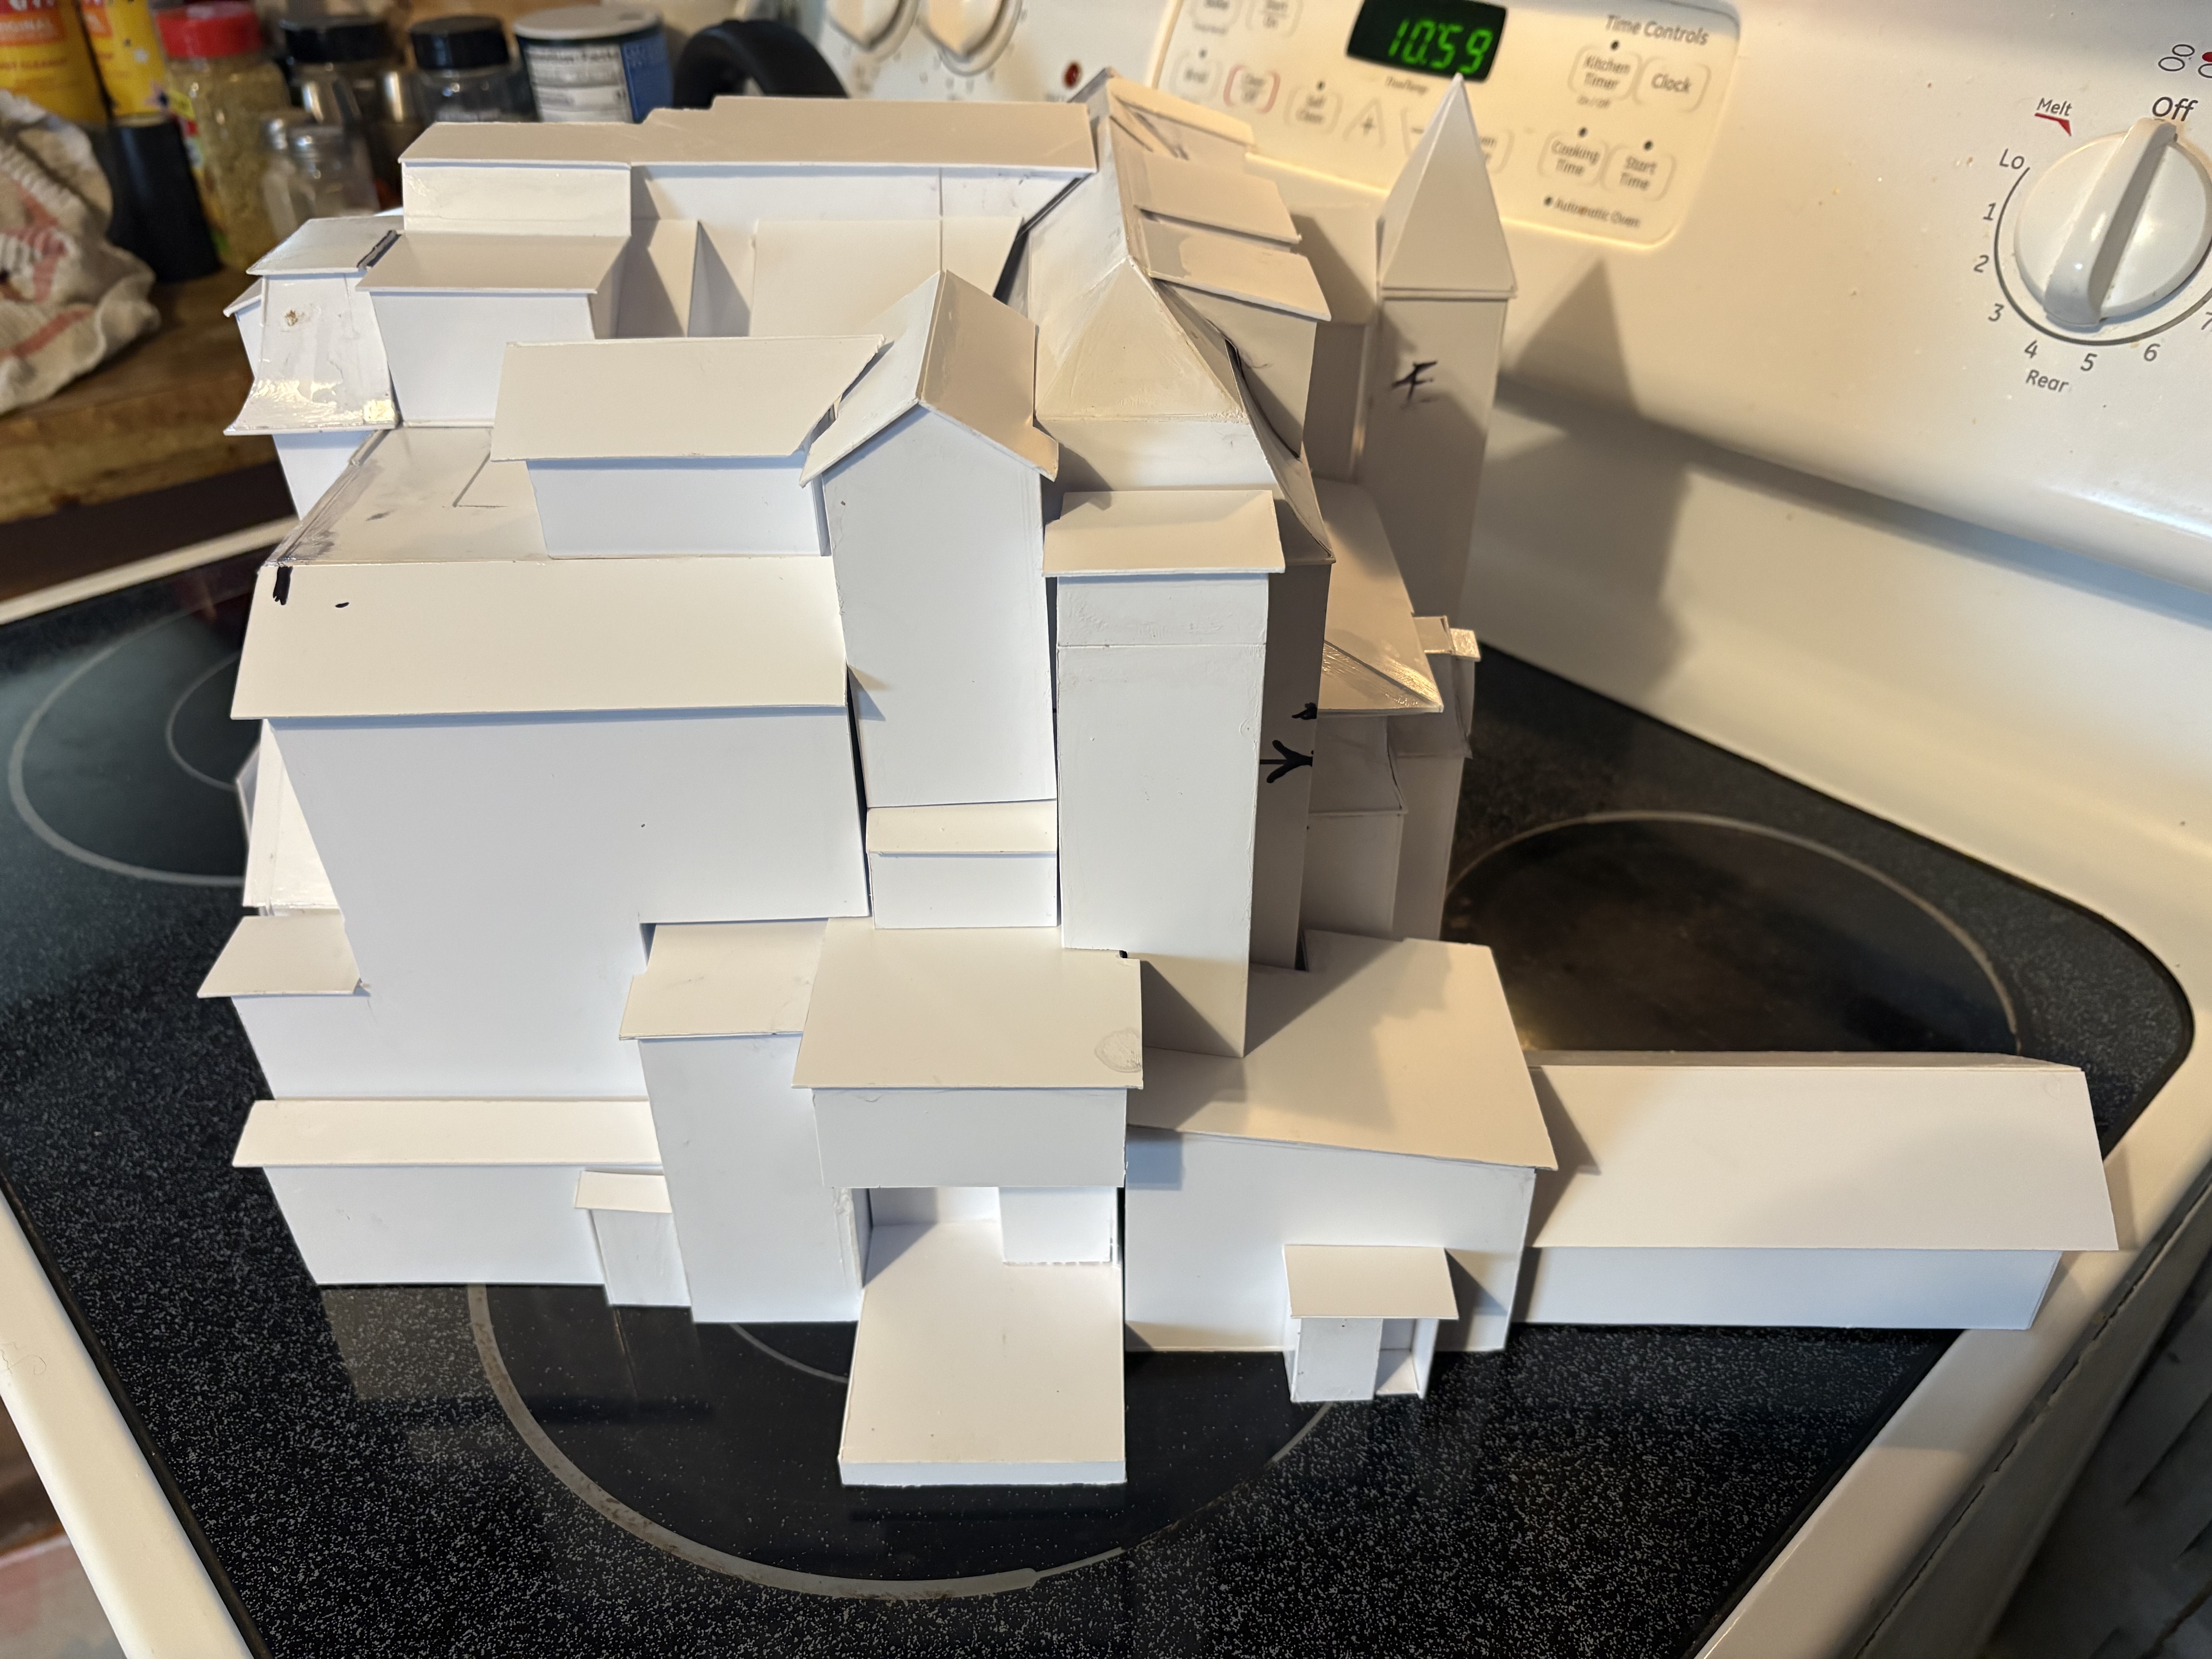
Tom, this is currently what I have come up with so far. All is subject to change but I’m fairly happy with what’s shown here for now. This is the 2 most interesting sides of the structure. The north and east facing side or the front and the left side. There are many different roof types, concave mansard, concave gambrel, gabled, flat, and pitched, so far. Currently what is pictured is 20 separate individual pieces that will end up being a lot more as progress continues. This thing looks like a really bad geometry test gone wrong 😂 I’m thinking another 3 to 4 weeks to finish this mock up of this structure. I will probably build a couple other smaller buildings to go with it. Once that is complete, I will work up the plans for the individual parts and then build the first prototype model of it.